

Deploy the SCCM 2012 Console using the Application Model
Founder of System Center Dudes. Nick has been awarded in 2016 to 2019 as a Microsoft MVP in Enterprise Mobility category. Working as a senior SCCM and Intune advisor as well as a specialist Microsoft Cloud solutions specialist.

Nicolas Pilon
Vice-PresidentTable of Content


Get the latest insights and exclusive content delivered to your inbox
Share


The installation of SCCM 2012 console can be either manually or automatically. Manual installation remains a good choice if you have a small team. Using role-based access control in SCCM 2012, you can delegate administrative tasks to your team and allow more users with different level of access to the SCCM 2012 console.
At this point, you would rather go the automatic way. This post will explain you how to save time by using the Application Model in SCCM 2012 to automatically deploy the console to all your devices.
We won’t cover the pre-requisites needed to install the SCCM 2012 console on a device. Make sure your devices are compliant.
Step 1 | Create a Collection
To regroup all the devices of users that will be using the console, there’s two possible types of collection to trigger the installation, either user or device collection.
Users
Create a user collection if your goal is to target team’s member. With the User Device Affinity, you make sure that all devices used by a specific user will have the latest console version installed.
The advantage of using user collections is the application catalog. Users will have access to install the console from the portal. However, the Application Catalog web service point and website point must be installed in your environment to use the Application Catalog portal at the desired time.
Devices
Create device collection if your goal is to target devices. With device collection, you make sure that all desired devices will have the latest console version installed.
To update existing consoles to the latest version, include a query rule in the membership rules that targets devices with SCCM 2012 console installed.
WQL Query
[pastacode lang=”sql” message=”” highlight=”” provider=”manual” manual=”select%20SMS_R_SYSTEM.ResourceID%2CSMS_R_SYSTEM.ResourceType%2CSMS_R_SYSTEM.Name%2CSMS_R_SYSTEM.SMSUniqueIdentifier%2CSMS_R_SYSTEM.ResourceDomainORWorkgroup%2CSMS_R_SYSTEM.Client%20from%20SMS_R_System%20inner%20join%20SMS_G_System_ADD_REMOVE_PROGRAMS%20on%20SMS_G_System_ADD_REMOVE_PROGRAMS.ResourceID%20%3D%20SMS_R_System.ResourceId%20where%20SMS_G_System_ADD_REMOVE_PROGRAMS.DisplayName%20LIKE%20%22%25Configuration%20Manager%20Console%25%22″/]
You can also refer to the PowerShell script that create operational SCCM collections that include consoles.
Step 2 | Create the Application
First, you will need to point to the files from SCCMInstallationFolder\Tools\ConsoleSetup to your content source location. It will be the source files used to install the console.

- From the console, navigate to Software Library / Overview / Application Management / Applications
- Right click on Applications and select Create Application
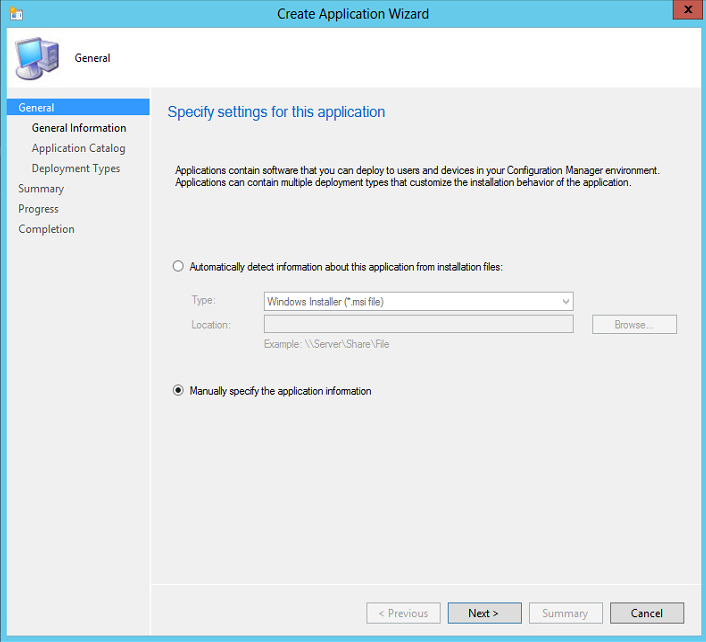
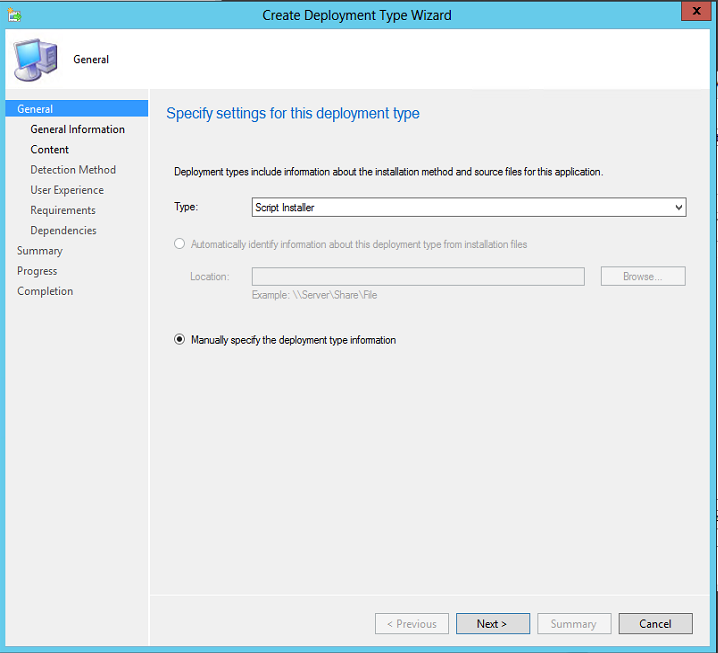
- The Create Application Wizard window will appear, on General tab, select Manually specify the application information and click Next
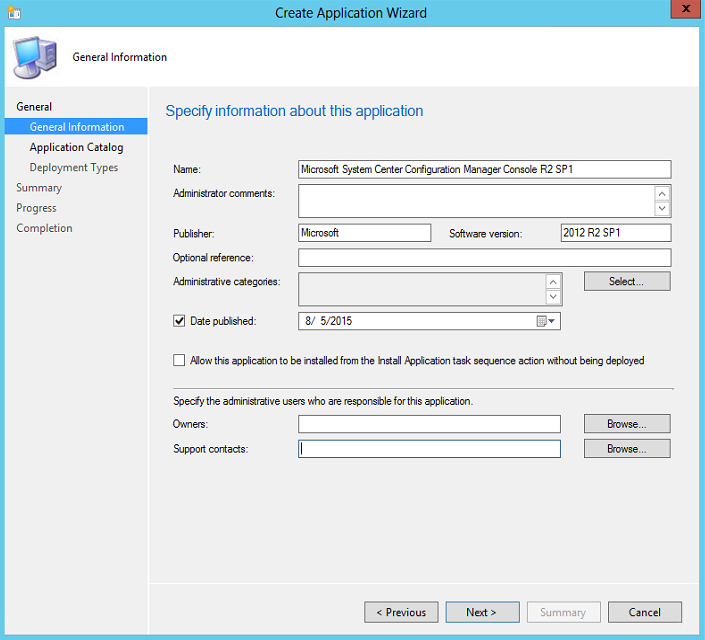
- In General Information tab, enter an application name like Microsoft System Center Configuration Manager Console 2012 R2 SP1 or your current version
- Enter the Publisher field with Microsoft
- Software Version field with 2012 R2 SP1 and click Next
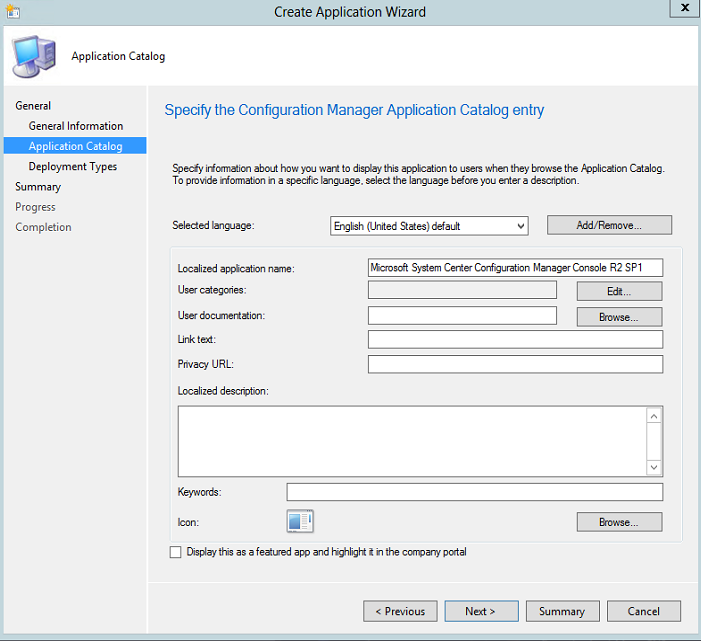
- In the Application Catalog tab, if you are using user collection than you will need to fill required information
- In this example, we only fill Localized application name with Microsoft System Center Configuration Manager Console R2 SP1 and click Next
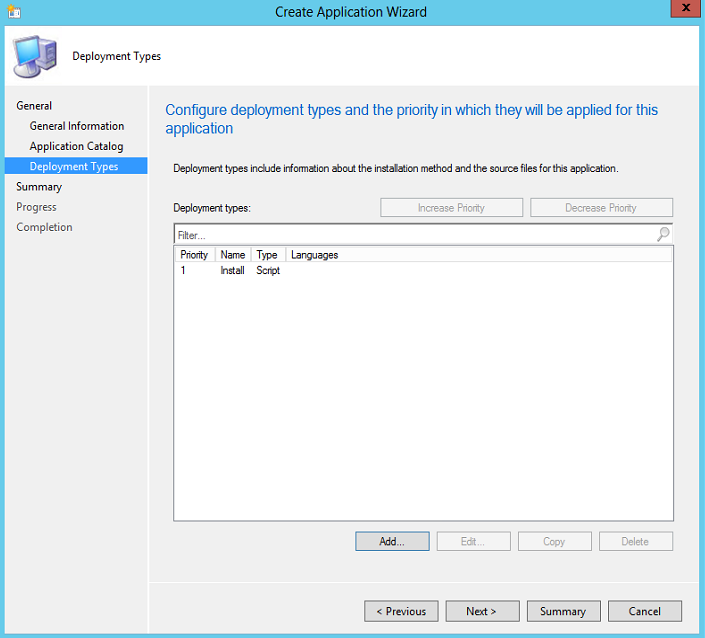
- In the Deployment Types tab, click on Add
- In the Create Deployment Type Wizard, select Script Installer as your deployment type and click Next
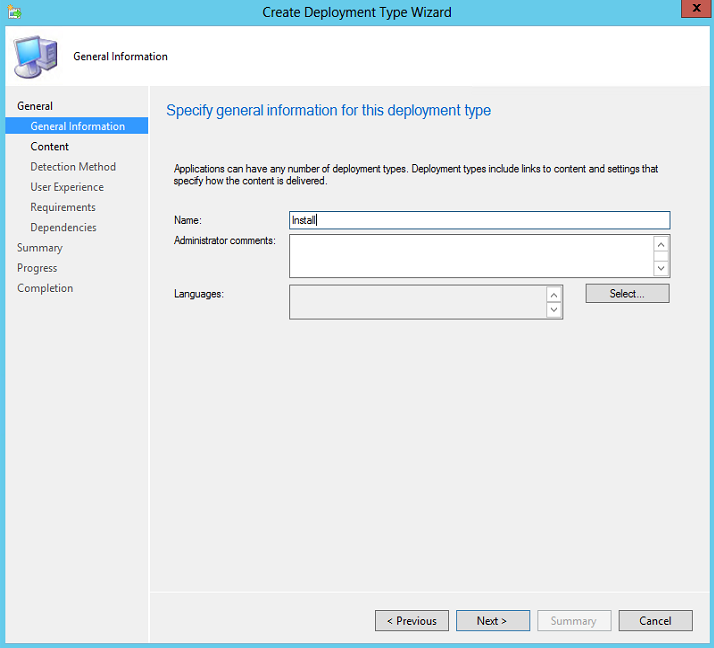
- In General Information tab, enter Install as the name of the deployment type and click Next
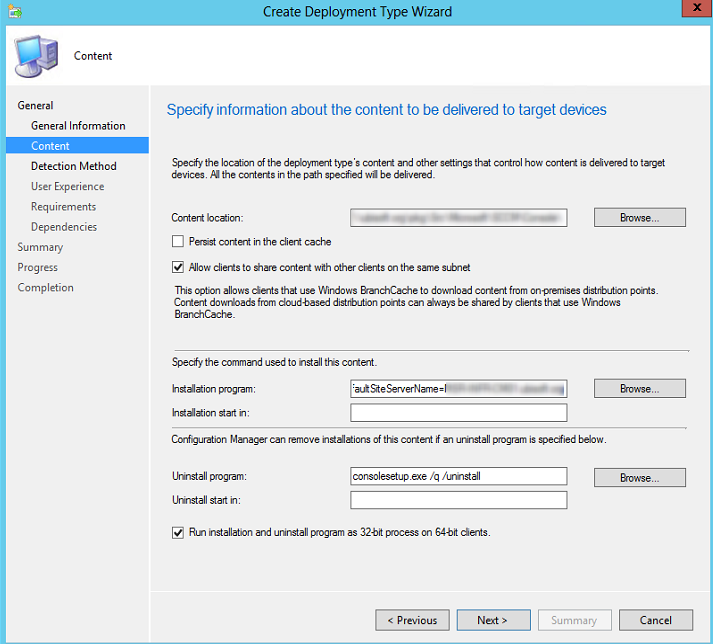
- In the Content tab, enter the Content Location with this folder SCCMInstallationFolder\Tools\ConsoleSetup
- At the Installation Program field, enter this program command
- consolesetup.exe /q TargetDir=”C:\Program Files\ConfigMgr” EnableSQM=1 DefaultSiteServerName=YourSiteServerName
- Change YourSiteServerName with your site server
- At the Uninstall Program field, enter this program command
- consolesetup.exe /q /uninstall
- Check box Run installation and uninstall program as 32-bit process on 64-bit and click Next
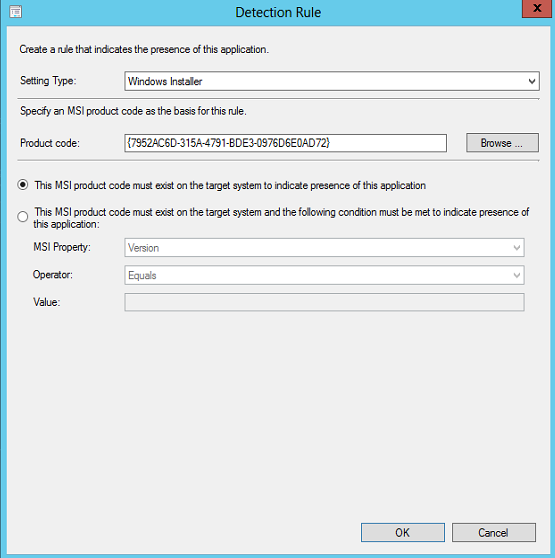
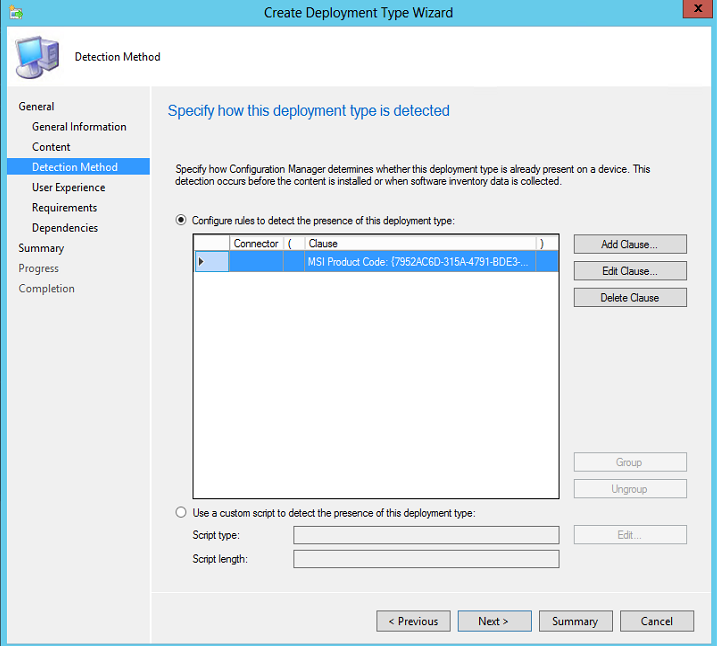
- In the Detection Method tab, click Add Clause
- In the Detection Rule window, select Windows Installer as the setting type
- At the Product code field, enter your proper version MSI product code. In this example, we are using SCCM 2012 R2 SP1 which is {7952AC6D-315A-4791-BDE3-0976D6E0AD72} and click Next
The detection method is designed to evaluate whether application is already installed or not. If it turns out that the application is already present, the application will not be installed.
- You will come back to the Detection Method tab, click Next
- In the User Experience tab, at the Installation behavior settings, choose Install for User if you created a user collection and choose Install for Device if you created a device collection. You can also choose Install for system if resource is device; otherwise install for user if you use both type of collections
- At Login requirement, choose Whether or not a user is logged on
- At Estimated installation time (minutes), enter 5 minutes
- Click Next to finalize the process, then Close
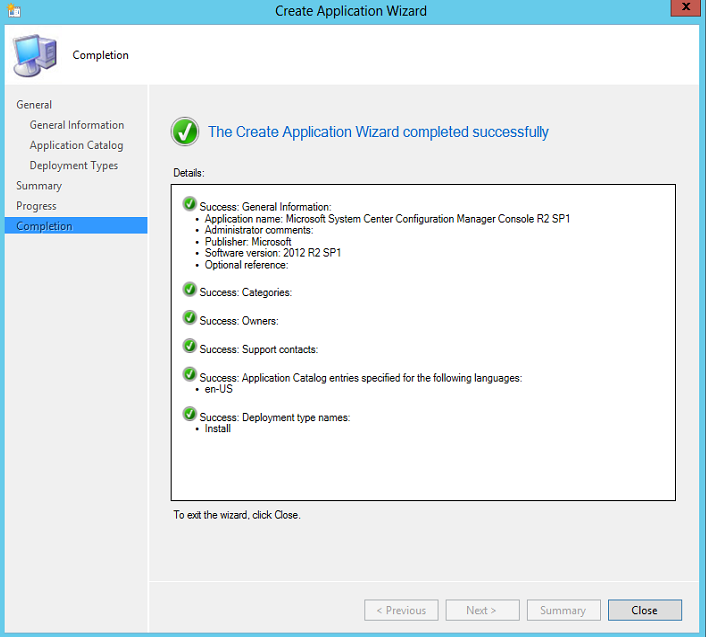
You see something like this in your application folder.

Step 3 | Deploy the Console
The last step is to use the application and deploy to the collection.
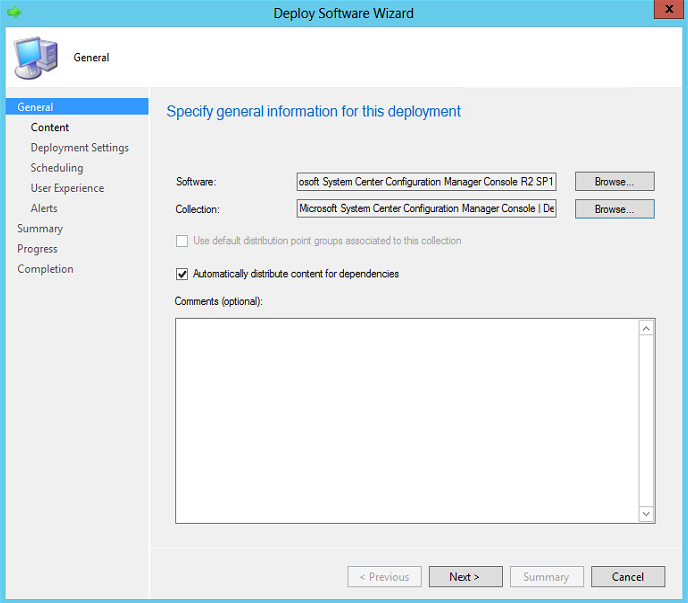
- From your application folder, right click on the application and select Deploy
- From the Deploy Software Wizard in the General tab, click on Browse, select the previously created collection from the first section and click Next
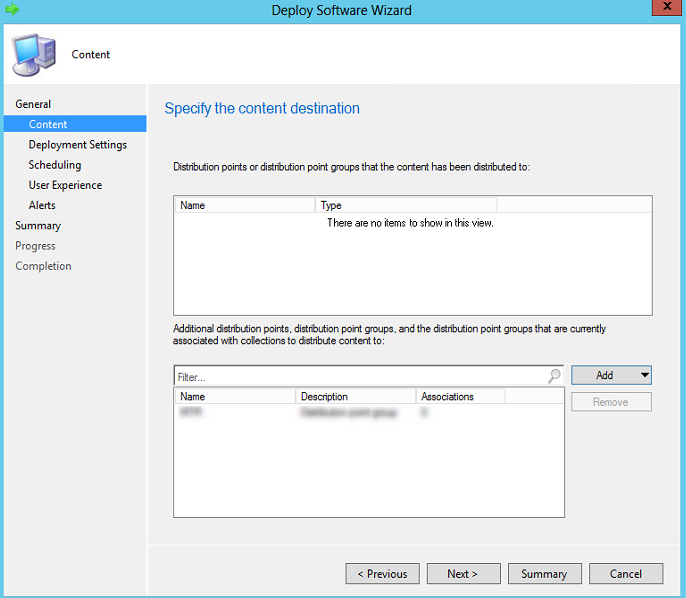
Before you can deploy the application, you must distribute content to your distribution points otherwise you will have deployment issues.
- In the Content tab, add the distribution points needed for your deployment and click Next
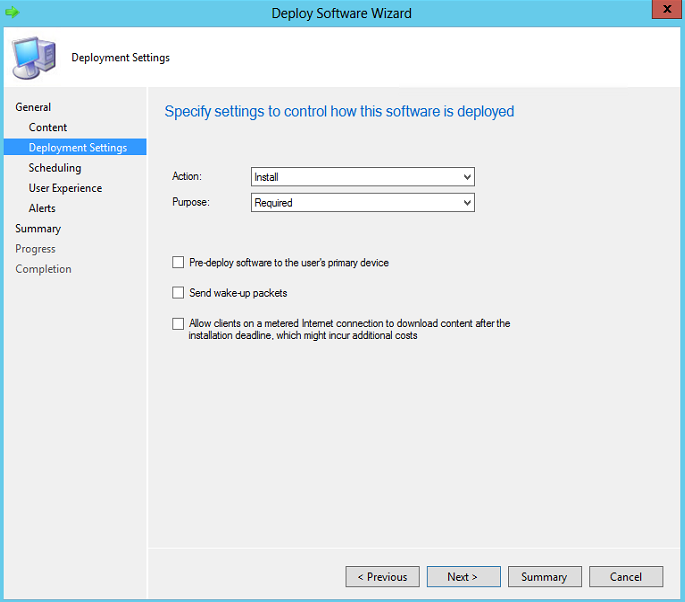
- In the Deployment Settings tab, you have two possibilities for the Purpose of the deployment
- Required: The application will be enforced
- Available: The application will be available to install in the Software Center and/or Application Catalog waiting for an user action
What you must understand here is that if you are in position to update your current consoles, we suggest to use the Required option because without the update your console needs to match your site version. It must be apply as soon as possible. The Available option is used to provide the ability to install the console from the Software Center without being enforced.
- Click Next
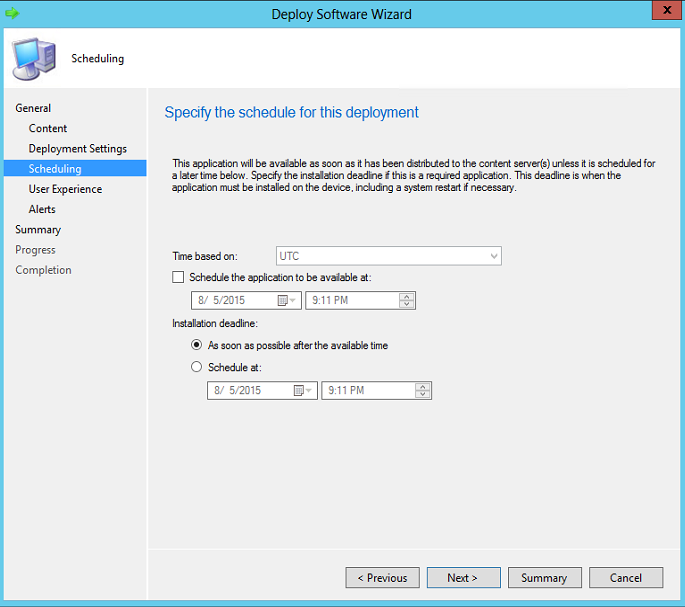
- In the Scheduling tab, configure when do want to make it available and installed, then click Next
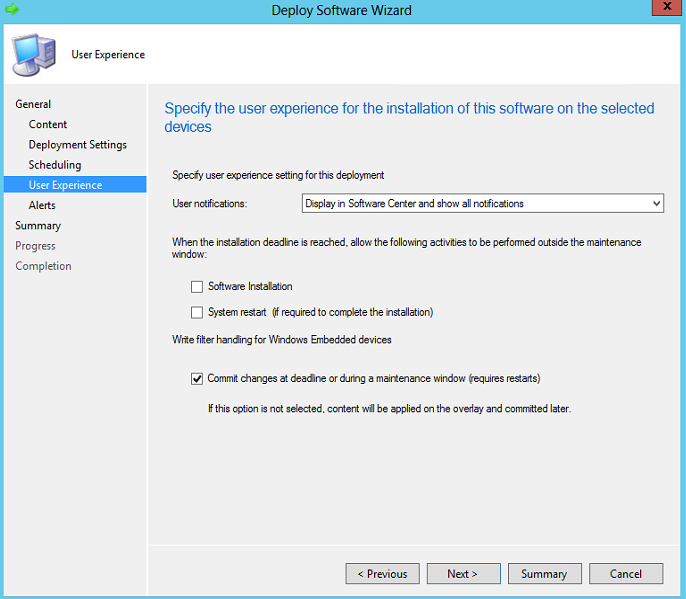
- In User Experience tab, selecting Display in Software Center and show all notifications will display the status of the application deployment to the logged user.
- Click Next
- Click Next to the end
Step 4 | Validation
If everything has been properly orchestrated with the Available option, the application will appear in the Software Center as well in your Application Catalog. If you set the Required option, the application will be automatically installed.
- To open Software Center, simply search for Software Center in your application or type the following command line: C:\WINDOWS\CCM\SCCLIENT.EXE
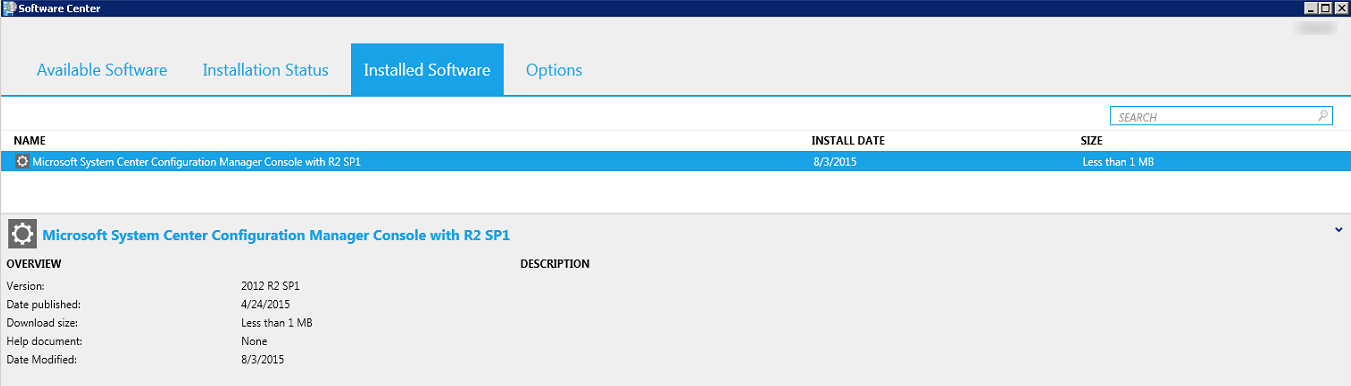
Monitor your application deployment and that’s it!
sccm 2012 console
Share
Get the latest insights and exclusive content delivered to your inbox


Ray
10.20.2015 AT 01:42 PMNicolas Pilon
10.22.2015 AT 06:01 PMBogdanR
08.30.2015 AT 03:16 AM