

How to perform a Testdbupgrade before SCCM Installation
Founder of System Center Dudes. Based in Montreal, Canada, Senior Microsoft SCCM Consultant, 8 times Enterprise Mobility MVP. Working in the industry since 1999. His specialization is designing, deploying and configuring SCCM, mass deployment of Windows operating systems, Office 365 and Intune deployments.

Benoit Lecours
PresidentTable of Content


Get the latest insights and exclusive content delivered to your inbox
Share


Before upgrading to SCCM 1511, it’s recommended to perform a test upgrade on a copy of your production database. We briefly cover the topic in our SCCM Upgrade post but we wanted to provide a step-by-step procedure. This procedure is not mandatory but gives you head-ups on installation errors you may encounter before your upgrade.
Step 1 | Prepare your environment for SCCM Installation Testdbupgrade
To test the database for an upgrade, you must copy the site database to a SQL instance that does not host SCCM. The SQL version must run the same edition and version of your production SQL.
- Start by creating a new VM or connecting to an existing SQL server that can host your SCCM database.
- Install the right SQL version. Follow our post on how to install SQL Server if needed.
Step 2 | Backup your database
Once your SQL server is ready to receive the database copy, browse to your latest SCCM Backup.
We will use the SCCM Backup Maintenance task for this post but it’s also supported to use the SQL Database backup.
To see where SCCM backups are stored go to :
- Open the SCCM Console
- Go to Administration / Site Configuration / Sites
- Click on Site Maintenance on the top ribbon
- Select Backup Site Server, click on Edit
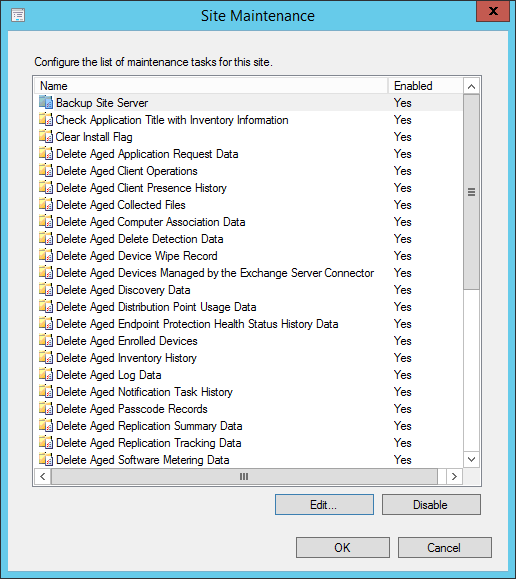
- Take note of the path where your backup are done and browse to that location
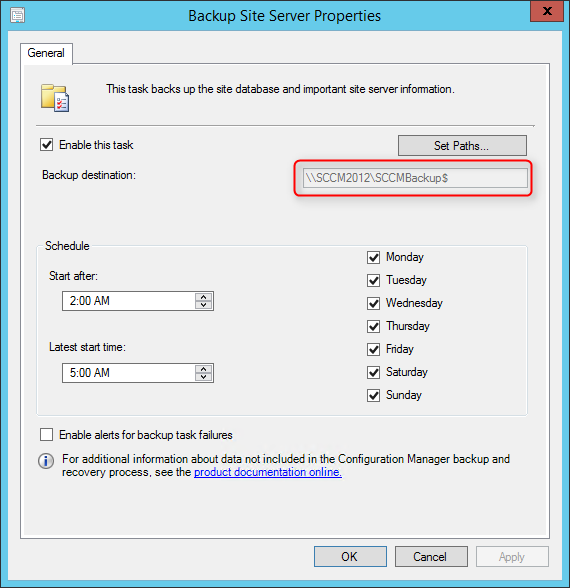
- Copy the .MDF and .LDF file to the SQL Server that will be performing the test upgrade

If you don’t have a backup, enable the task and schedule it. You can also initiate a manual backup if you want the files now.
- Go to Monitoring / System Status / Site Status
- Click on Start / Configuration Manager Service Manager
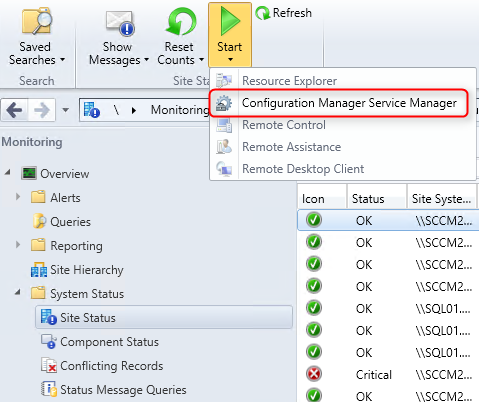
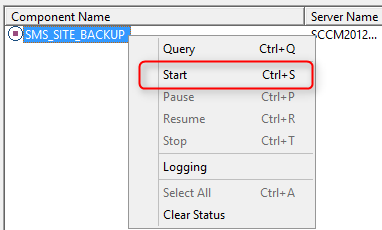
- Browse to SMS_SITE_BACKUP, right-click it select Query then Start
Step 3 | Attach the database copy
We are now ready to perform the test upgrade.
- Connect to your SQL Server
- Open SQL Management Studio
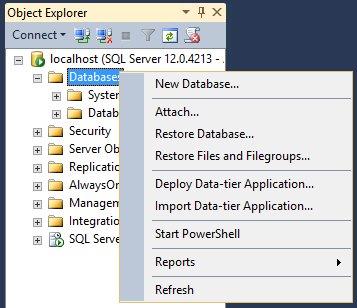
- In the Object Explorer pane, right-click Database and select Attach
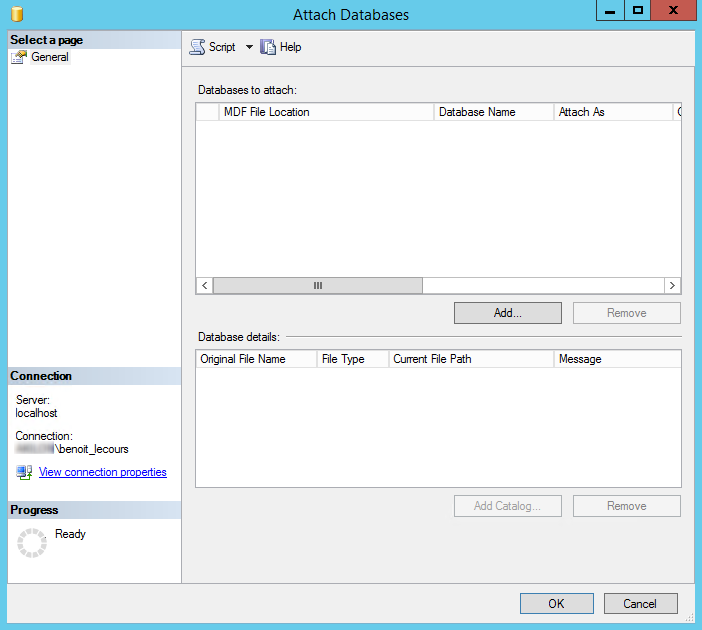
- In the Attach Databases screen, click on Add
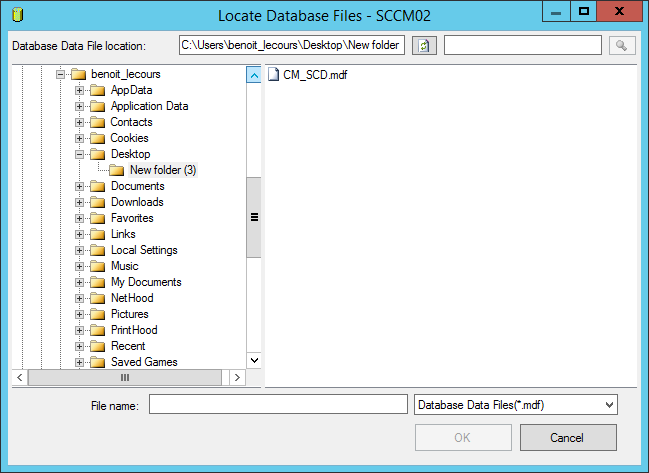
- Select the MDF file that you copied from the SCCM backup, click Ok
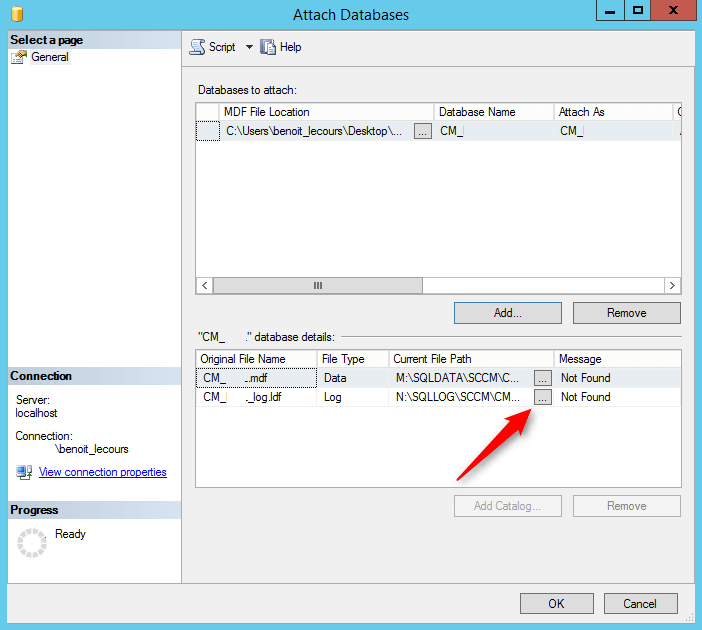
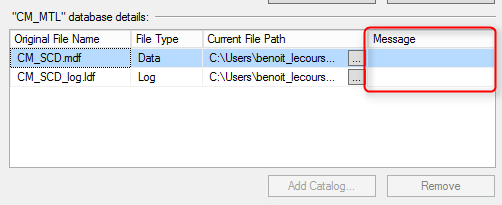
- On the bottom pane, resolve any issues displayed in the Message column. In my example the M: and N: drive are Not Found since they don’t exist on this machine. Click on the … button and point correctly at the Data and Log file
- Click Ok
- The Message box will remove errors
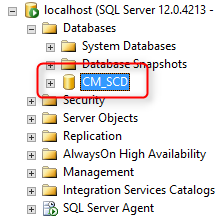
- The database will be attached
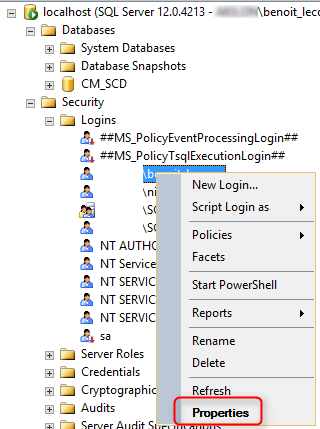
We will now check that we have the proper rights on the database
- Click on Security / Logins
- Right click your user and select Properties (or create a New Login if your Login is not existing)
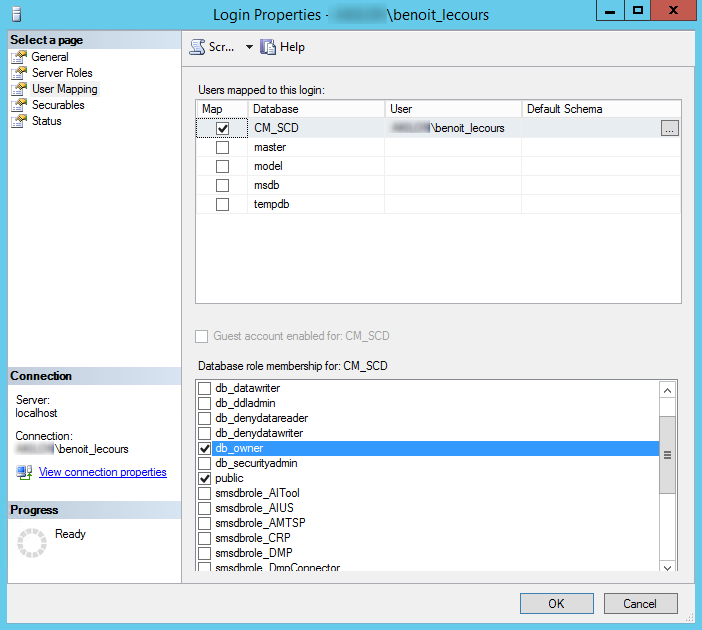
- In the User Mapping tab, select the database you just attached and select the db_owner role membership
Step 4 | Test the upgrade
We will now launch the SCCM Setup using the switch to test the database migration
- On the same machine that you attach the database
- Mount the SCCM ISO
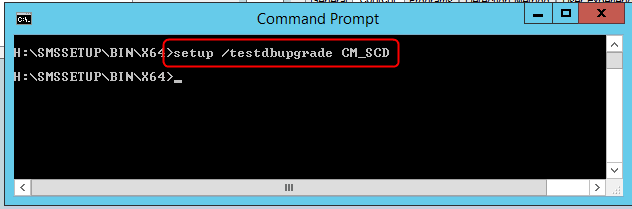
- Go to \SMSSETUP\BIN\X64
- Run the following command: (change the database name to reflect your name)
[su_box title=”Setup /testdbupgrade” style=”glass” title_color=”#F0F0F0″]setup.exe /testdbupgrade CM_SCD[/su_box]
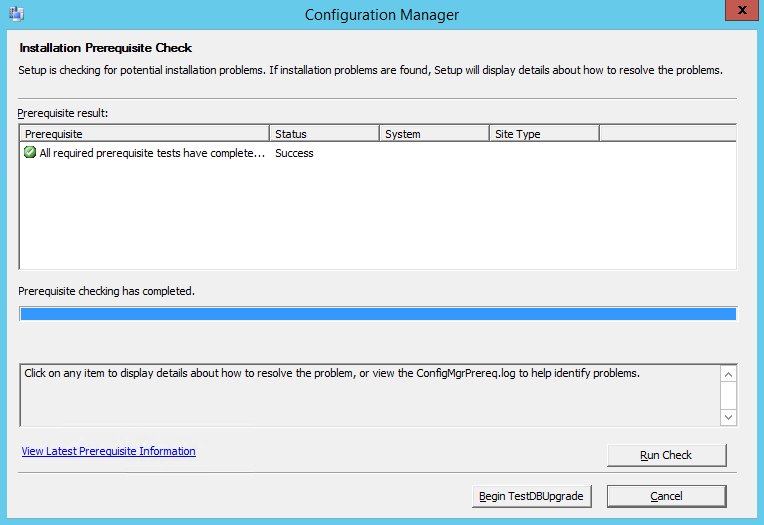
- The Installation Prerequisite Check windows will open
- Click on Begin TestDBUpgrade button
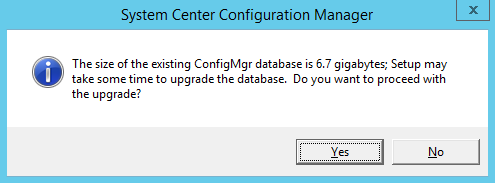
- On the warning window, click Yes
- The Installation Prerequisite Check windows will close
- You need to monitor the progress in the log file located on C:\ConfigMgrSetup.log
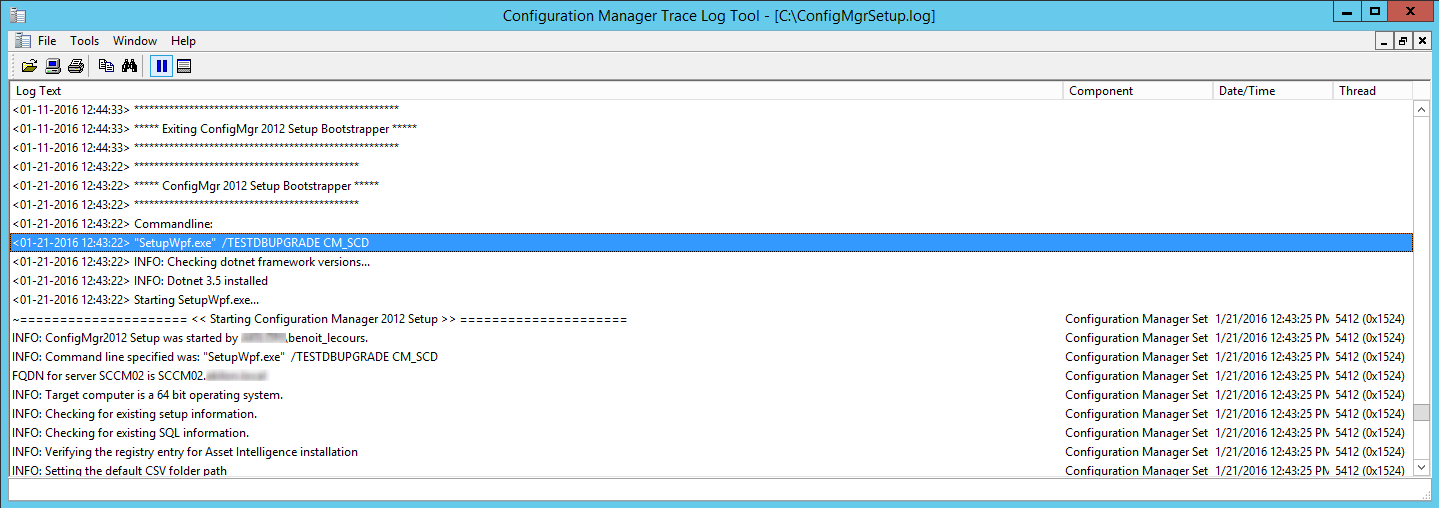
- The process took about 20 minutes for a 6.7gb database
- When completed you’ll have the following line in the log : Configuration Manager Setup has successfully upgraded the database
- Close the log

If you had no error, you can delete the file you imported from your backup and proceed to your real SCCM Upgrade on your production server.
Share
Get the latest insights and exclusive content delivered to your inbox


Devraj Mukherjee
06.09.2017 AT 04:06 AMSamuelV
05.26.2017 AT 11:08 AM