

How to add Latest Windows 7 Convenience Update in a SCCM Image
Founder of System Center Dudes. Based in Montreal, Canada, Senior Microsoft SCCM Consultant, 8 times Enterprise Mobility MVP. Working in the industry since 1999. His specialization is designing, deploying and configuring SCCM, mass deployment of Windows operating systems, Office 365 and Intune deployments.

Benoit Lecours
PresidentTable of Content
- Downloading the Windows 7 Convenience Update
- Add the Convenience Update to your SCCM Windows 7 Build Capture Task Sequence
- Creating the Convenience Update Package
- Tweaking the Build and Capture Task Sequence
- Deploy your Task Sequence
- Deploying the Task Sequence on a Test Machine
- Loading the captured WIM in SCCM


Get the latest insights and exclusive content delivered to your inbox
Share


For this post, we will be talking about how to do a SCCM Windows 7 convenience rollup image creation. A lot of companies still use Windows 7 and have not yet migrated to Windows 10. So, in the spirit of still having Windows 7, I thought I would write up a post to help fellow administrators.
You may have seen that a few weeks ago, Microsoft released a new convenience rollup for Windows 7 SP1. This convenience rollup is meant to make our lives easier when deploying fresh instances of Windows 7. As stated on the Technet article, it contains all the security and non-security fixes released since Service Pack 1, up to April 2016. Officially, the convenience update is released to help us administrators catch up our deployments of Windows 7 faster, have us have a Windows 7 release that’s consistent with the latest code levels, support benefits and so on. But, with this update, we are also ready for a Windows 10 migration since we have all required pre-upgrade updates installed. In short, this has all the requirements to be a Service Pack, but since Microsoft is moving away from SPs, we are not calling it so.
Downloading the Windows 7 Convenience Update
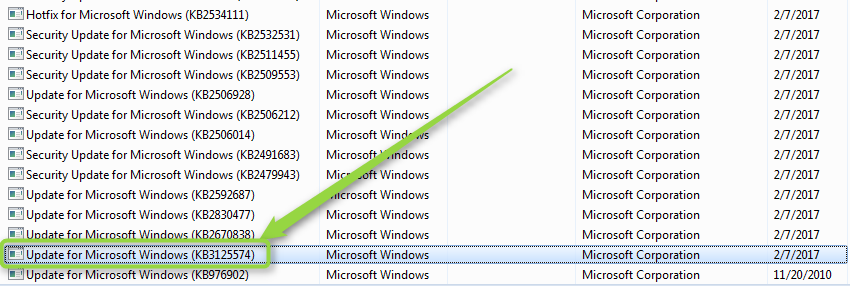
First, this can only be done via Internet Explorer. Browse to http://catalog.update.microsoft.com/v7/site/Search.aspx?q=3125574
If you get the below popup, Install the add on.

Pay attention, there are 3 versions of this update. One for Windows 7 x86, Windows 2008 R2 x64 and finally, Windows 7 x64.
- Press Add on the version you wish to download.
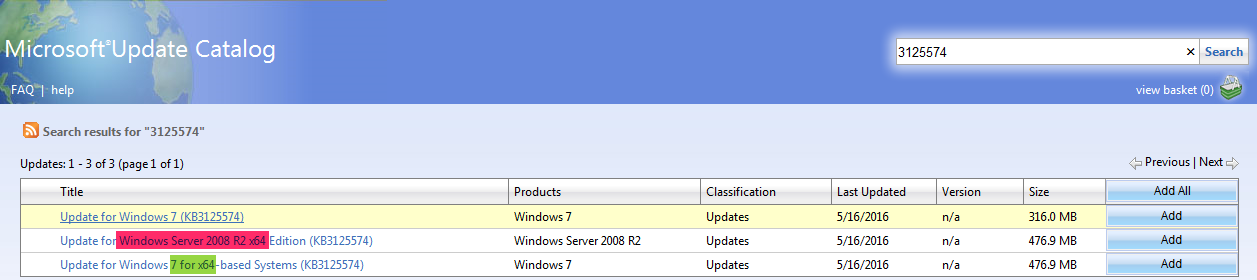
- Click on View Basket

- Click Download.

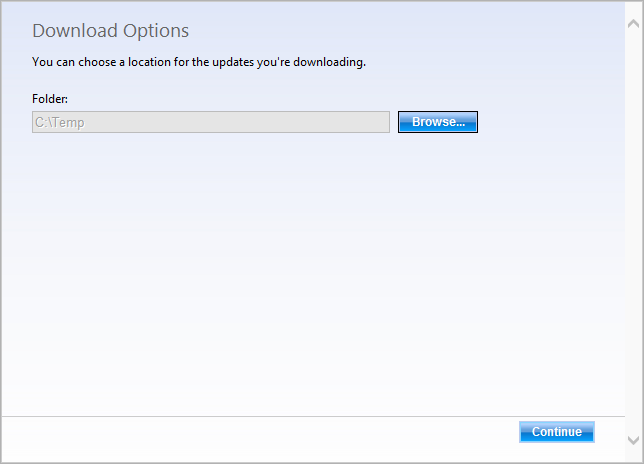
- Choose a path to save the file and press Continue
Add the Convenience Update to your SCCM Windows 7 Build Capture Task Sequence
Once your download has completed, let’s simply add a new Task Sequence. For this post, I am assuming that you do not have a Build and Capture Task Sequence. You may already have one. If that’s the case, you can tweak your existing TS instead. Let’s go ahead and create our Build and Capture Task Sequence :
- Open the SCCM Console
- Go to Software Library / Operating Systems / Task Sequences
- On the ribbon, click on Create Task Sequence
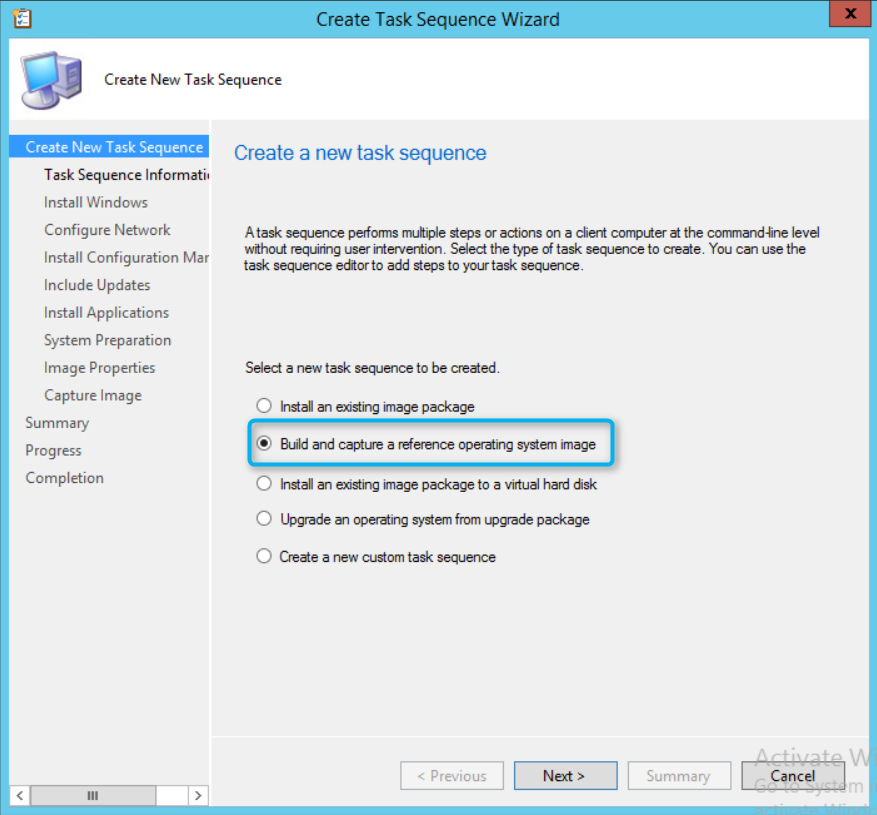
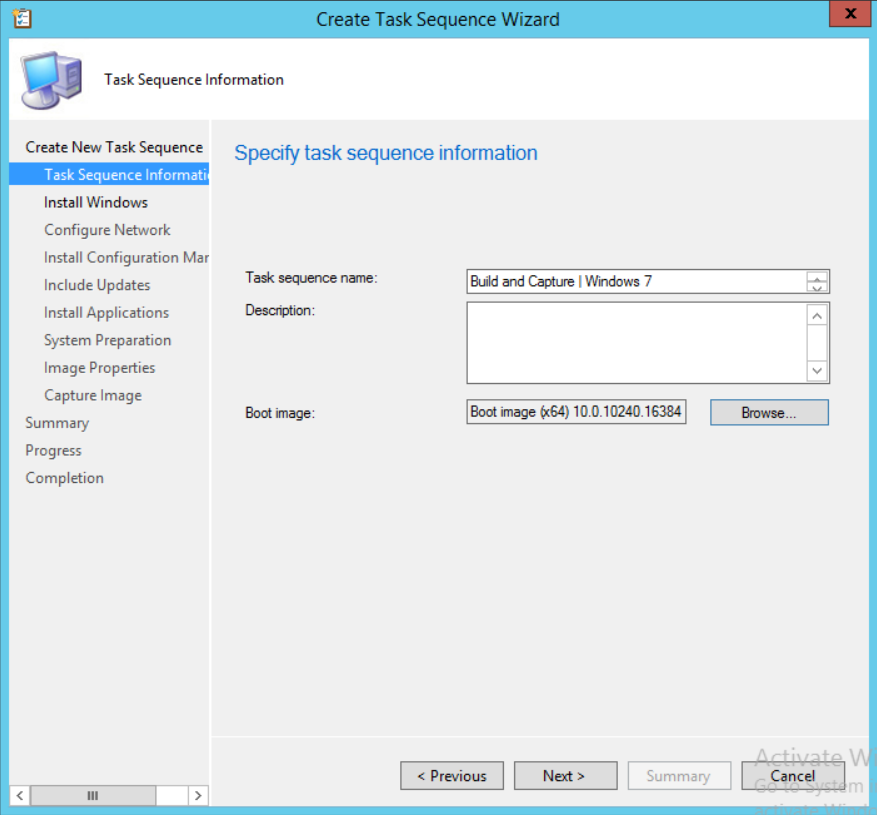
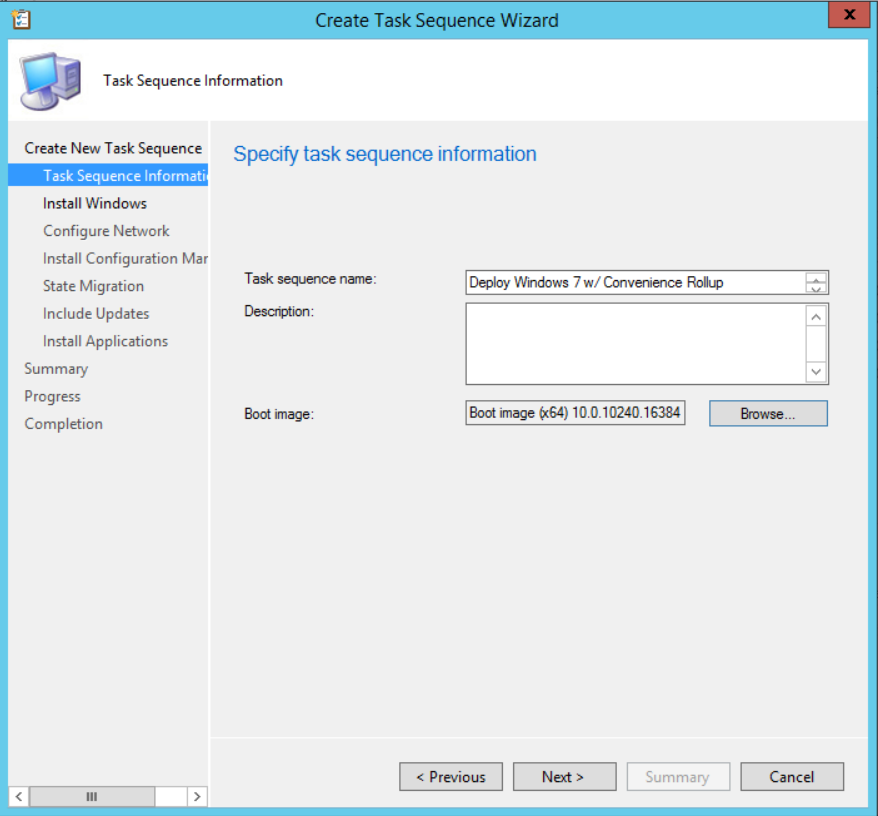
- Give your TS a meaningful name, click Next
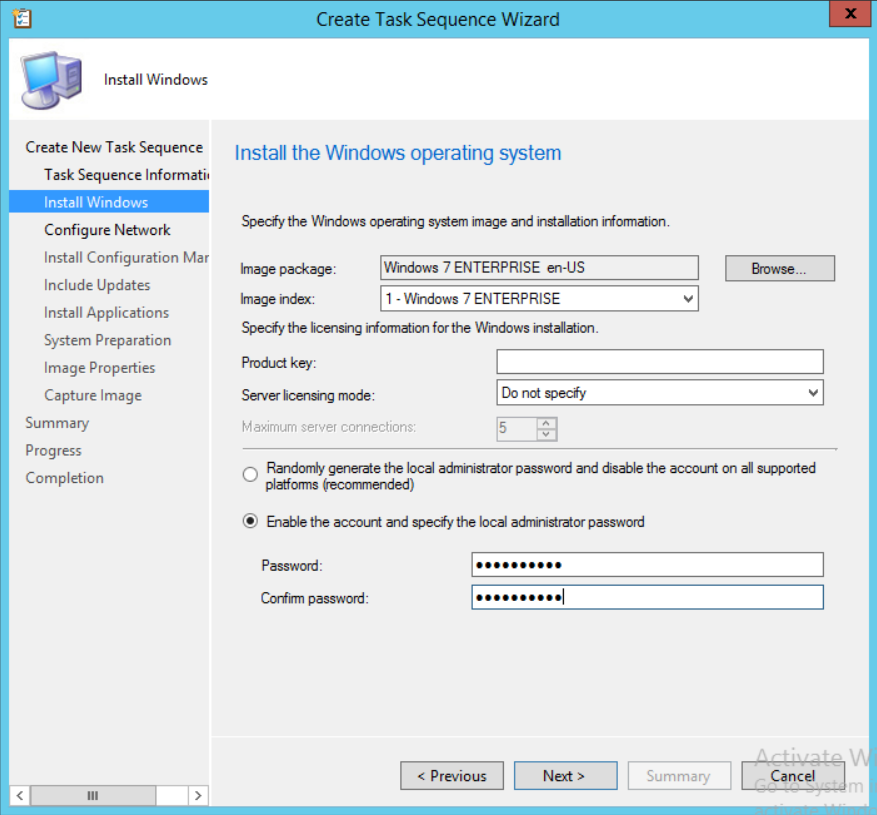
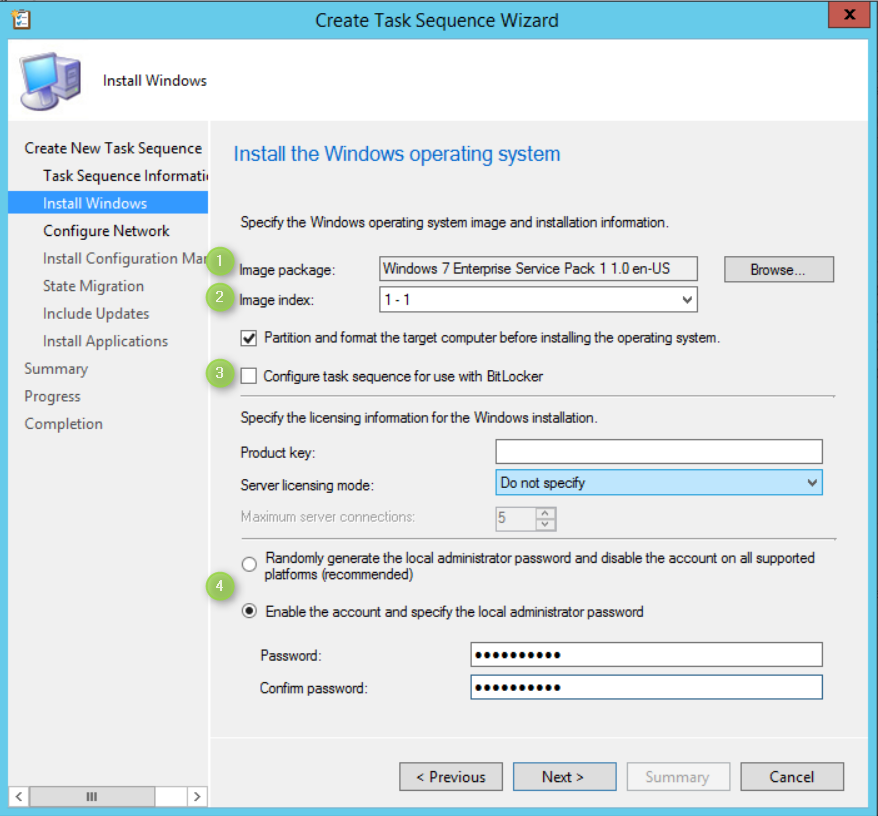
- In the Install Windows pane, browse to your Windows 7 image or WIM file and choose the appropriate flavor in Image Index. Should you wish to have a specific local administrator password, enter it here, press Next
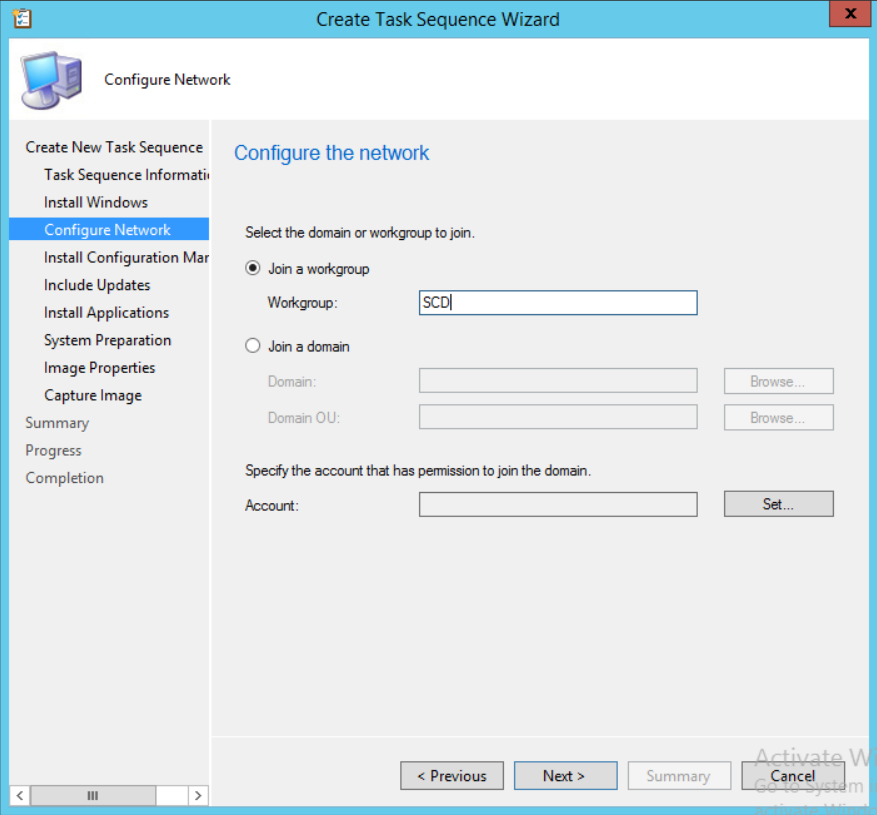
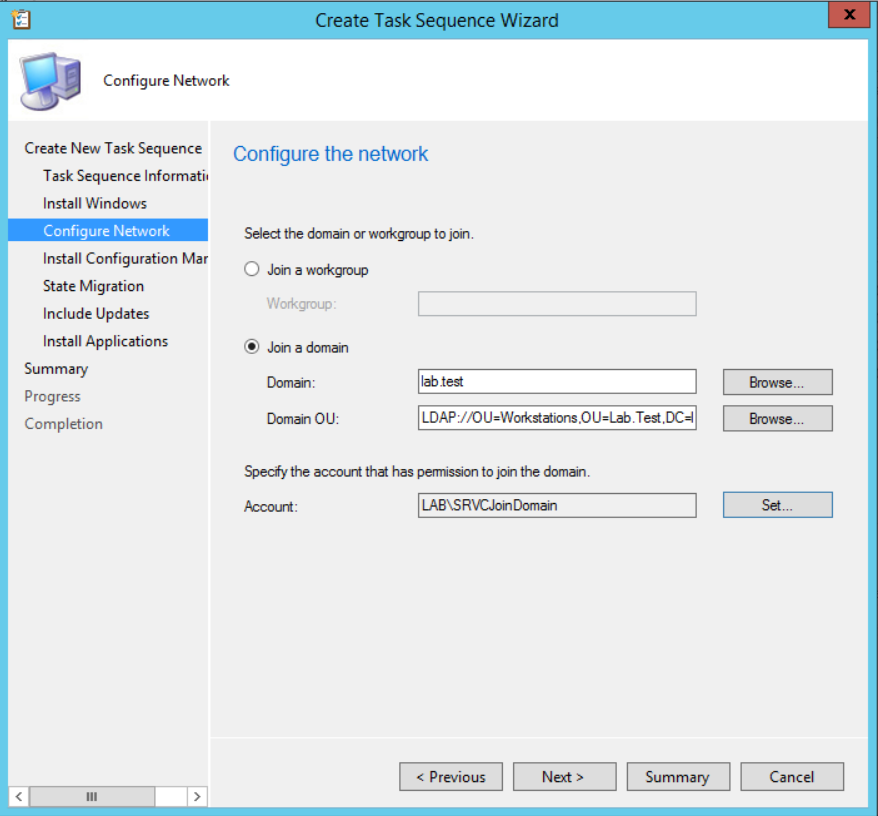
- Since this is a build we are doing, we do not need to join it to a domain since it could get polluted with unwanted parameters such as GPO configurations. For now, leave it in a workgroup, press Next
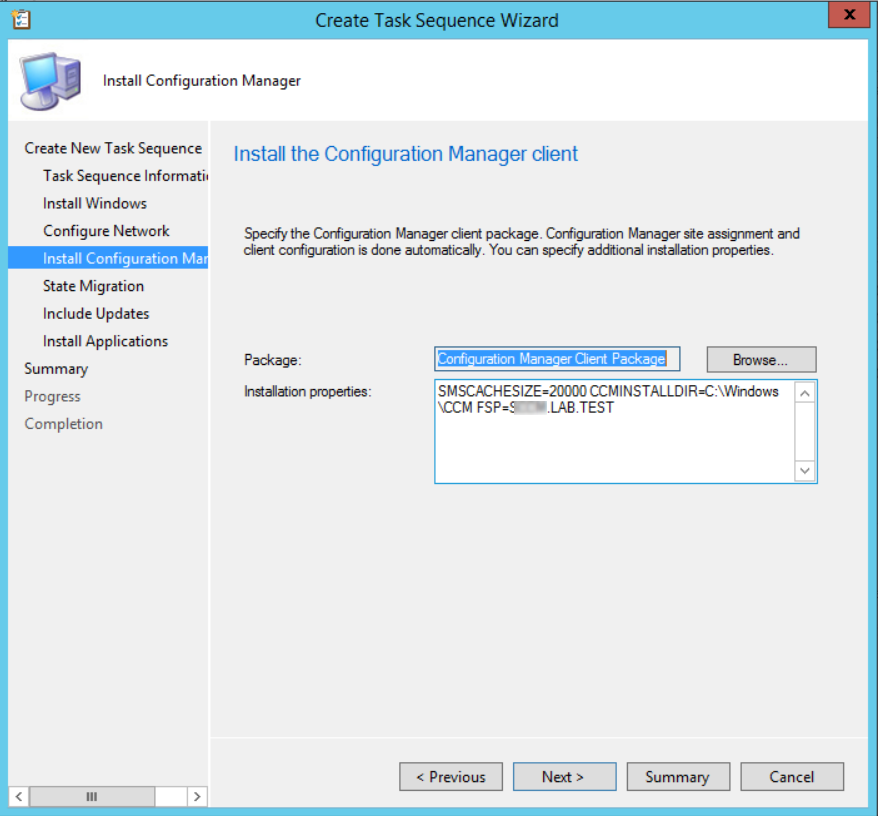
- In the Install Configuration Manager pane, leave the settings as is, press Next
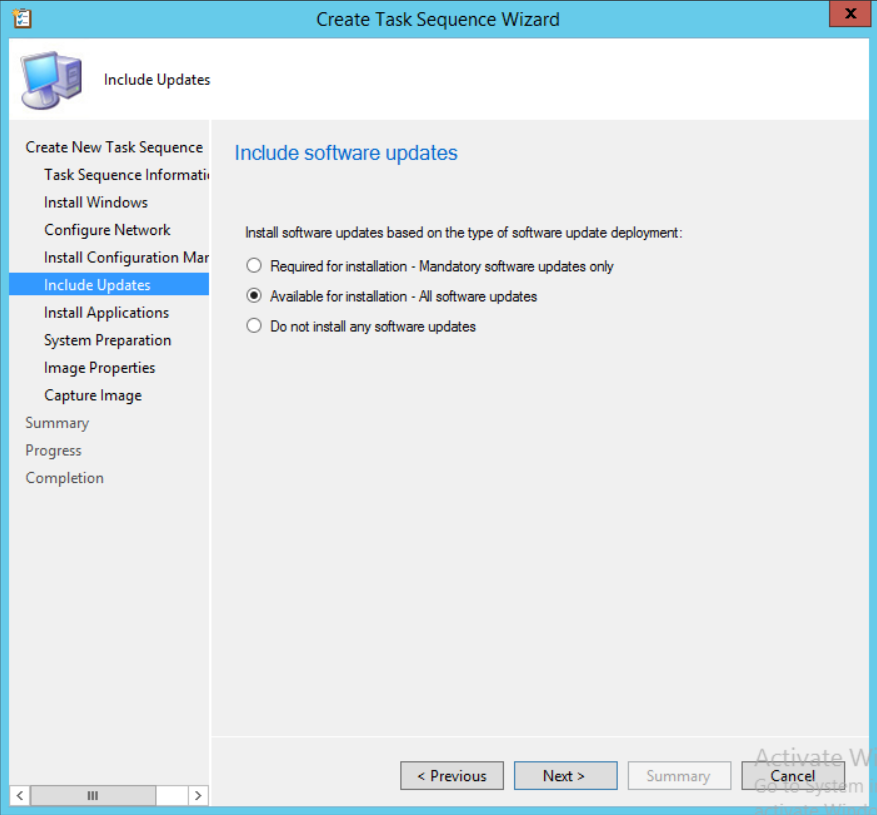
- On the Include Updates pane, choose Available for installation, press Next
- Unless you have any specific applications you wish to include in your build, choose Next

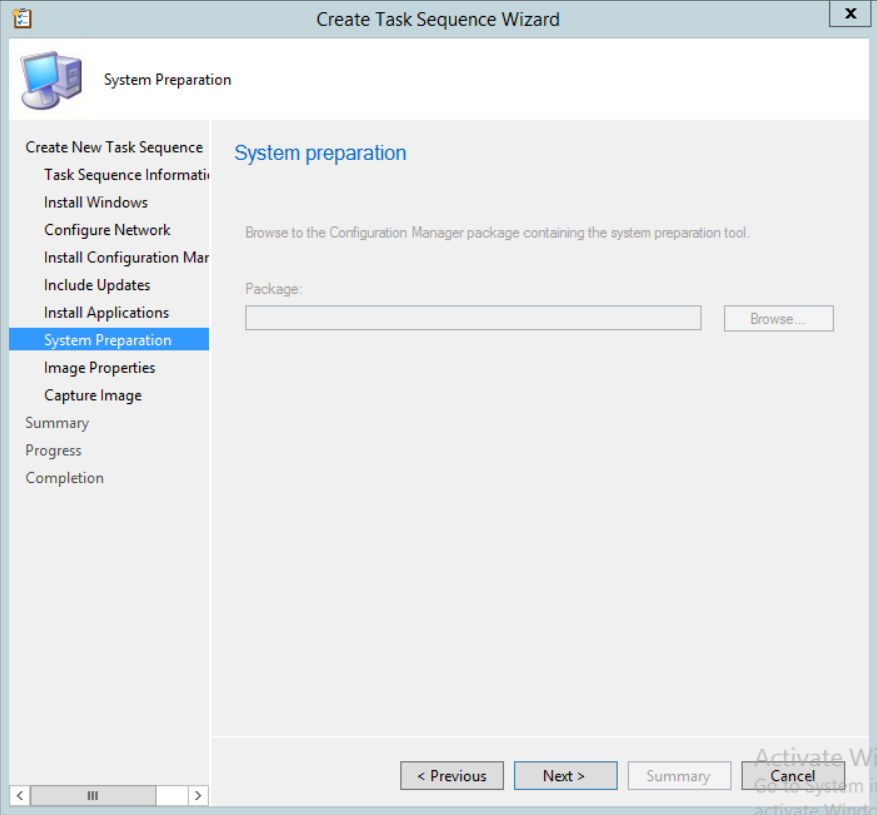
- On the System preparation pane, press Next
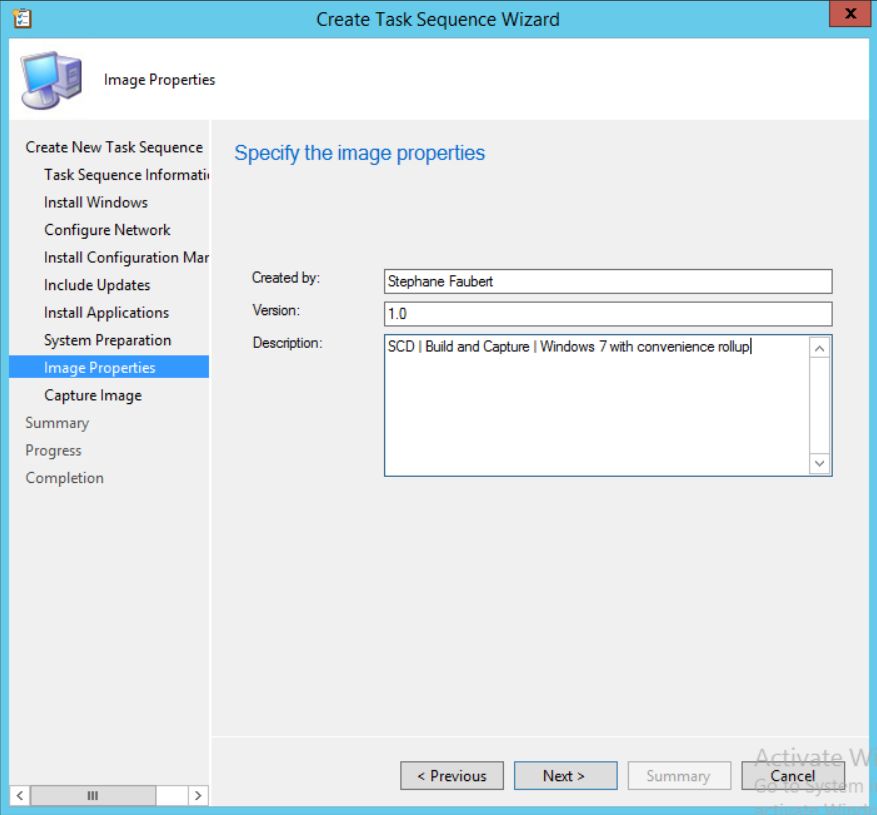
- On the Image Properties pane, set your image properties, press Next
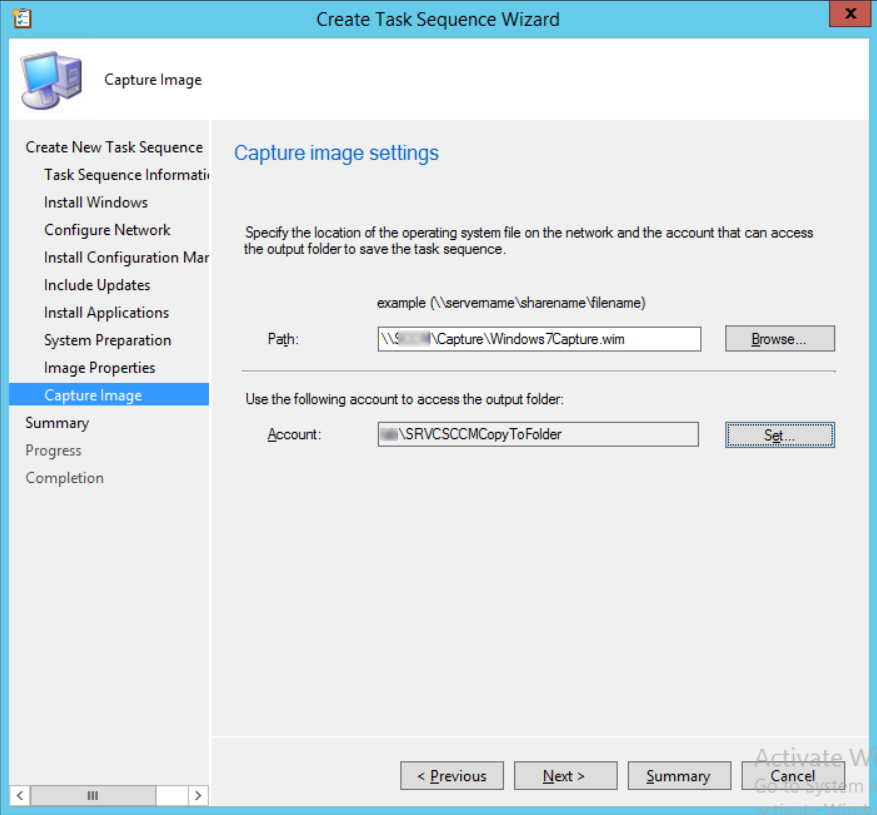
- Set your image capture path and the account used for to access this folder. Ensure that your account has the rights to write in that folder as well, press Next
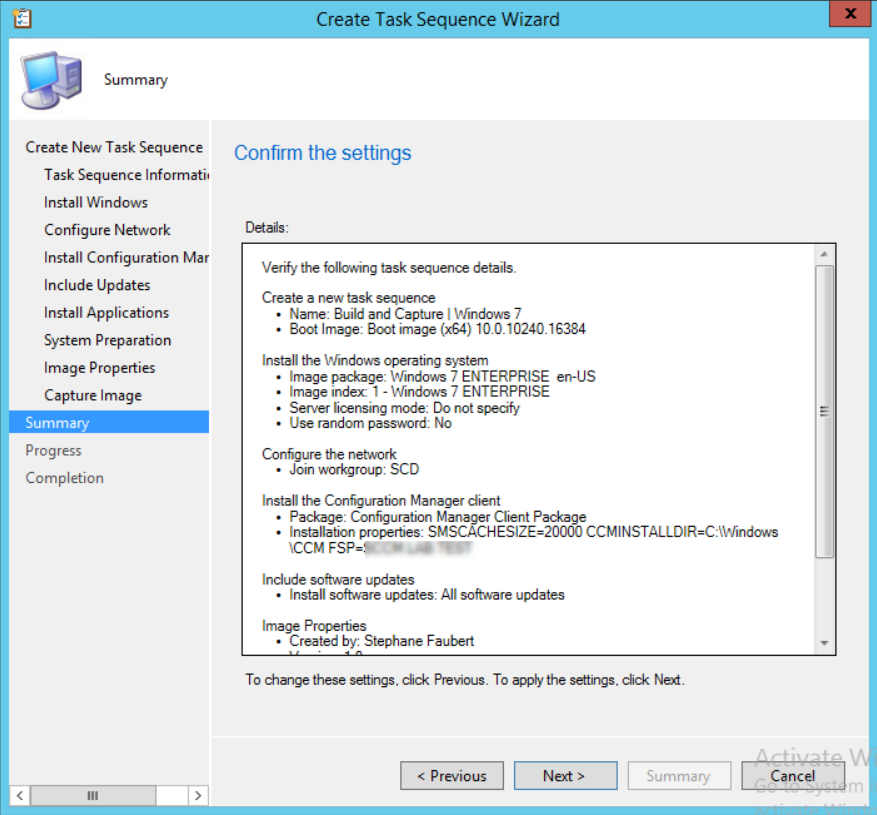
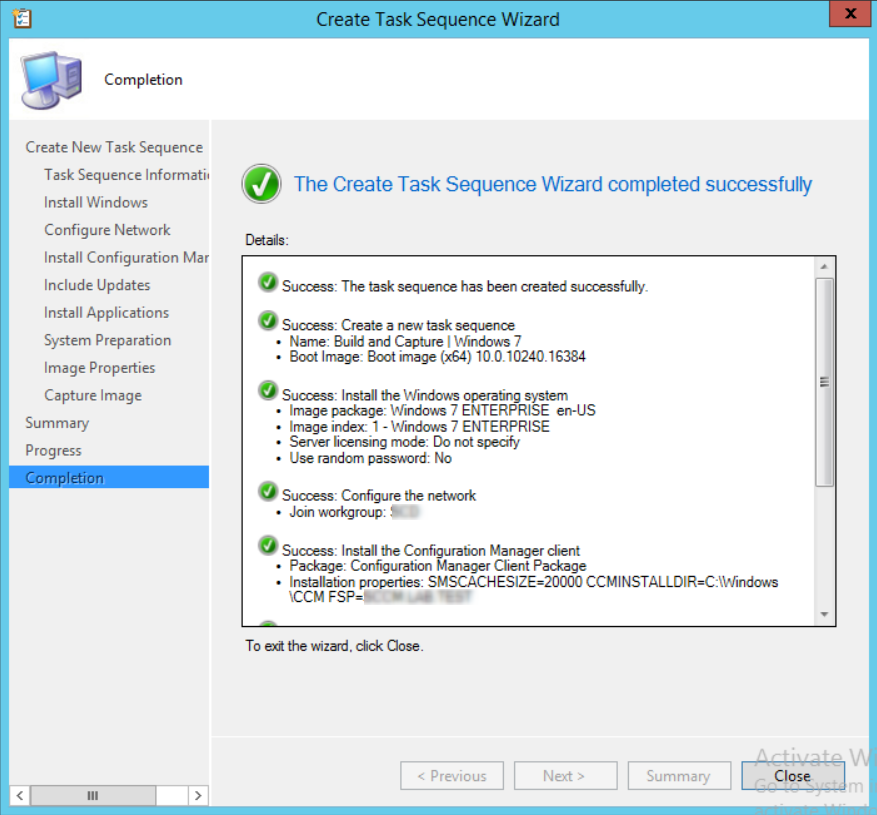
- On the Summary pane, review your selection, review and complete the wizard
Creating the Convenience Update Package
Now that we have the Task Sequence up and running, we want to create the package to add in it.
- Go to Software Library / Application Management / Packages
- Right-click Packages and select Create Package
- Fill in the fields with all required information and point it to your source folder containing the update, press Next

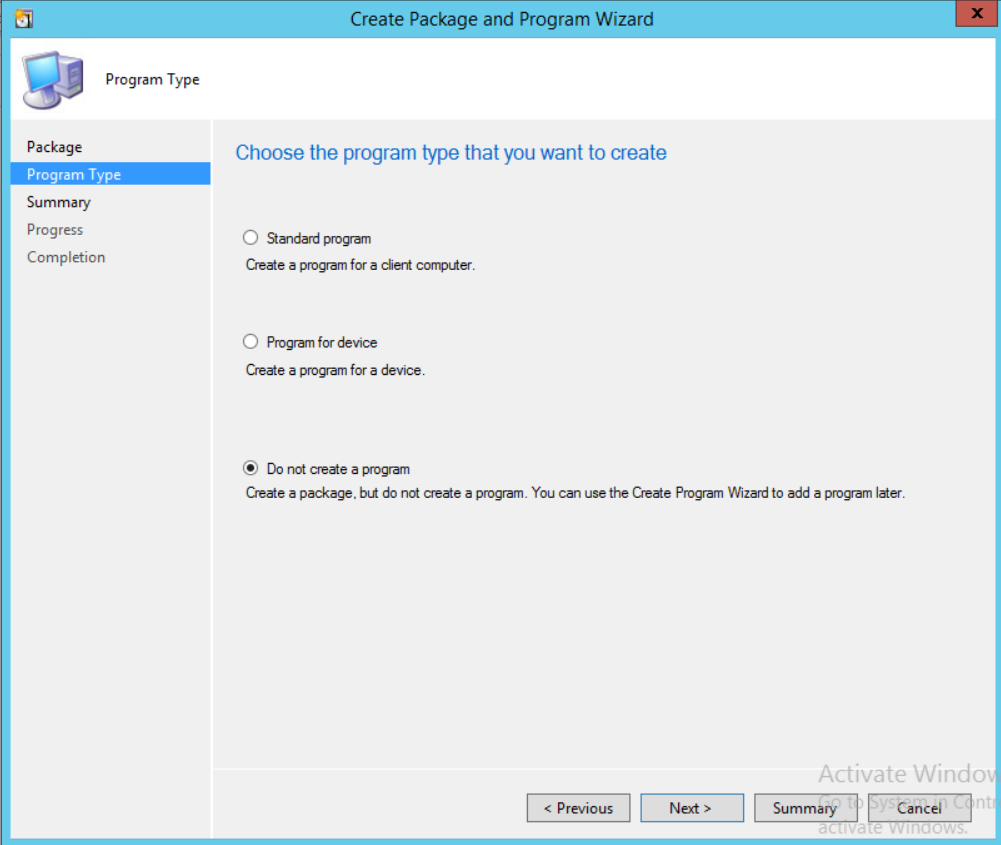
- We will not need to create a program for now as we will be manually typing the command line in our Task Sequence. Although, it would still work. Press Next
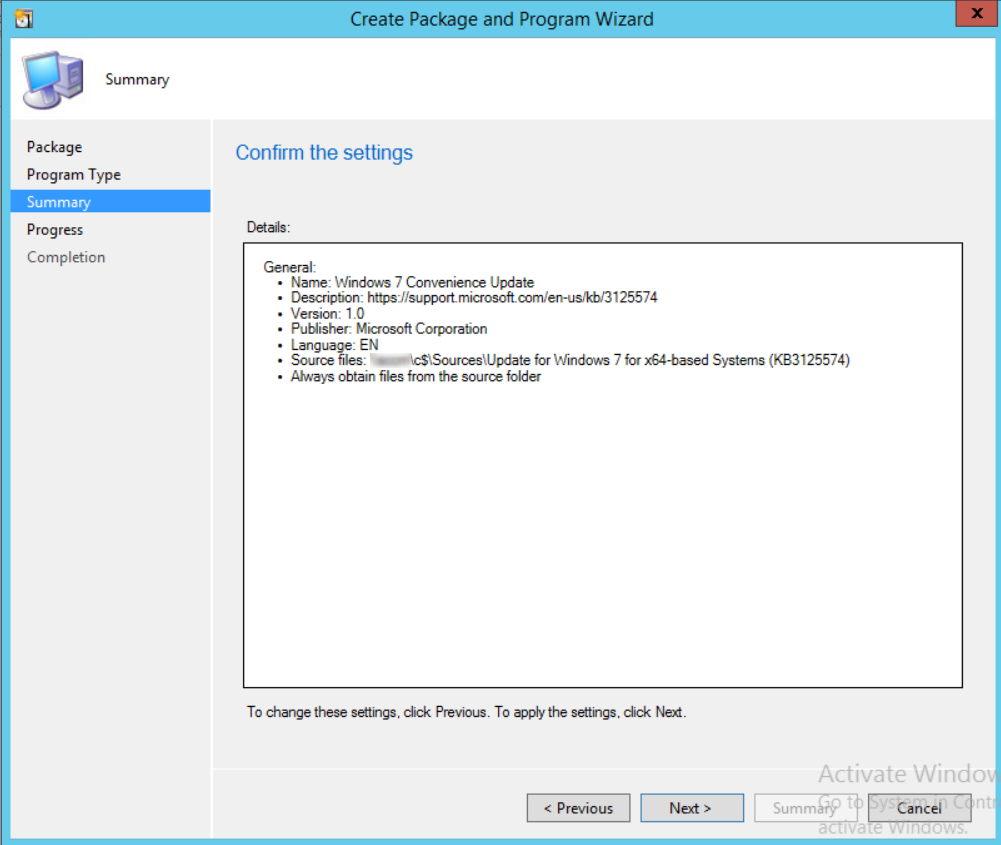
- Confirm the settings and press Next.
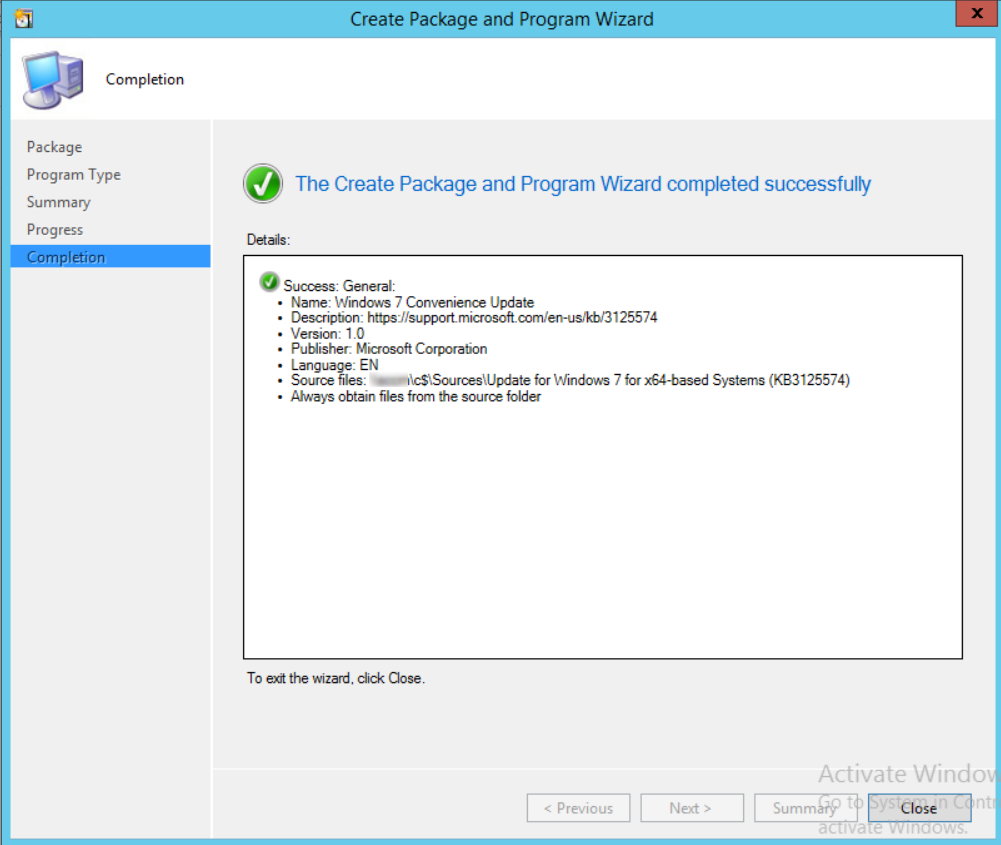
- Press Close to validate.
- Distribute the package to the appropriate DP
Tweaking the Build and Capture Task Sequence
We will now apply some basic customization to our task sequence to better suit our needs.
- Go back to Software Library / Operating Systems / Task Sequences
- Right-click your Build and Capture Task Sequence and Edit
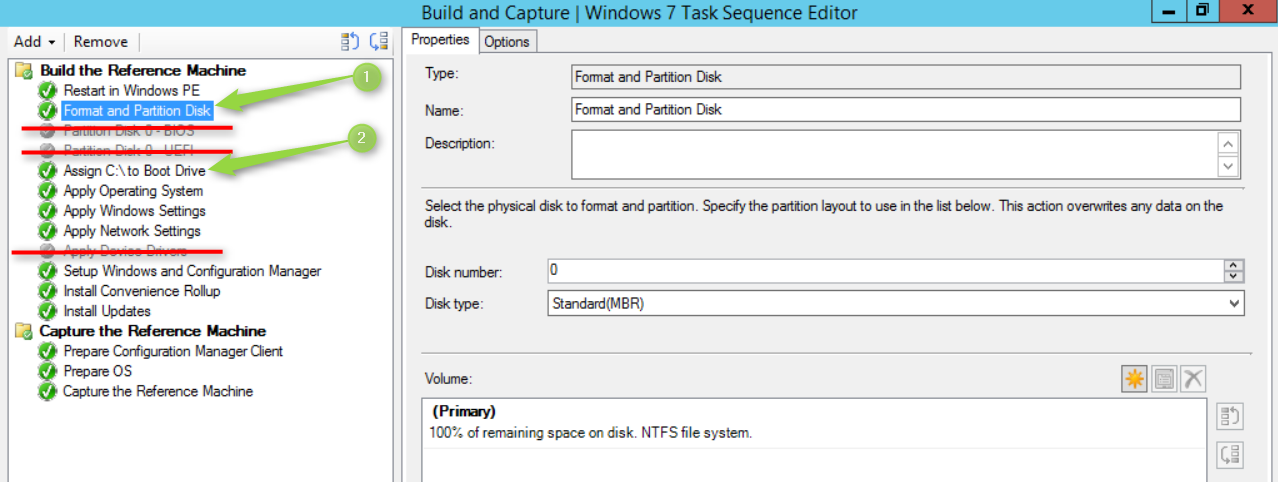
Since this is a Windows 7 Task Sequence, I always preferred to deploy them on a “classic” Format and Partition Disk. Therefore, you can either disable or remove both Partition steps and add a Format and Partition Disk with 100% remaining space on disk (1).
I also add a Task Sequence Variable with the variable name OSDPreserveDriveLetter set to false (2) because I am using the default Windows 7 wim file and this typically installs the OS on the D: Drive. Much more details on that can be found here.
Below the Setup Windows and Configuration Manager step, we will add the Convenience Rollup installation step.
- Click Add / General / Run Command Line
- The command line we will use in the task sequence for this is:
[su_box title=”Run Command Line” style=”glass” title_color=”#F0F0F0″]Cmd.exe /c start /wait wusa.exe AMD64-all-windows6.1-kb3125574-v4-x64_2dafb1d203c8964239af3048b5dd4b1264cd93b9.msu /quiet /norestart[/su_box]
Don’t forget to also add the package we just created to your Convenience Rollup step or else the installation will fail as it will not be able to locate the content.
Your Task Sequence should now look like this:
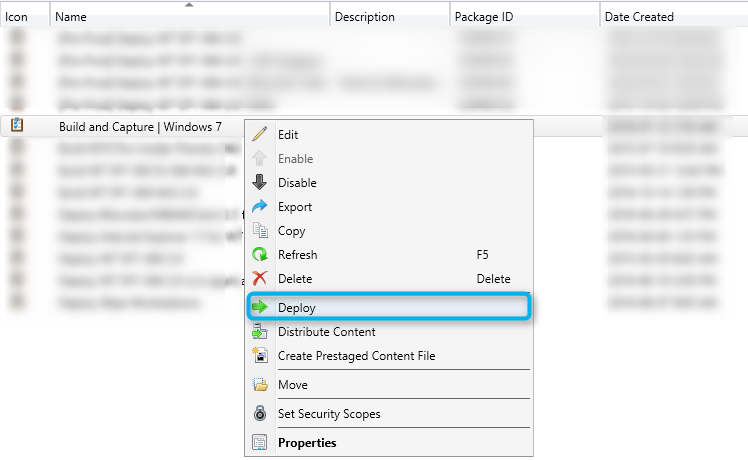
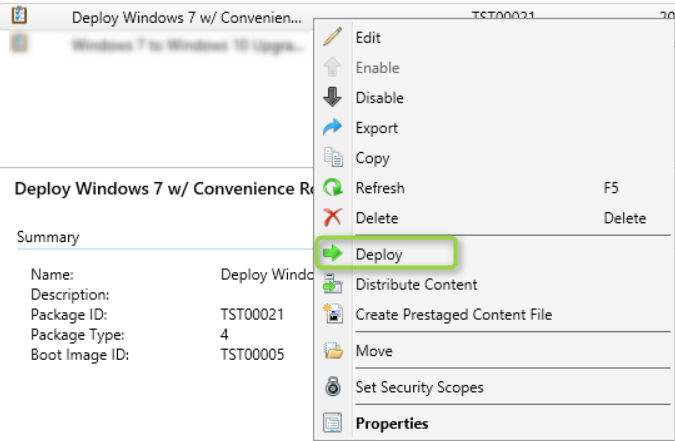
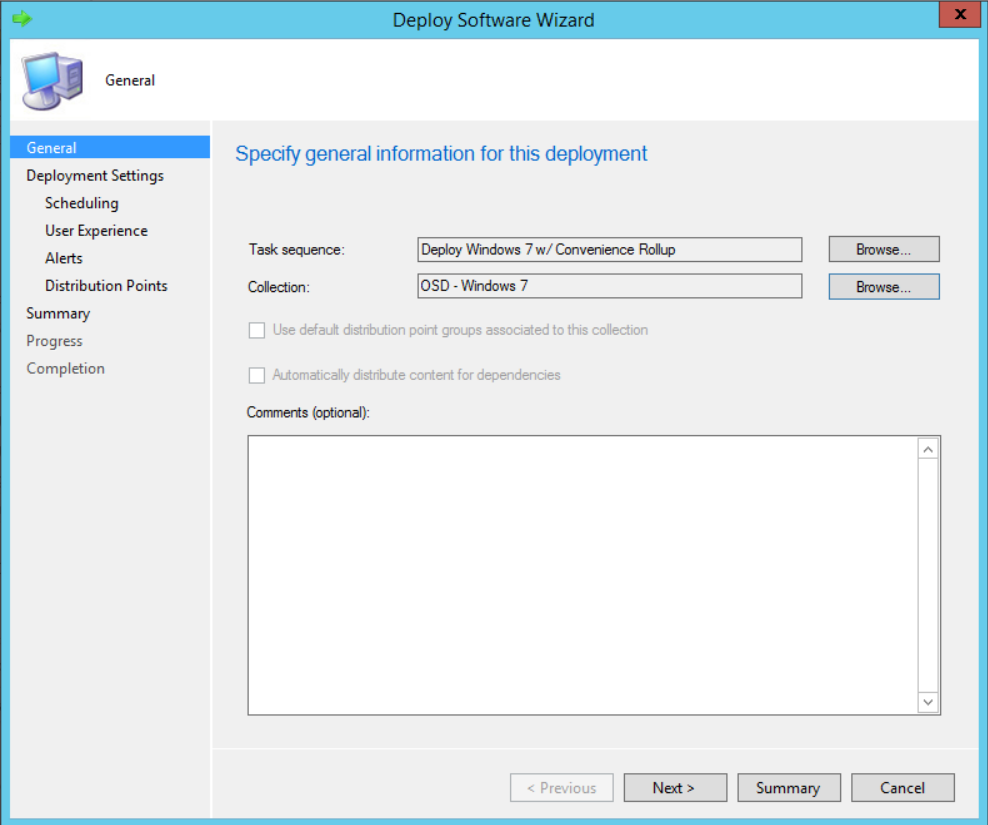
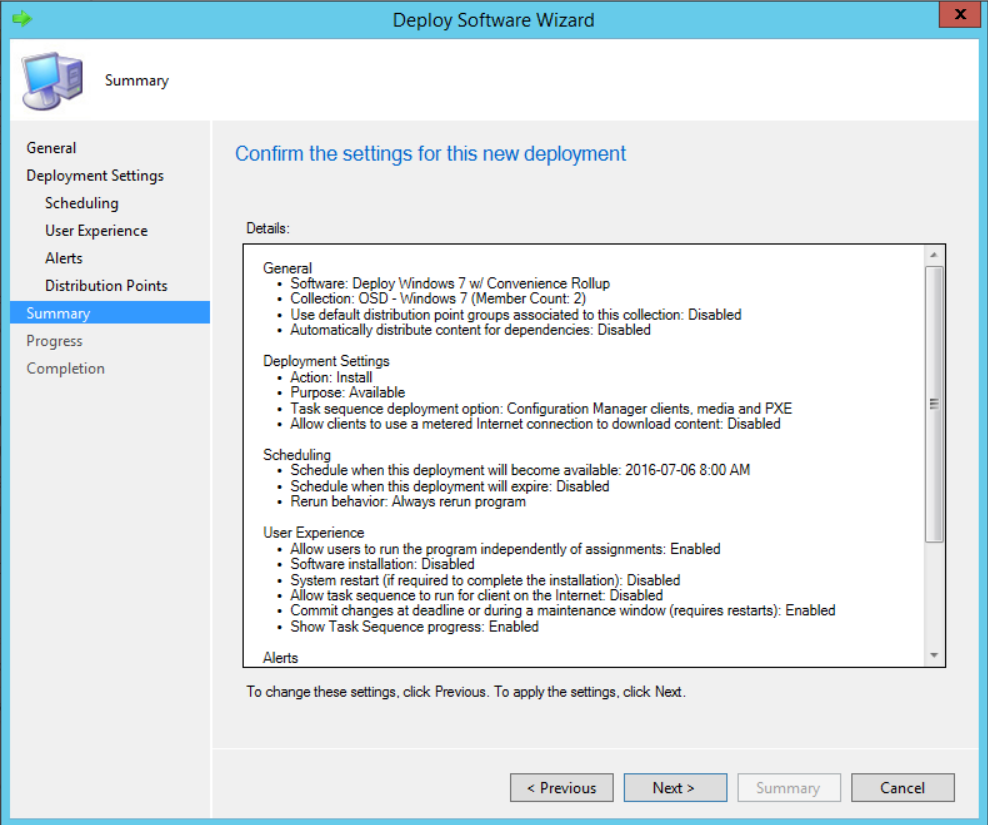
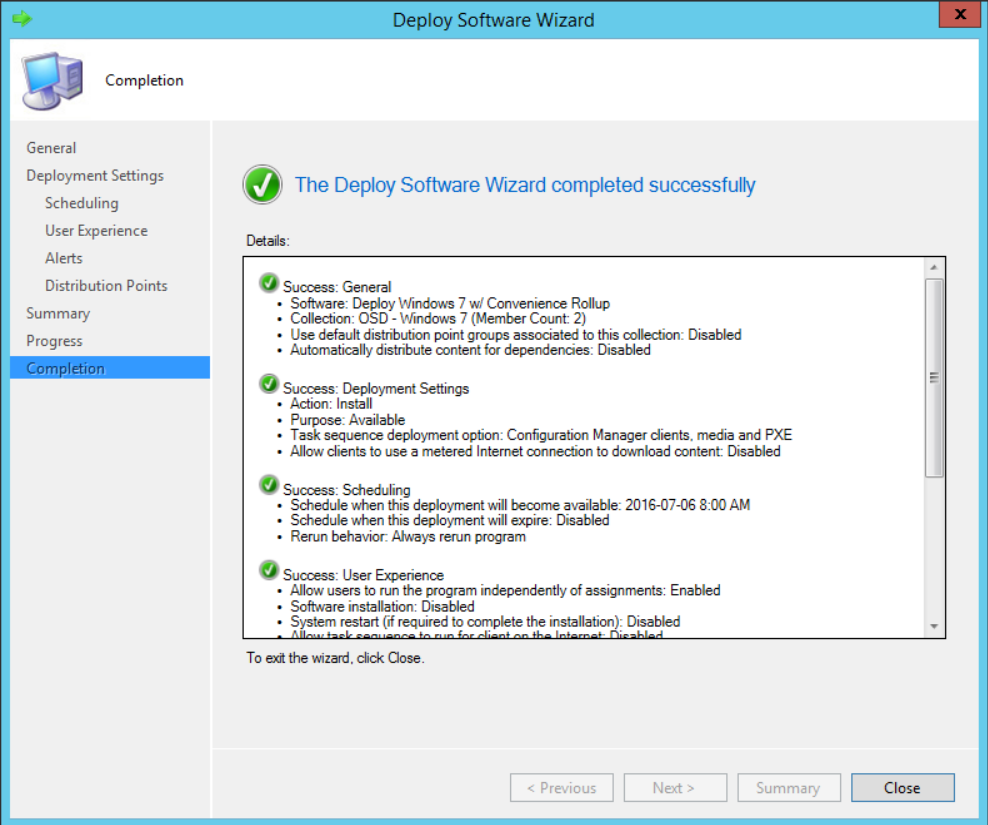
Deploy your Task Sequence
We will now deploy our Task Sequence :
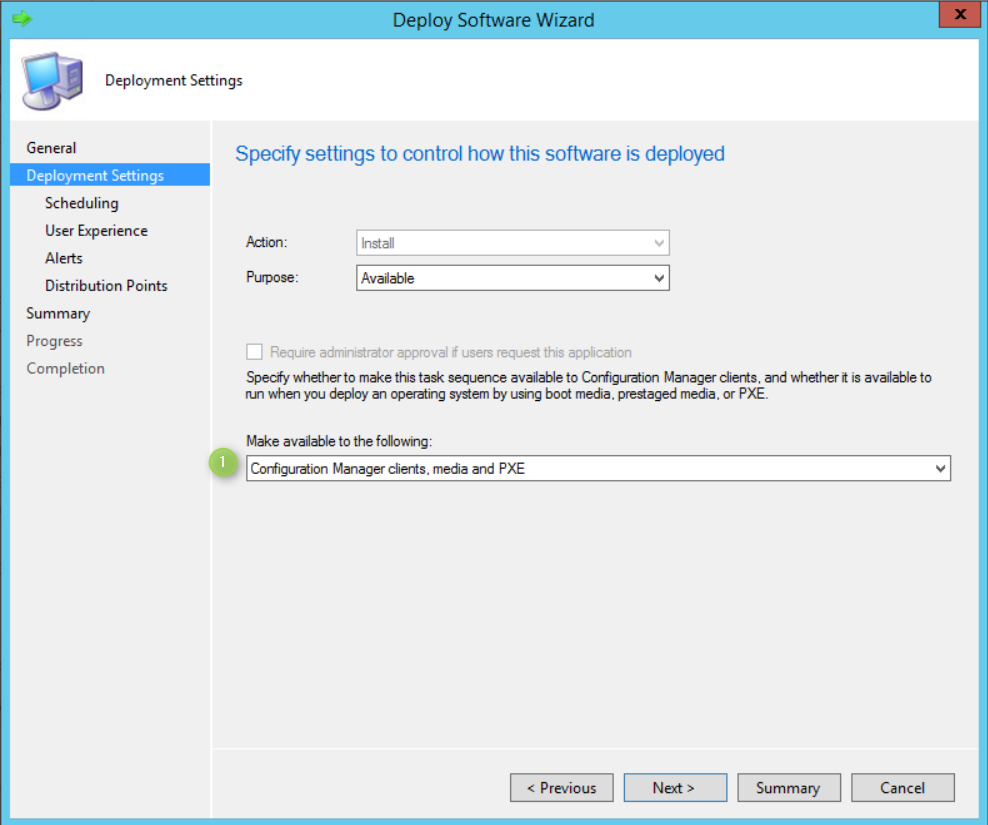
- Change the parameter here to make sure your task sequence is available to Configuration Manager clients, media and PXE
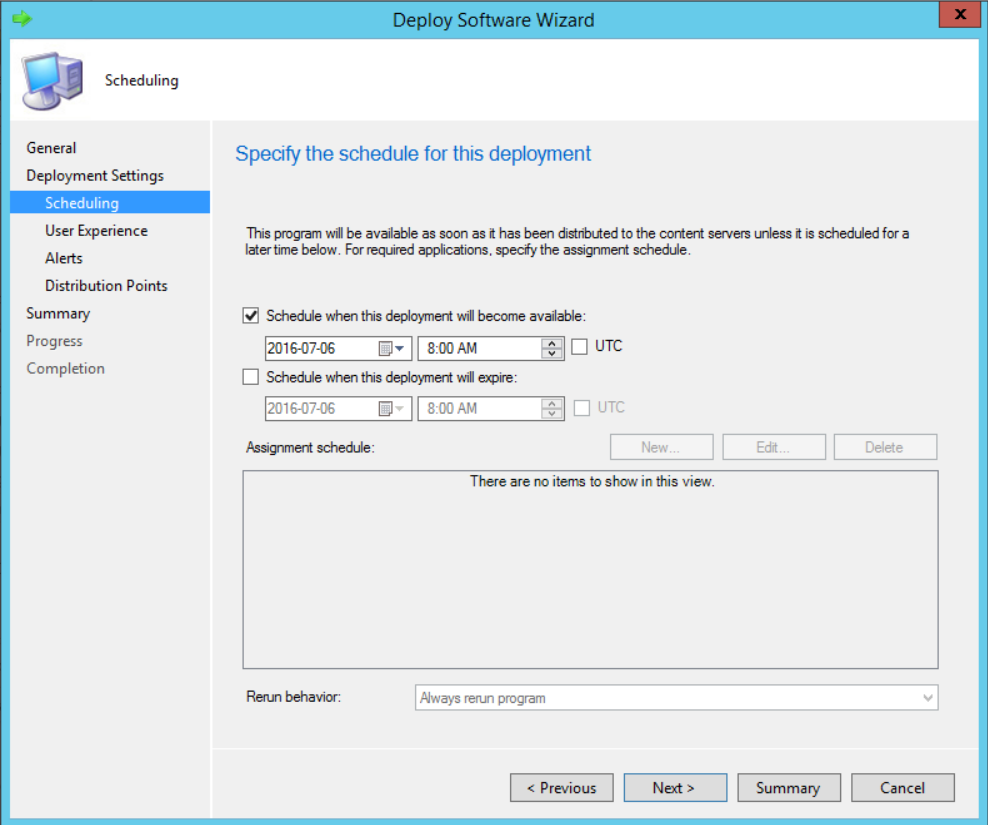
- On the Scheduling tab, enable Schedule when this deployment will be available. We won’t need to expire this since we will most likely need to rerun it in the future. Also, we don’t need an assignment schedule, so we will leave that blank. Press Next
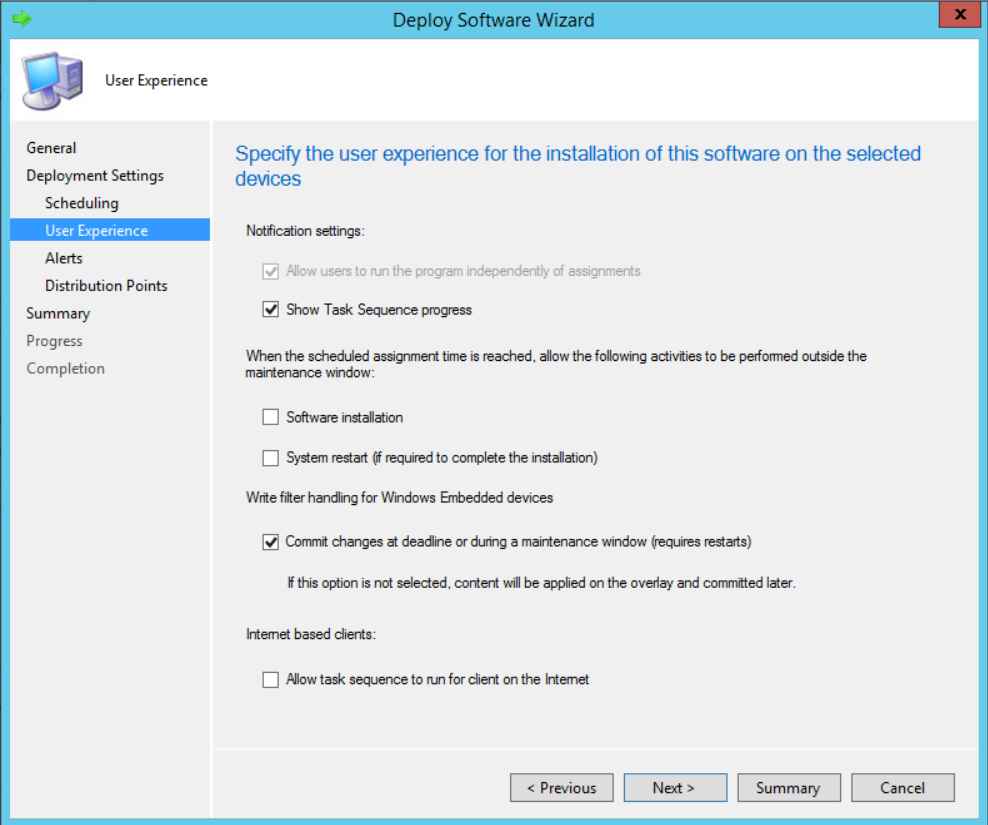
- On the User Experience tab, let’s leave all the options default as they don’t bring anything useful for a Build and Capture
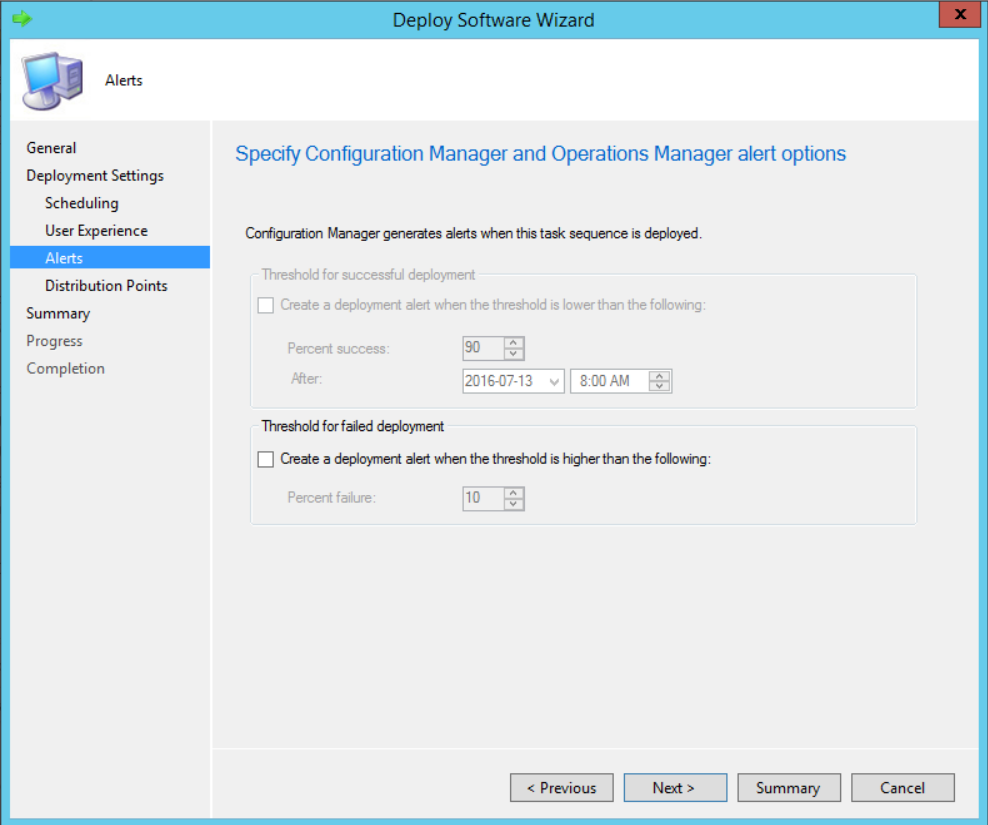
- On the Alerts tab, if your environment uses Alerts, configure them as you see fit. Press Next
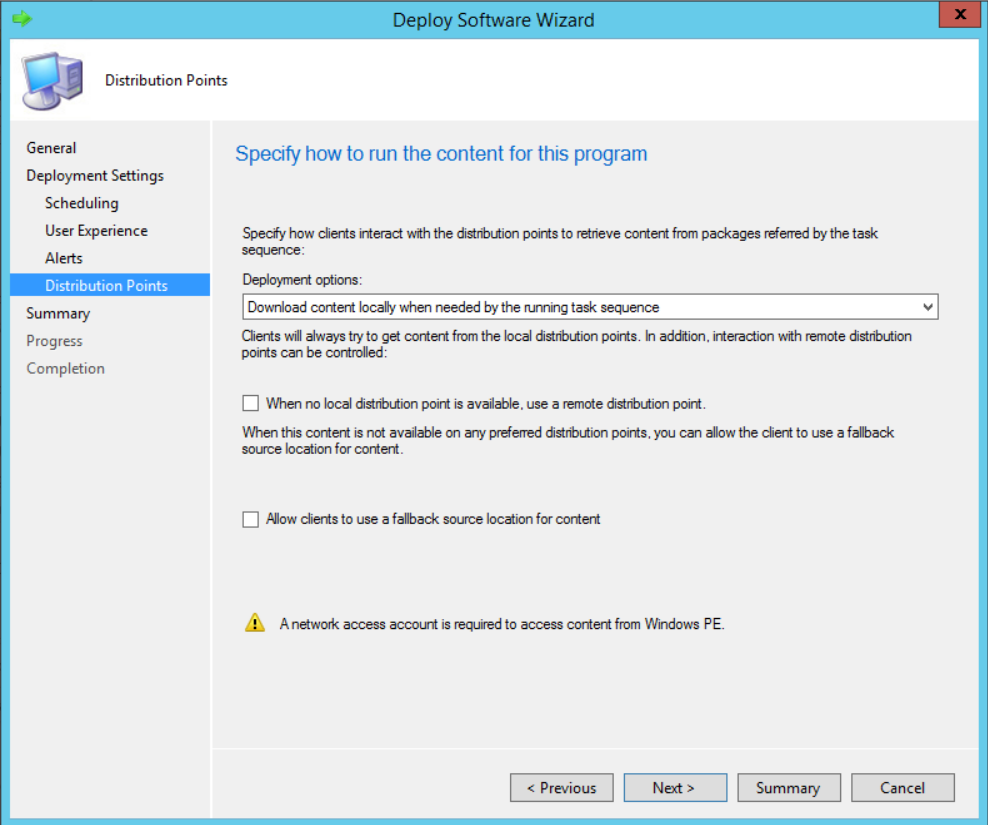
- On the Distribution Points tab, make sure your Deployment Options are set to Download content locally when needed by the running task sequence. Press Next
- Finish up the validation and press Close
Deploying the Task Sequence on a Test Machine
We are now ready to have all of this deployed to a test machine. Import a new bare metal virtual machine or reuse one that you already have in your environment in your OSD Build and Capture collection.
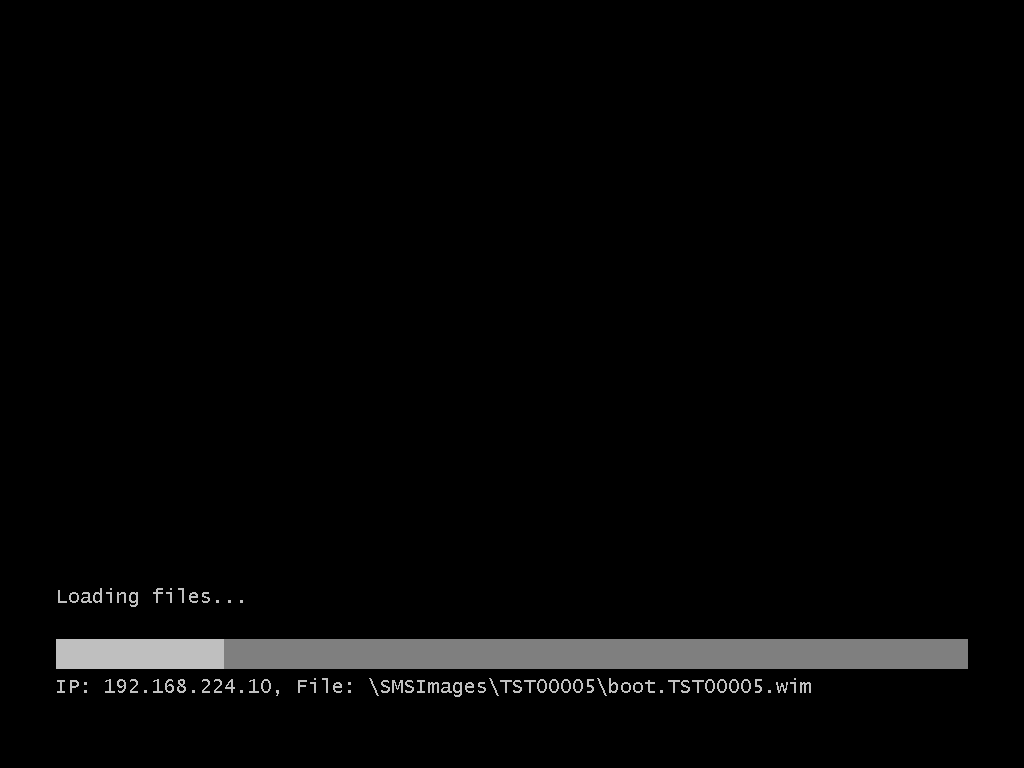
Boot it up either via Network boot (PXE) or boot media :
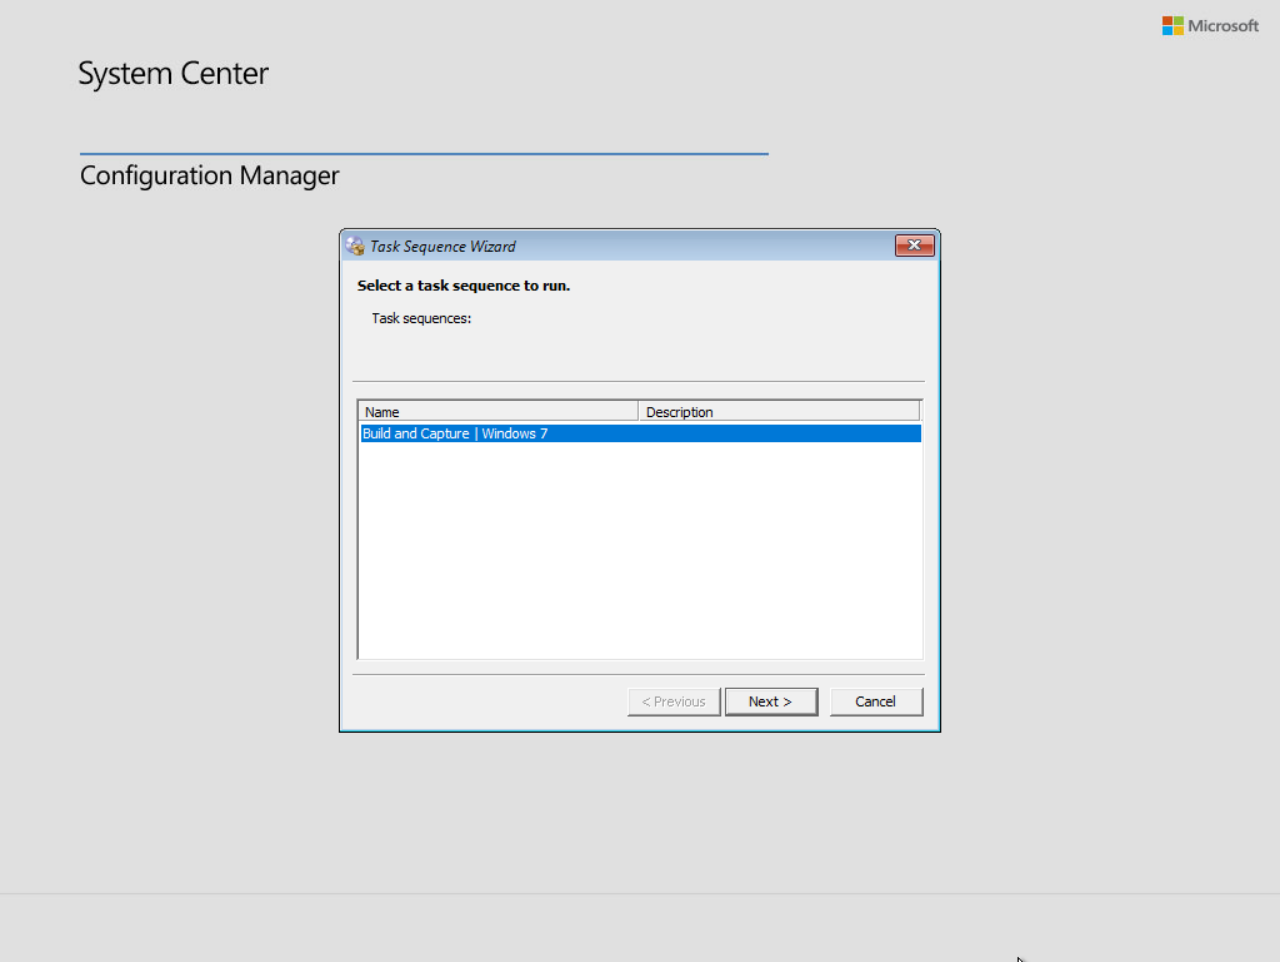
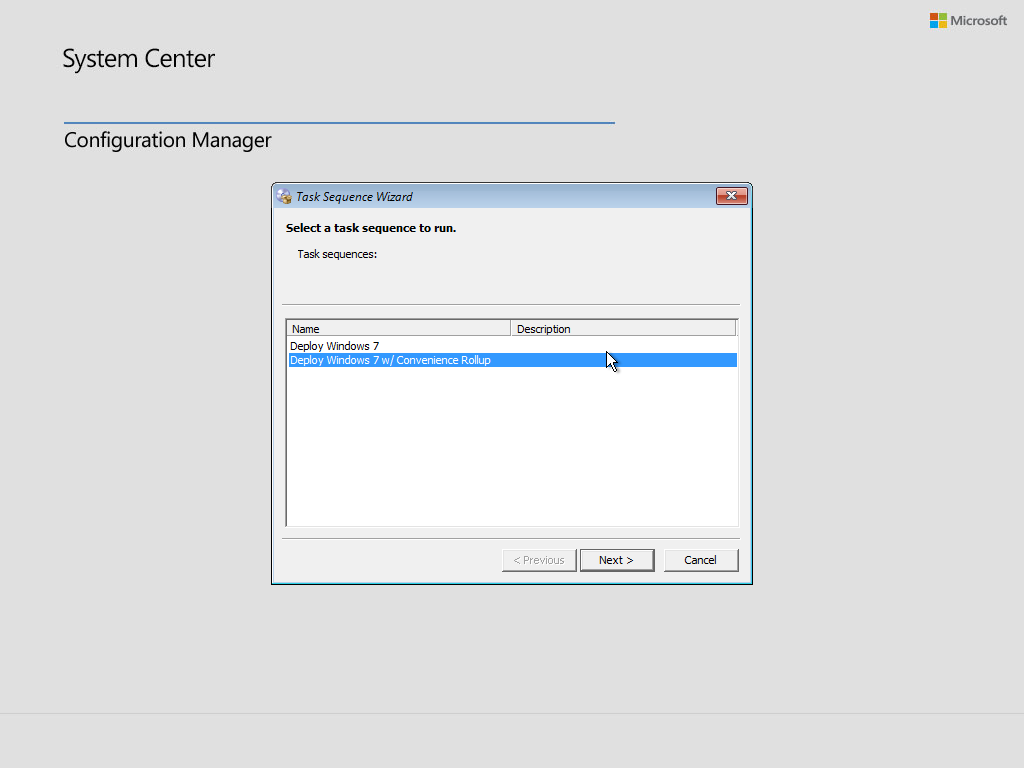
On the Select a task sequence to run, choose your Build and Capture TS. Press Next
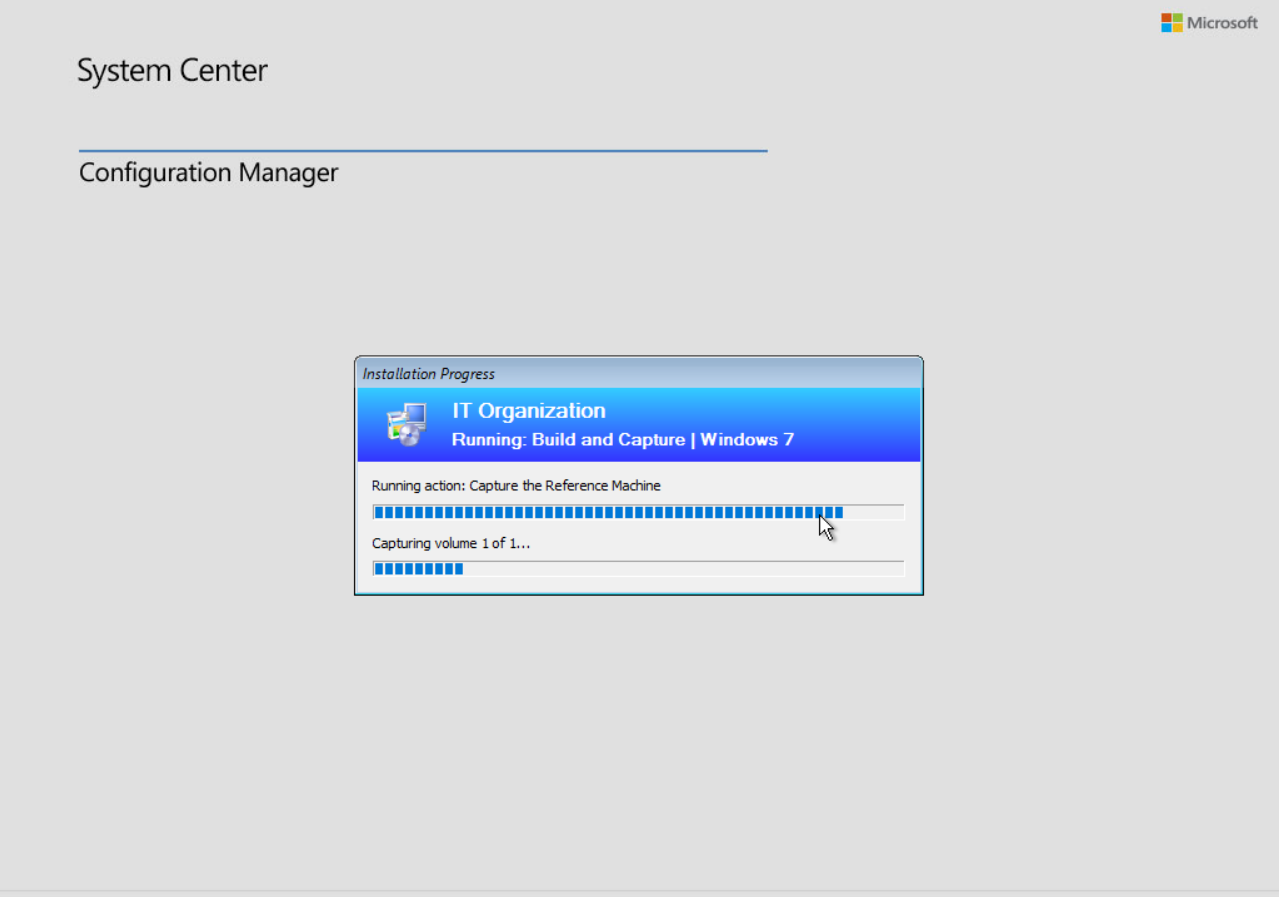
If all goes well, one of the last steps to be executed will be the Capture the Reference Machine step
Loading the captured WIM in SCCM
After the capture has completed on our test machine, we now have a Windows 7 image that include the Convenience Rollup. We can go back to the SCCM server and move the WIM file to our SCCM content store.
- In the console, go to Software Library / Operating System / Operating System Images
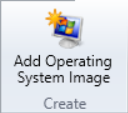
- Click Add Operating System Image button in the Ribbon
- Browse to the path where you stored your captured wim
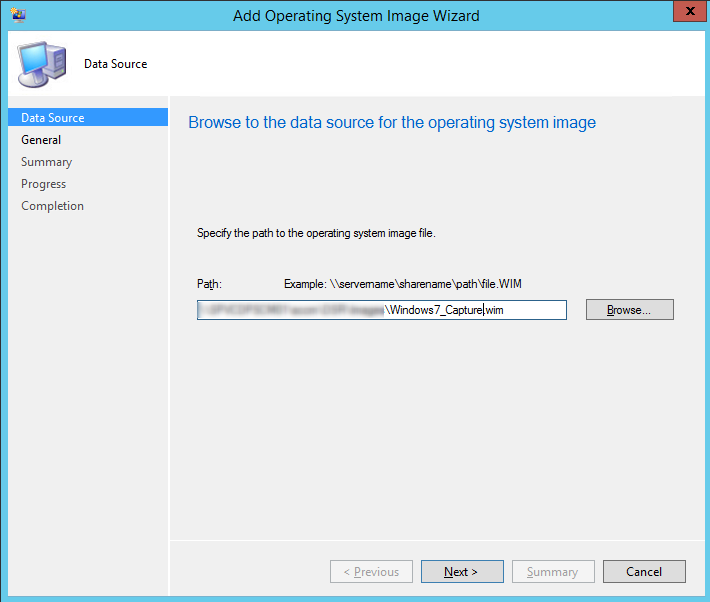
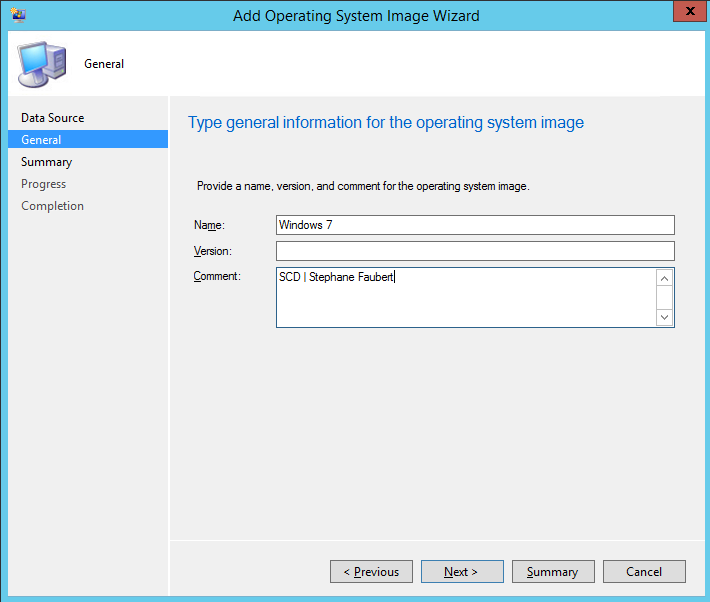
- Fill in the Name, Version and Comment fields as you see fit. Press Next
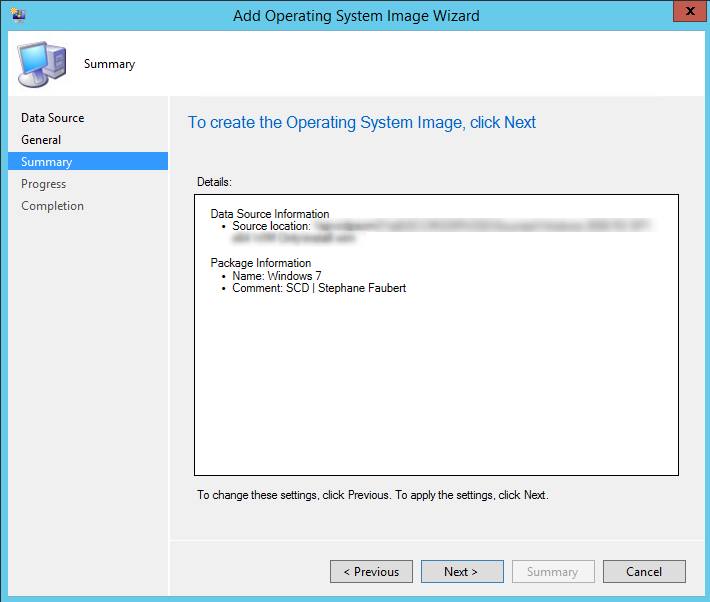
- On the Summary tab, press Next
- On the Completion tab, press Close
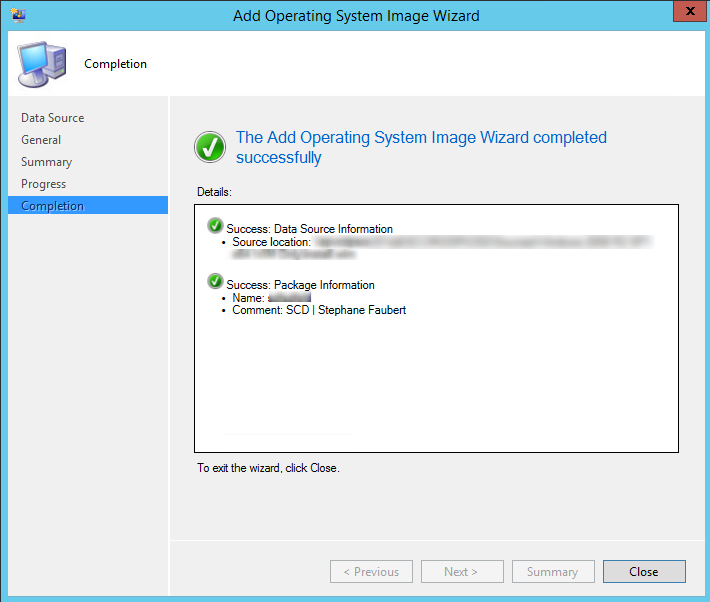
- Distribute the image on your Distribution Points
We will now create our TS for the final test, which is the deployment of the captured image on a real machine.
- Go to Software Library / Operating Systems / Task Sequences
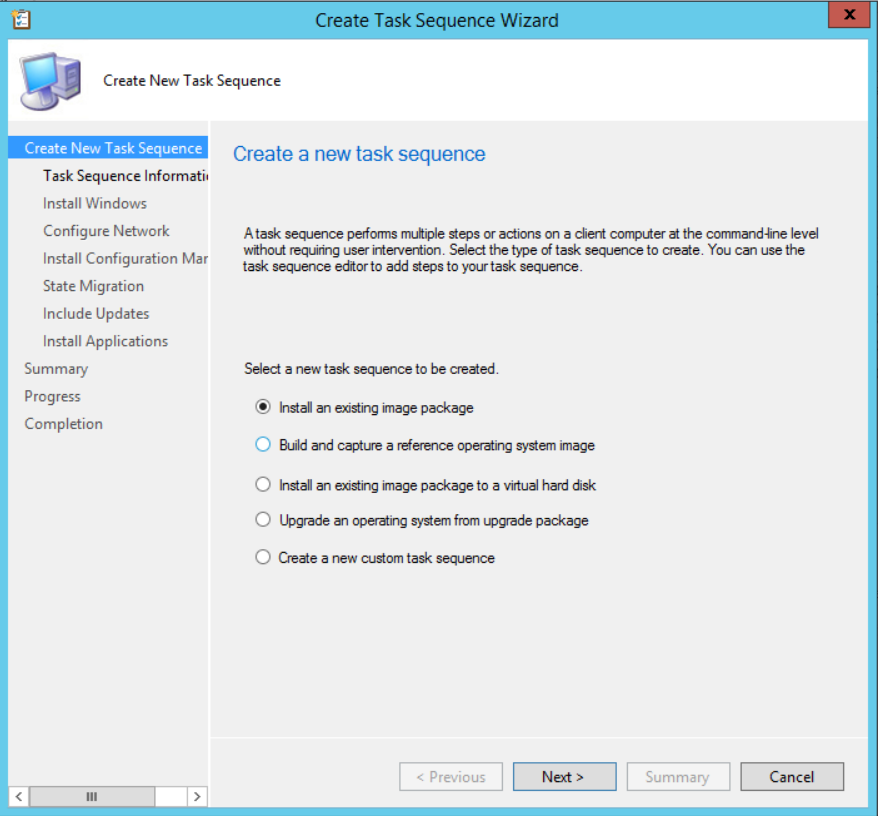
- Click on the Create Task Sequence ribbon button

- This time we choose Install and existing image package
- On the Task Sequence Information tab, fill in the fields and press Next
(1) Choose your imported WIM. Since this is a captured image, you should only have a single image index (2). Untick BitLocker (3) unless you use it in your infrastructure. Finally, once again, set your local administrator password (4).
- Since this time we are deploying the our image is a real test, we will join it to our domain
- Once more, unless you have anything special to set for your client installation, leave these steps as is
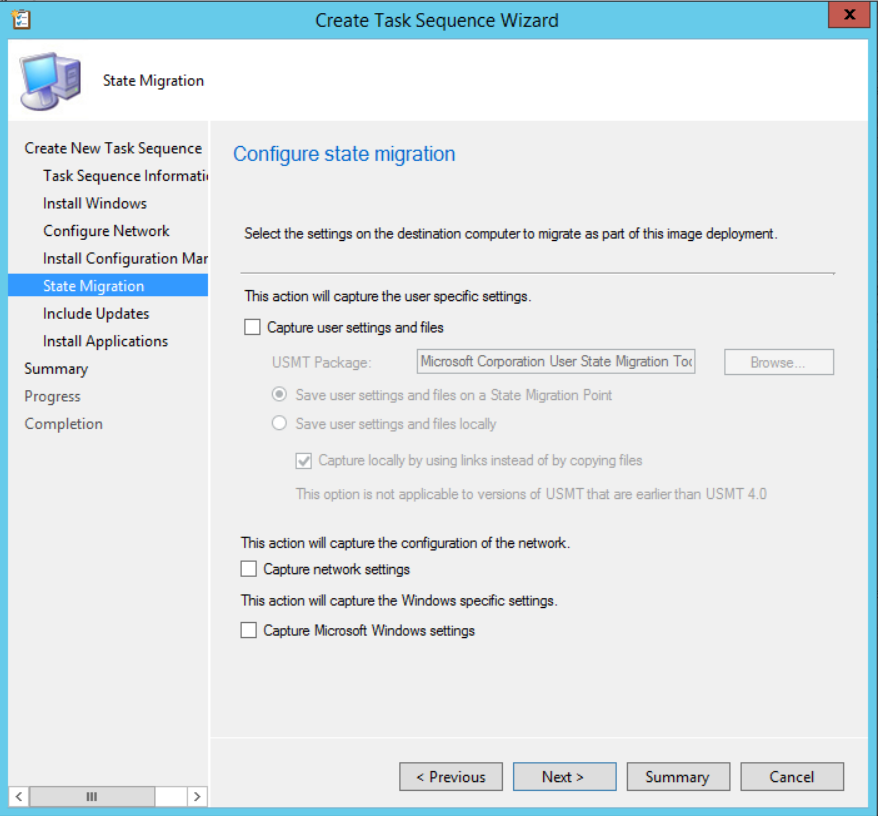
- I won’t be using USMT. Disable everything here. You can see this post if you wish to integrate USMT to your task sequence. Since it’s not the focus of my post, I will forego this step
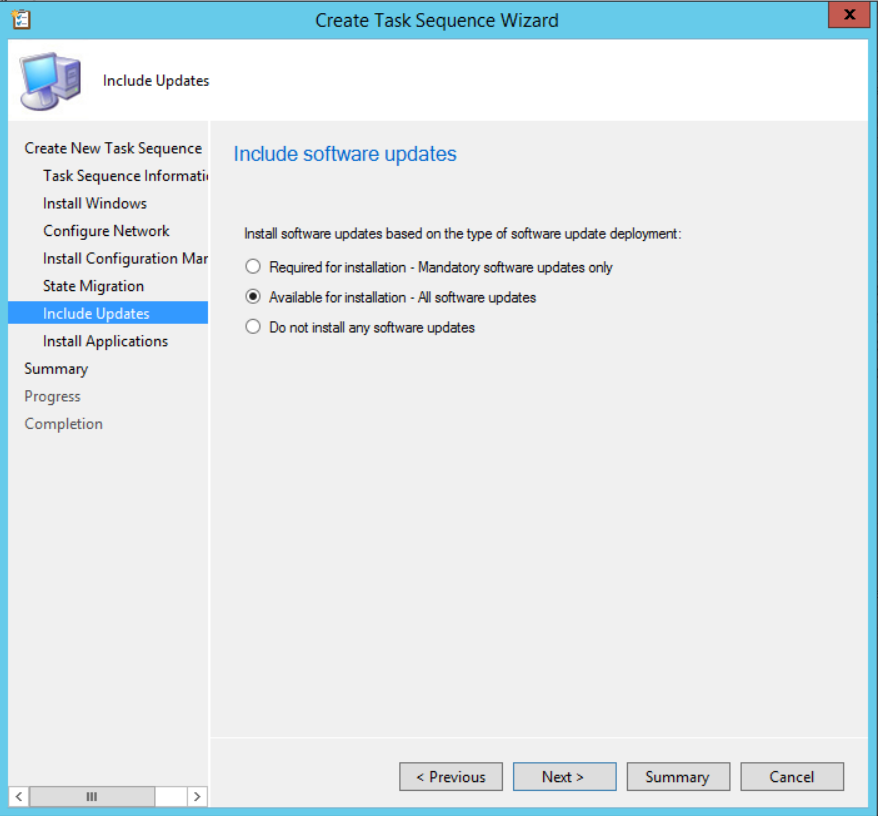
- We want all available patches to be installed
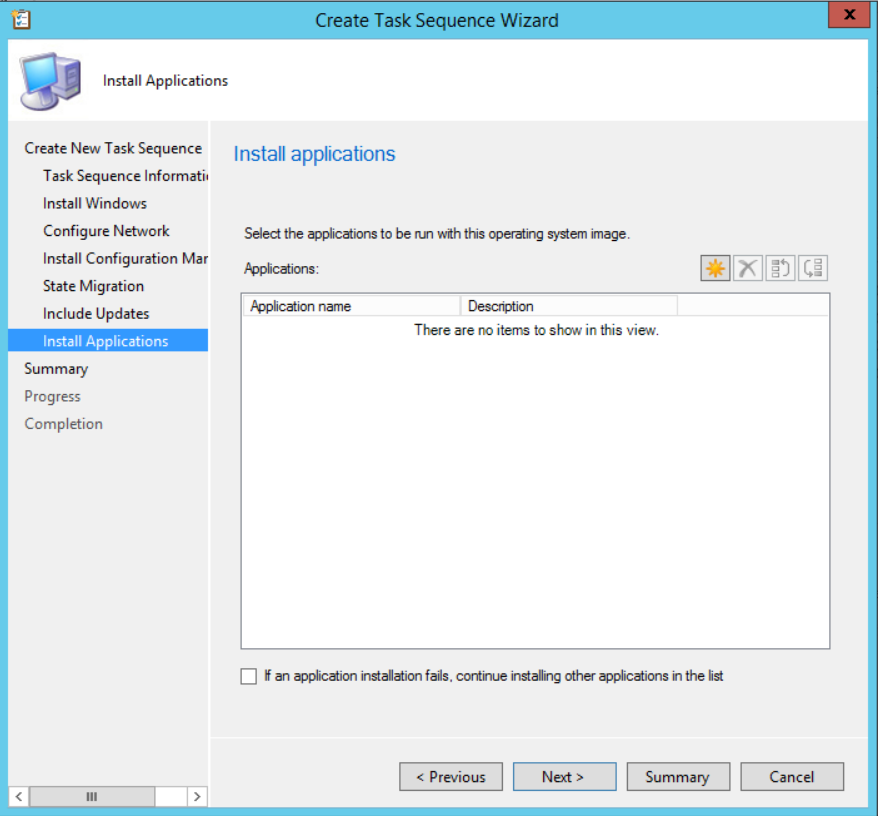
- I won’t be pushing out applications for my test, but you could do so here
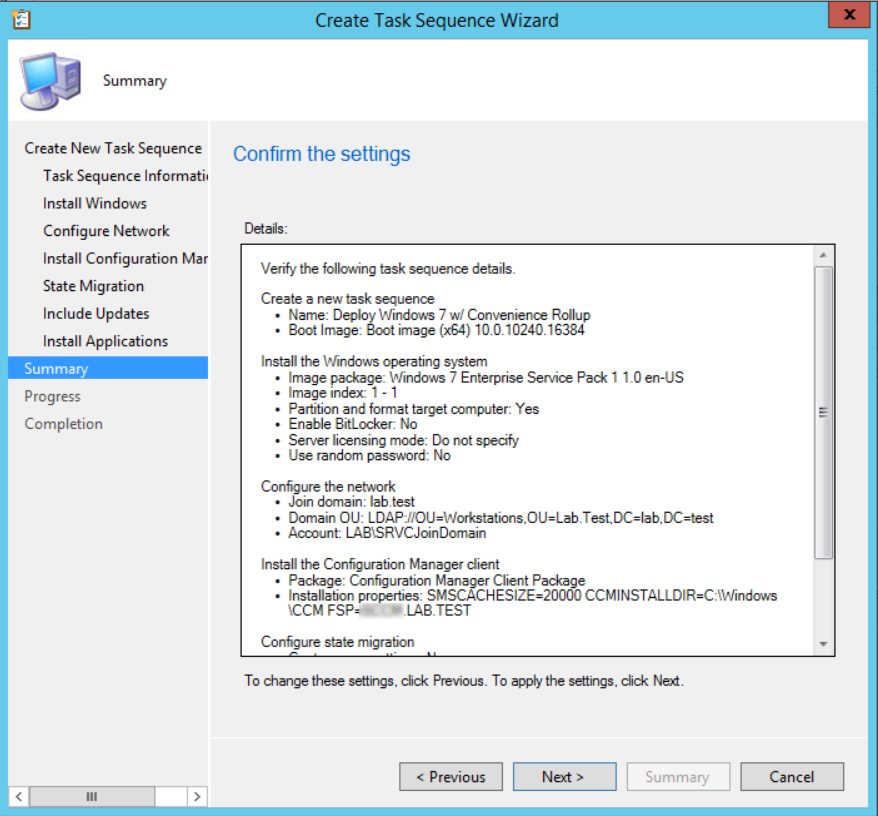
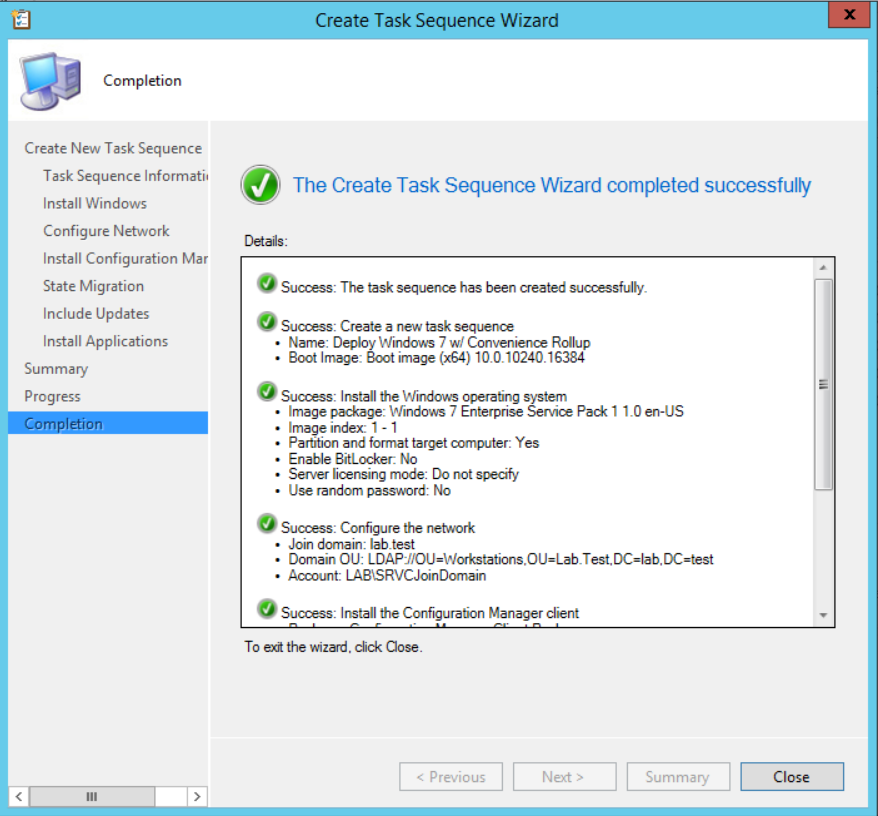
- Complete the wizard with 2 more Next
- As we have previously done, we will Deploy our Task Sequence to a Collection
- Choose your Collection and press Next
- Make your Deployment Available to ConfigMgr Clients, Media and PXE
- Choose a Deployment availability
- I leave these settings default
- Set your Alerts settings, press Next
- Set your Distribution Points settings, press Next
- Complete the wizard
- Boot up your test virtual machine
- Choose your new Task Sequence
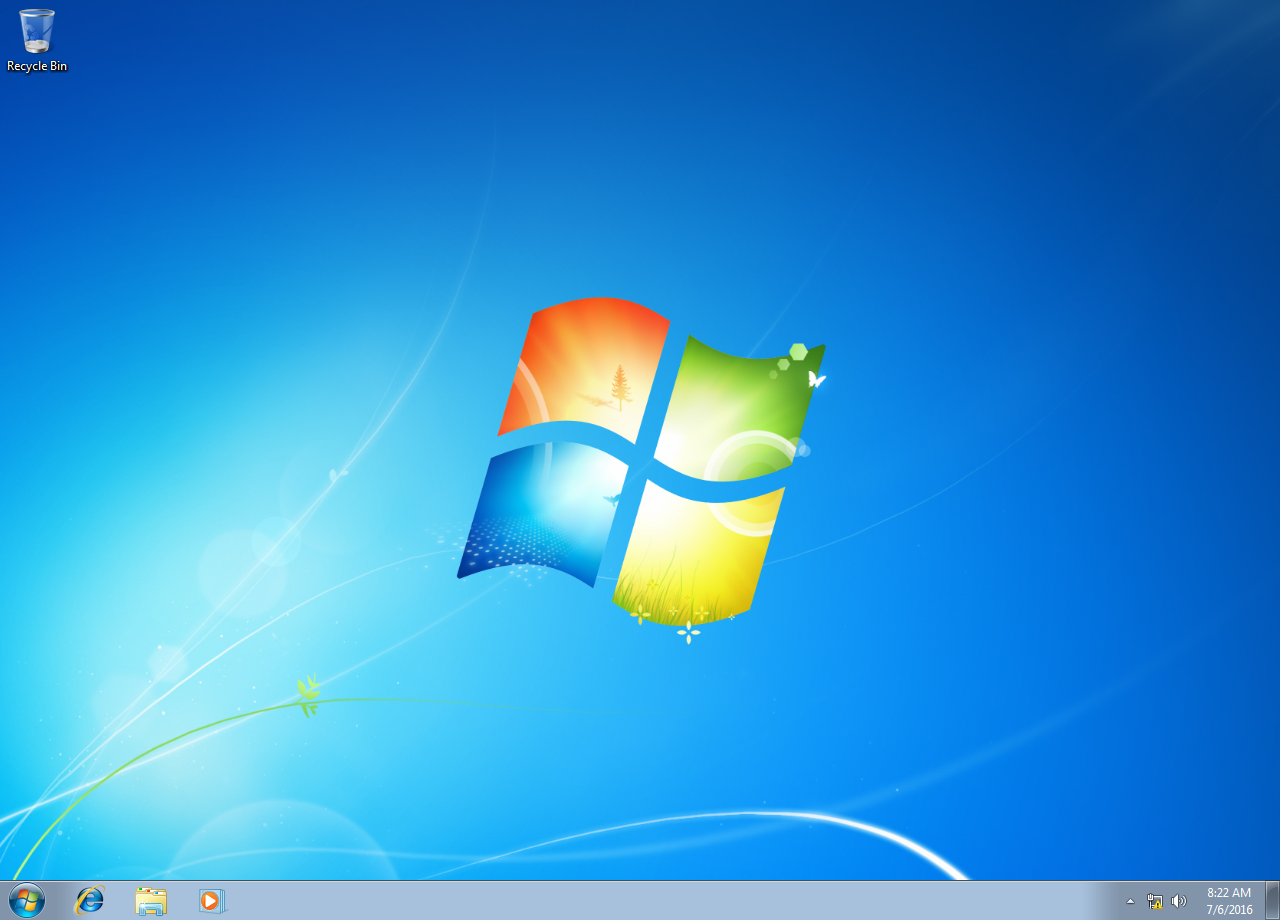
- And if all goes well, you should now have a patched Windows 7 client which includes the Convenience Rollup.
- You can go ahead and add all your enterprise specific applications such as Office, Adobe Reader and so on.
Hope you enjoyed this post, feel free to leave comments below.
Share
Get the latest insights and exclusive content delivered to your inbox


Dave
02.08.2017 AT 06:39 PMStephane Faubert
02.10.2017 AT 11:23 AMStephane
02.10.2017 AT 11:18 AMalan
02.08.2017 AT 04:17 PMStephane Faubert
02.10.2017 AT 11:23 AM