

Migrate Office 365 Architecture from 32-bits to 64-bits using SCCM
Founder of System Center Dudes. Based in Montreal, Canada, Senior Microsoft SCCM Consultant, 8 times Enterprise Mobility MVP. Working in the industry since 1999. His specialization is designing, deploying and configuring SCCM, mass deployment of Windows operating systems, Office 365 and Intune deployments.

Benoit Lecours
PresidentTable of Content


Share


Get the latest insights and exclusive content delivered to your inbox
In the past, if you had a computer with Office 365 32-bit version and wanted to migrate to the Office 365 64-bit version, you needed to uninstall the existing 32-bit version before installing the 64-bit version.
Now, the Office Deployment Tool and its configuration files support a new attribute: MigrateArch. When set to True, the Office 365 installation will be migrated to the architecture specified in the OfficeClientEdition attribute.
Another great feature is that MigrateArch, will preserve all the installed products, languages and other deployment settings. If desired you can also make changes to the installed products and languages.
In this post, we will show you how to migrate an Office 365 32-bit version to an Office 365 64-bit version in an automated and silent way using SCCM.
We could have used the Office 365 installer from SCCM but the built-in customization tool doesn’t support the MigrateArch yet.
If you’re unsure if you need to install Office 64 or 32bits, you can read the Office support article that covers this subject.
Michael Niehaus (Principal Program Manager at Microsoft) also publish this tweet to recommend using Office 64-bits:
If you are already familiar with the Office Deployment Tools, the short version of this post is to download an Office version at least 1902 and create a new configuration file (.xml) with the MigrateArch attribute to deploy your new installation. If you’re unfamiliar with the tools, we’ll cover every step in this post.
Requirements for using the MigrateArch Office 365 attribute
To use the MigrateArch attribute, you need the following:
- At least Office 365 version 1902 installed on the device
- At least Office Deployment Tool version 16.0.11615.33602
- New in Version 16.0.11615.33602: Support for upgrading 32-bit C2R to 64-bit C2R with new MigrateArch attribute
Preparing Office 1903 installation
The first step is to create a Download.xml file that we’ll use to download the latest monthly version of Office 365 Pro Plus. Read the Reference for Click-to-Run xml file to know more about the available options.
- Download the Office Deployment Tools
- After downloading the tool, run OfficeDeploymentTool.exe
- Extract the files to a drive on your computer
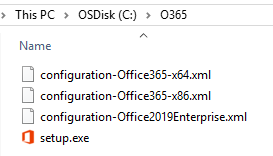
- You’ll end up with Setup.exe and a couple of Configuration files
Create a Download.xml file and copy this content :
  <Add OfficeClientEdition="64" Channel="Monthly">
    <Product ID="O365ProPlusRetail">
      <Language ID="en-us" />
    </Product>
</Add>- In our example, we are downloading the 64-bit version in the current directory
- You can use the SourcePath attribute if you want to save the download in another directory
- Save the Download.xml file in the same directory as Setup.exe
- Create a new Configuration.xml file that will be used for our SCCM deployment
- Open the Configuration.xml file and modify it to reflect this :
<Configuration>
  <Add OfficeClientEdition="64" MigrateArch="TRUE" Channel="Monthly" AllowcdnFallback="TRUE">
    <Product ID="O365ProPlusRetail">
      <Language ID="en-us" />
    </Product>
  </Add>
   <Display Level="None" AcceptEULA="TRUE" />
  <Logging Level="Standard" Path="C:\temp" />
</Configuration>- In the first line, we are telling the script to migrate the 32-bit version to 64 bit.
- In our tests, we found out that the Channel must be specified when using the MigrateArch attribute. When we made test without the channel we received an error telling that the configuration file was invalid (Error 1008)
- We are also using the AllowcdnFallback attribute to ensure that all content is available. Be aware that this will stream from the Office CDN. If you’re not comfortable with this, just remove it but make sure to include all content in the installation directory :
- When installing languages, the ODT looks first for source files in the location specified in the SourcePath attribute. If the language pack isn’t available at that location and the AllowCdnFallback setting is set to True, then the ODT will use source files from the Office CDN.
- We are also using the Logging Level attribute to have logs of our installation. This is also optional but useful for testing purpose.
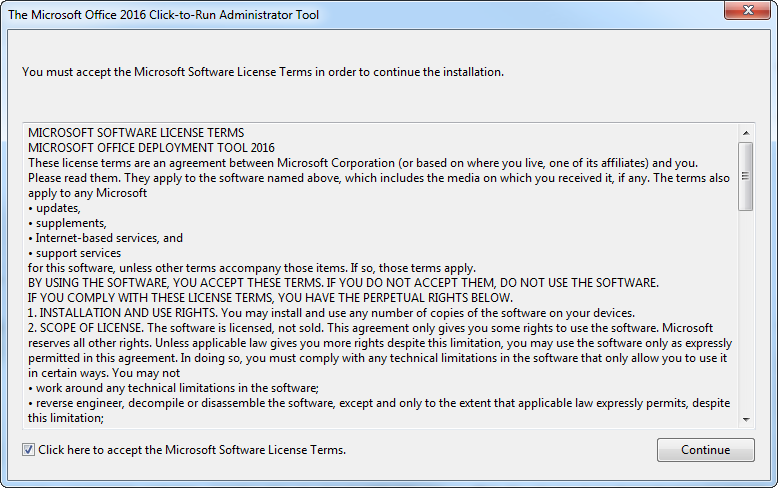
- The DisplayLevel and AcceptEULA parameters ensure that our installation is silent.
- It’s important that you don’t include the SourcePath attribute in the Add section of your Configuration.xml file. That’s because SCCM copies the installation files for an application into a folder under the SCCM client cache folder, and the name of that subfolder is different for each computer.
Once the 2 files are created, we can launch the download using our Download.xml file :
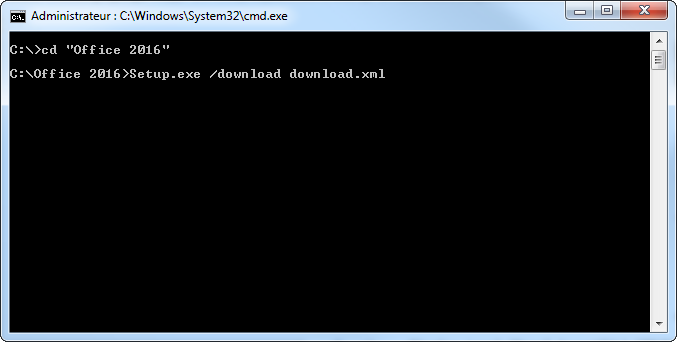
- Open a command prompt and naviguate to your folder
- Execute : Setup.exe /download Download.xml
The download starts silently, you’ll see an Office folder appear in your current directory. The download is around 1.5GB so it will take some time to complete depending on your download speed. You won’t have a notification when it completes.
- Copy the whole content of your Office download directory to your SCCM source directory before creating the application
Create the Office 365 Application
- Open the SCCM console
- Go to Software Library / Application Management / Applications
- Right-click Applications and choose Create Application
- On the General tab of the Create Application Wizard, select Manually specify the application information, choose Next
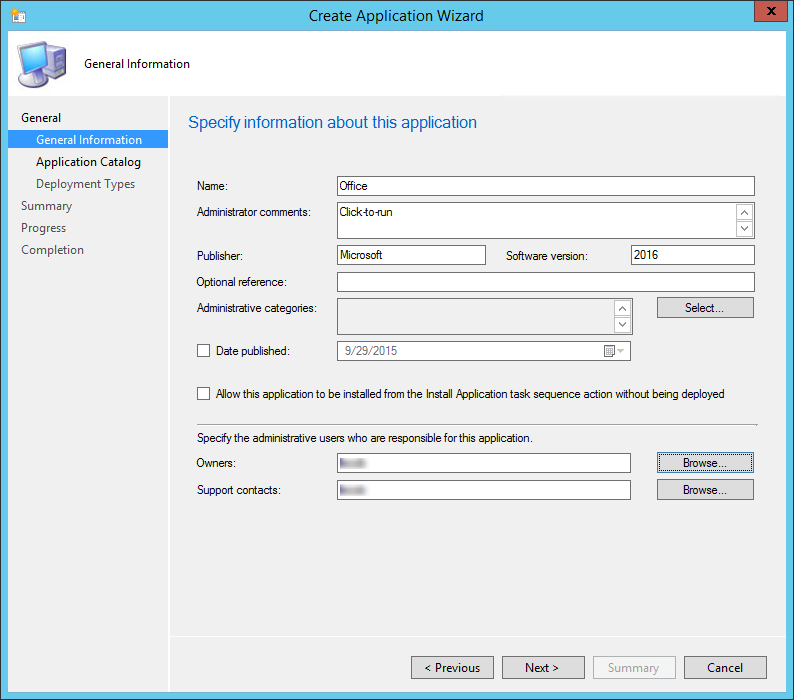
- On the General Information tab, enter a name for the application, enter any optional information, choose Next
- On the Application Catalog tab, provide the information that’s appropriate for your environment, choose Next
- On the Deployment Types tab, choose Next. We’ll add a deployment type later
- On the Summary tab, review the settings you’ve chosen, choose Next
- Complete the wizard by selecting Close
Create Office 365 1903 deployment type
- Open the SCCM console
- Go to Software Library / Application Management / Applications
- Right-click the Office 365 1903application and choose Create Deployment Type
- On the General tab of the Create Deployment Type Wizard, in the Type list, select Script Installer, choose Next
- On the General Information tab , enter a name for the deployment type, enter any optional information, and then choose Next
- On the Content tab , do the following :
- In the Content location box, enter the network share where you put the Office Deployment Tool, your Configuration.xml file, and the Office 365 ProPlus installation files that you downloaded from the Internet
- In the Installation program box, enter the following text: Setup.exe /configure Configuration.xml
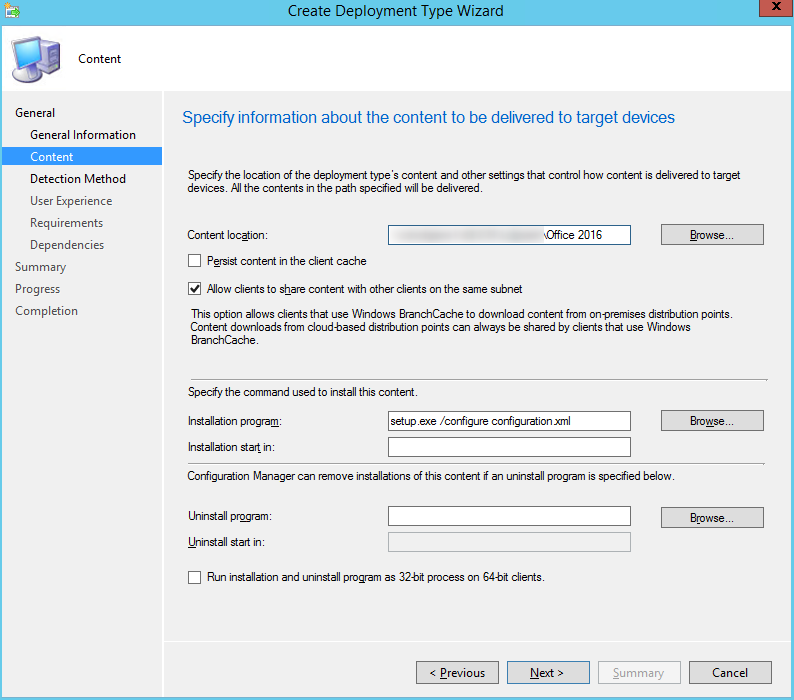
- After you enter this information, choose Next
- On the Detection Method tab , choose Add Clause
- In the Detection Rule dialog box, do the following :
- In the Setting Type list, select Windows Installer
- In the Product Code box, enter {90160000-008F-0000-1000-0000000FF1CE}
- In the Detection Rule dialog box, do the following :
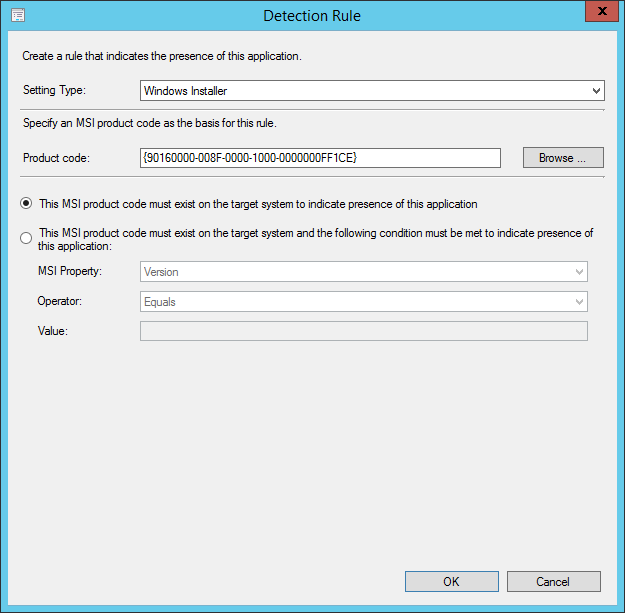
- After you enter this information, choose OK, and then choose Next
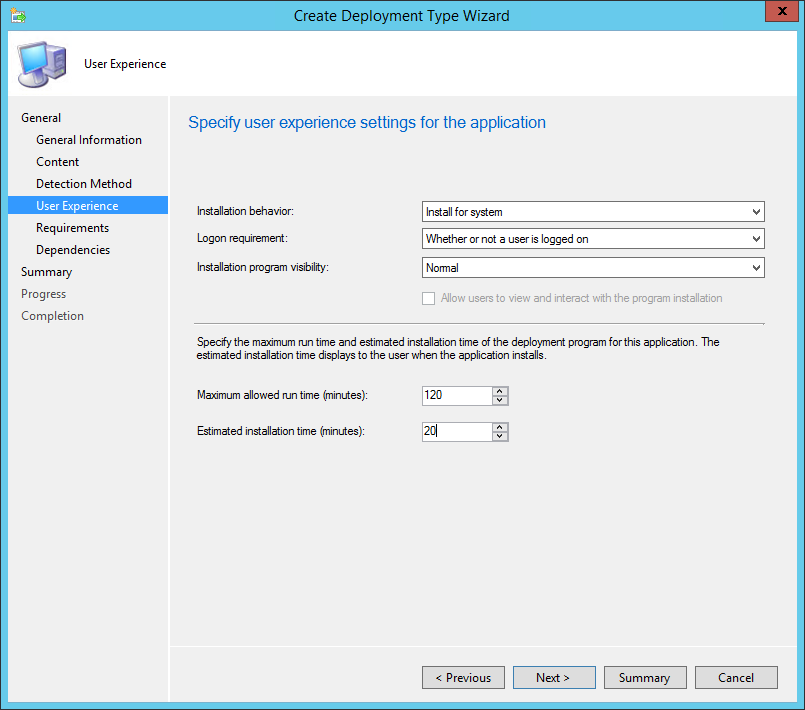
- On the User Experience page, in the Installation behavior list, select Install for system, and then choose Next
- If you want to specify any requirements or dependencies for the deployment type, choose Next to go through those pages in the wizard. Otherwise, choose Summary
- Complete the wizard by selecting Close
Deploy the 32-bits to 64-bit Office 365 installation
The only step left is to distribute the content to your distribution points and create the deployment to a test machine that has an Office 365 32 bit version.
For our test, we’ll create an Available deployment to a collection containing a test machine.
On the machine, before launching the application, we confirm that we have a 32-bit Office installation
- Open an Office application (ex: Word)
- On the bottom click Account
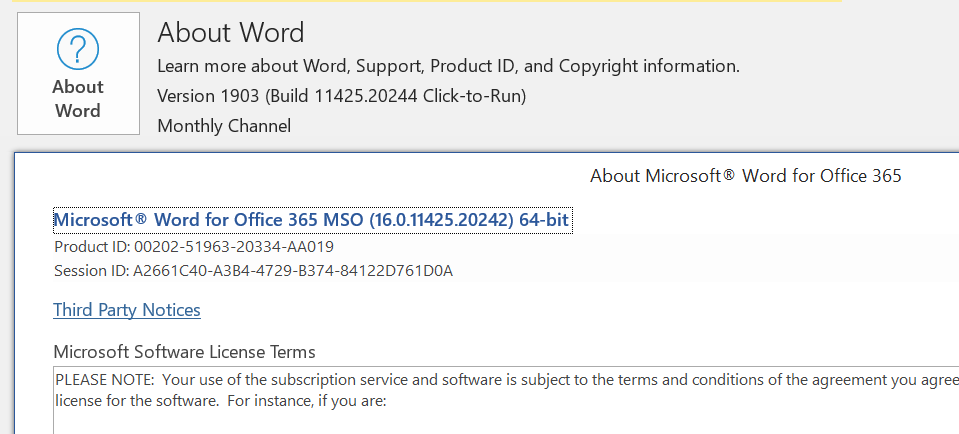
- On the right, click About Word
- We have a Version 1903 32-bits installation. Remember that only version 1902 and up are compatible with the MigrateArch attribute

- Open Software Center and launch the SCCM application to change the Office architecture
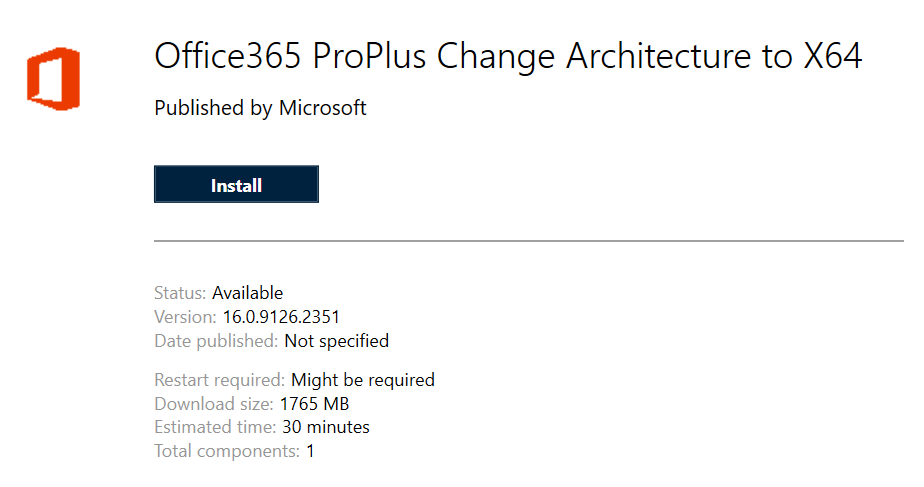
- Once launched, the installation will take about 5 to 10 minutes. When completed, re-open Word and validate that it has been migrated to 64-bits.
- If you’re unhappy with results and need to change some options in your deployment, go back and modify the Configuration.xml file. Make sure to update the content of the Deployment Type and test again until you’re happy with the results.
Share
Get the latest insights and exclusive content delivered to your inbox


PGH
05.26.2021 AT 02:46 PMTim
07.29.2019 AT 05:47 AM