
See our updated post if you are installing Windows ADK 1809 or later
With each major release of Windows 10, comes a new release fo the Windows Assessment and Deployment Kit. This means yet another product to keep up-to-date in your environment. In this post, we will cover how to update an existing installation of a Windows ADK on an SCCM server. If you are looking for a history of Windows ADK versions, see our post here.
The following steps can be applied no matter what version of the ADK is already installed or will be installed.
Why the Windows ADK must be updated?
- Stay supported for SCCM and Windows 10 OS deployment
- Microsoft recommend matching the Windows 10 version deployed
- New setting in WinPE or in the Unattend.xml for the latest Windows 10 build
- Windows ADK has not a history of bug-free releases. You should hold on the update for a couple days/weeks to see bug reports
- It’s not mandatory to update the Windows ADK in order to deploy the latest Windows 10 build. An earlier version of the Windows ADK should work just fine, even if unsupported when a new Windows 10 release comes out.
Windows ADK Compatibility Chart
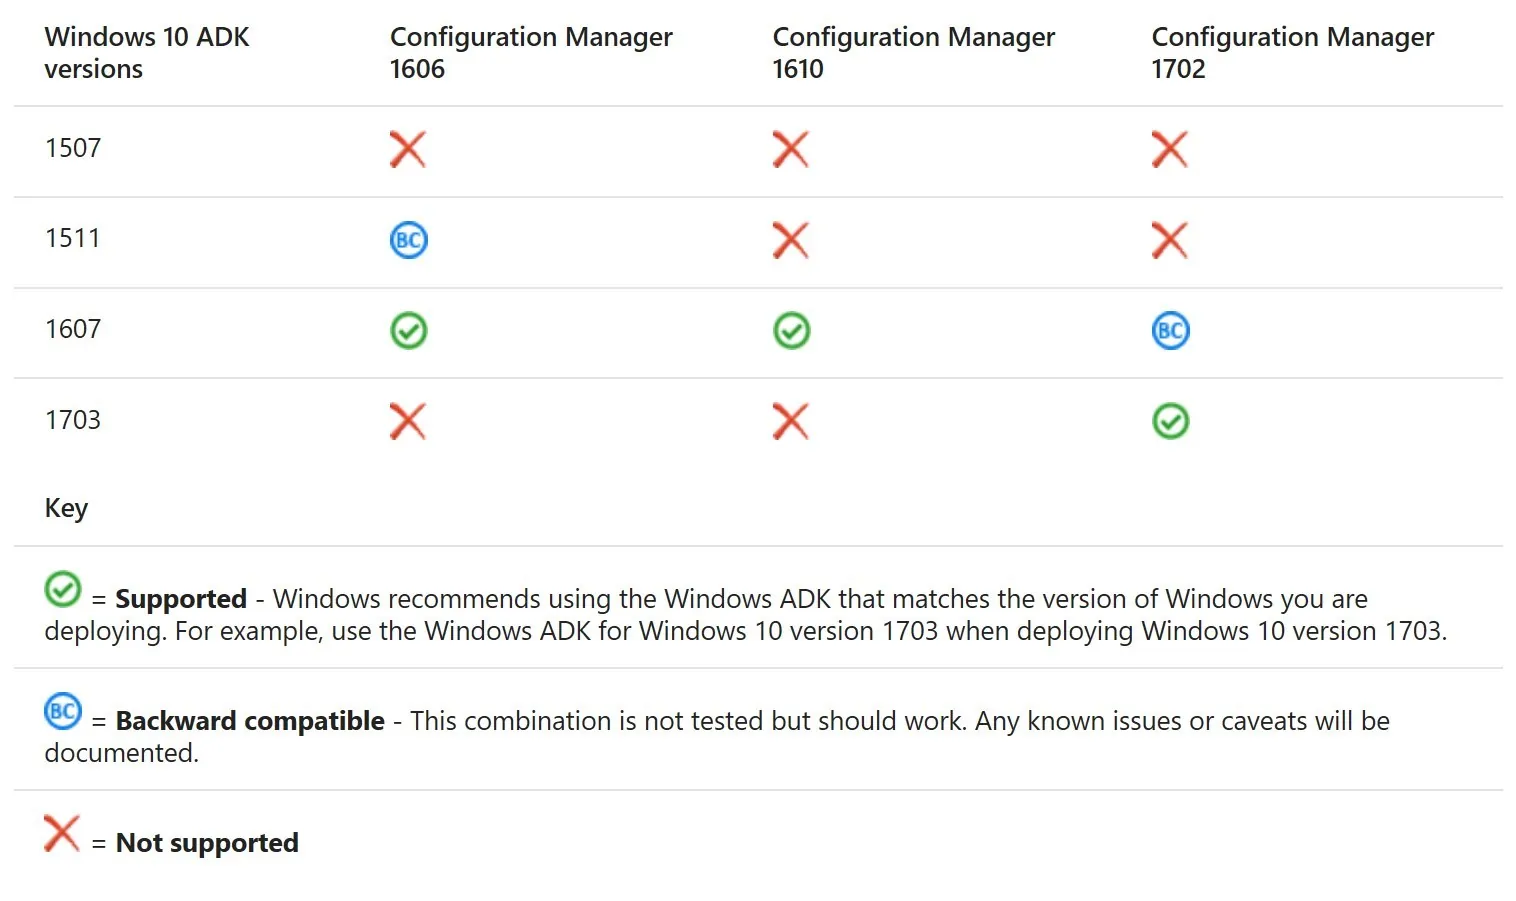
Here’s the table for Windows ADK compatibility with SCCM Current Branch, as the time of posting.
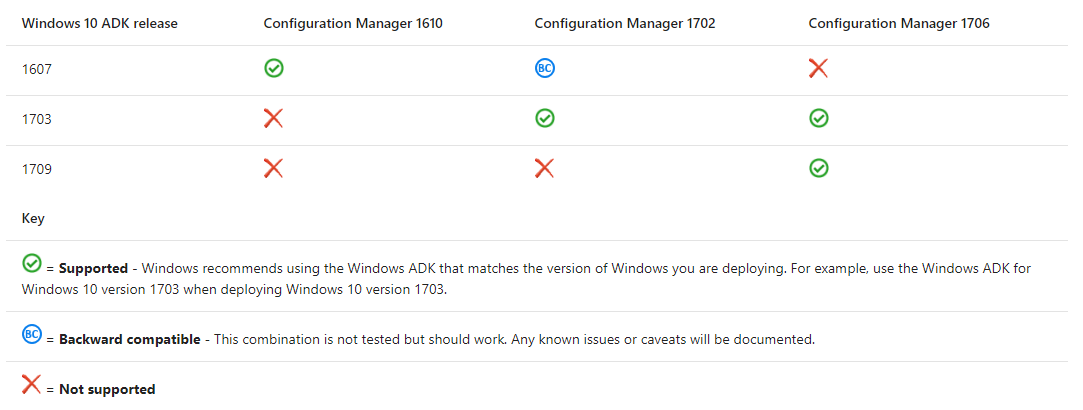
With the release of Windows 10 1803, Microsoft changed to game a bit regarding the supported version of SCCM. Only SCCM Current Branch 1802 support Windows 10 1803. See our blog to upgrade SCCM to 1802
For the latest compatibility chart, check this Technet documentation.
- If you modified the default USMT configuration XML, they should be backed up before starting the update of Windows ADK
- Boot images will require more or less work, depending on your setup.
How to update Windows ADK
The process of updating the Windows ADK is pretty straight forward:
- Download the latest version of the Windows ADK
- Execute ADKSetup.exe

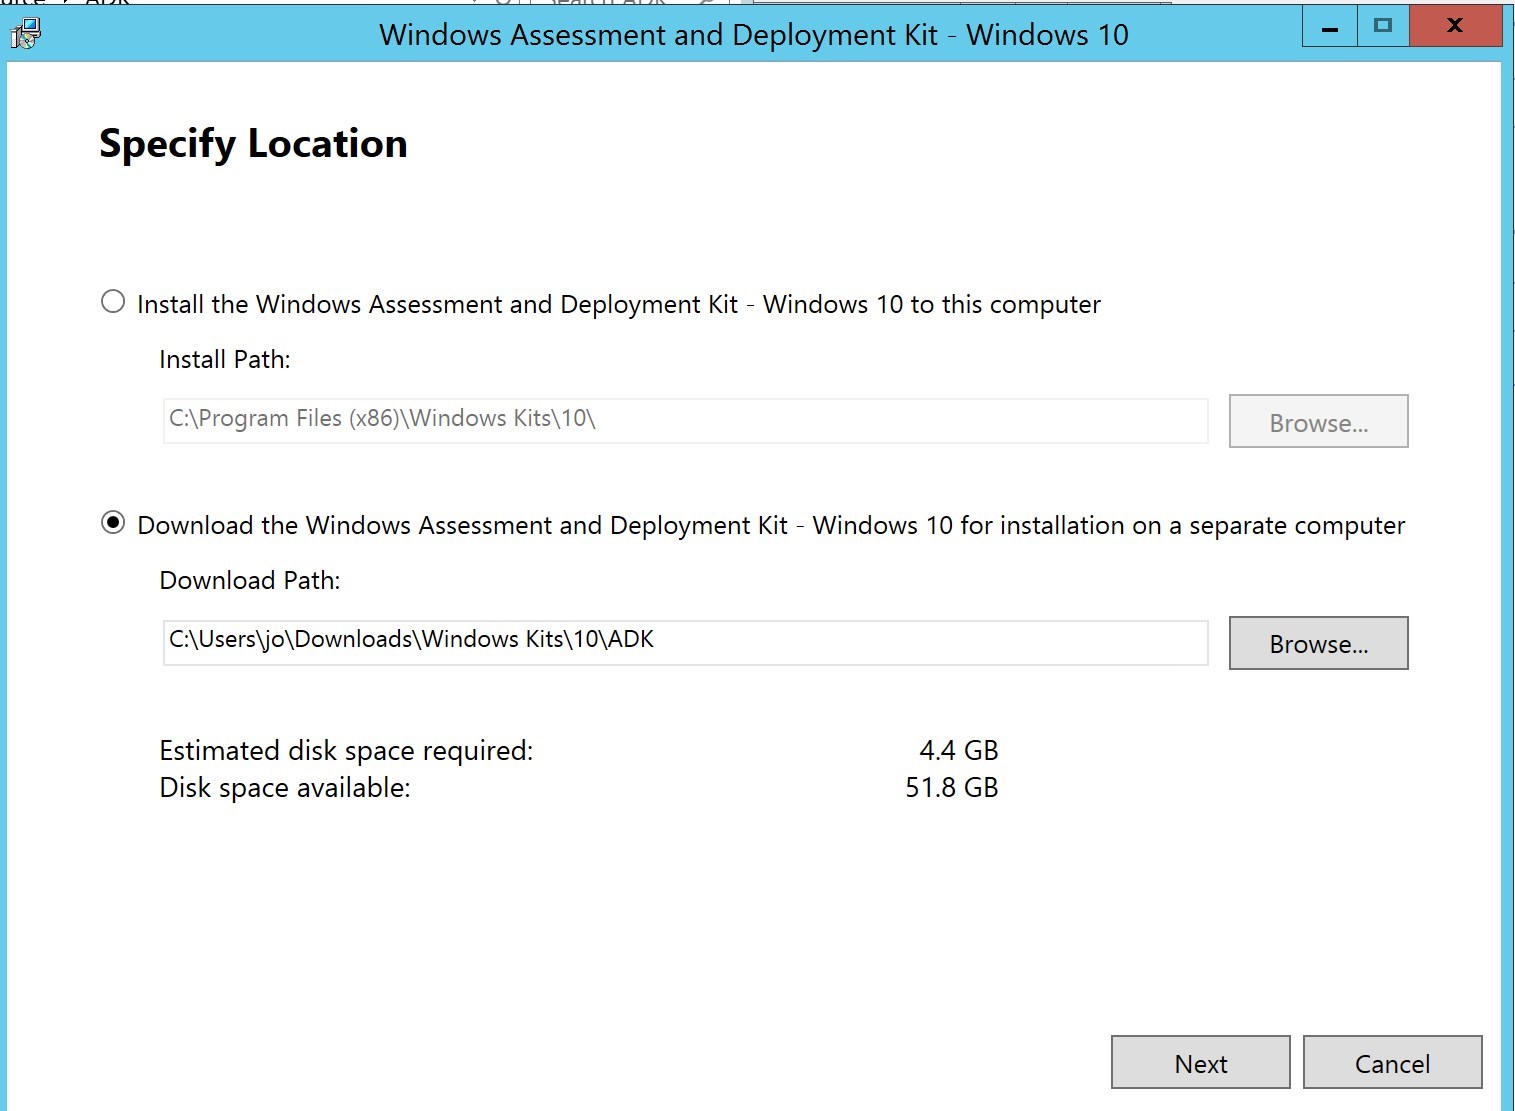
- Select Download and provide a path. This will allow to pre-download Windows ADK content prior to the installation
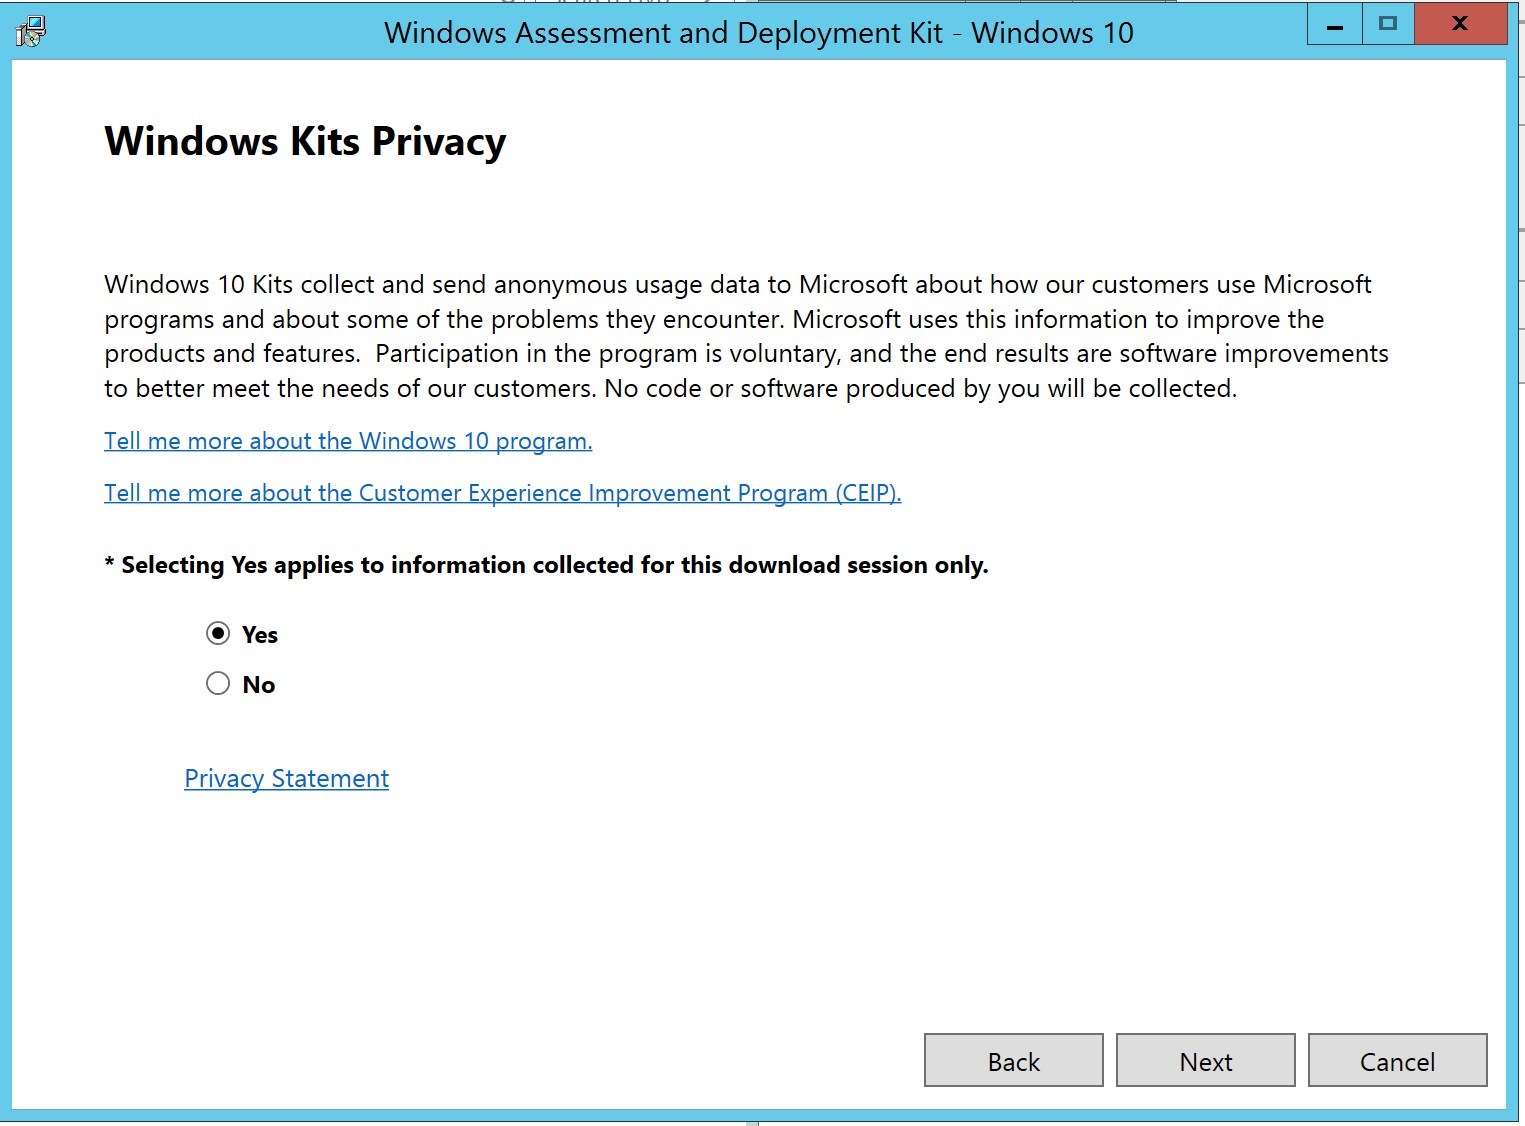
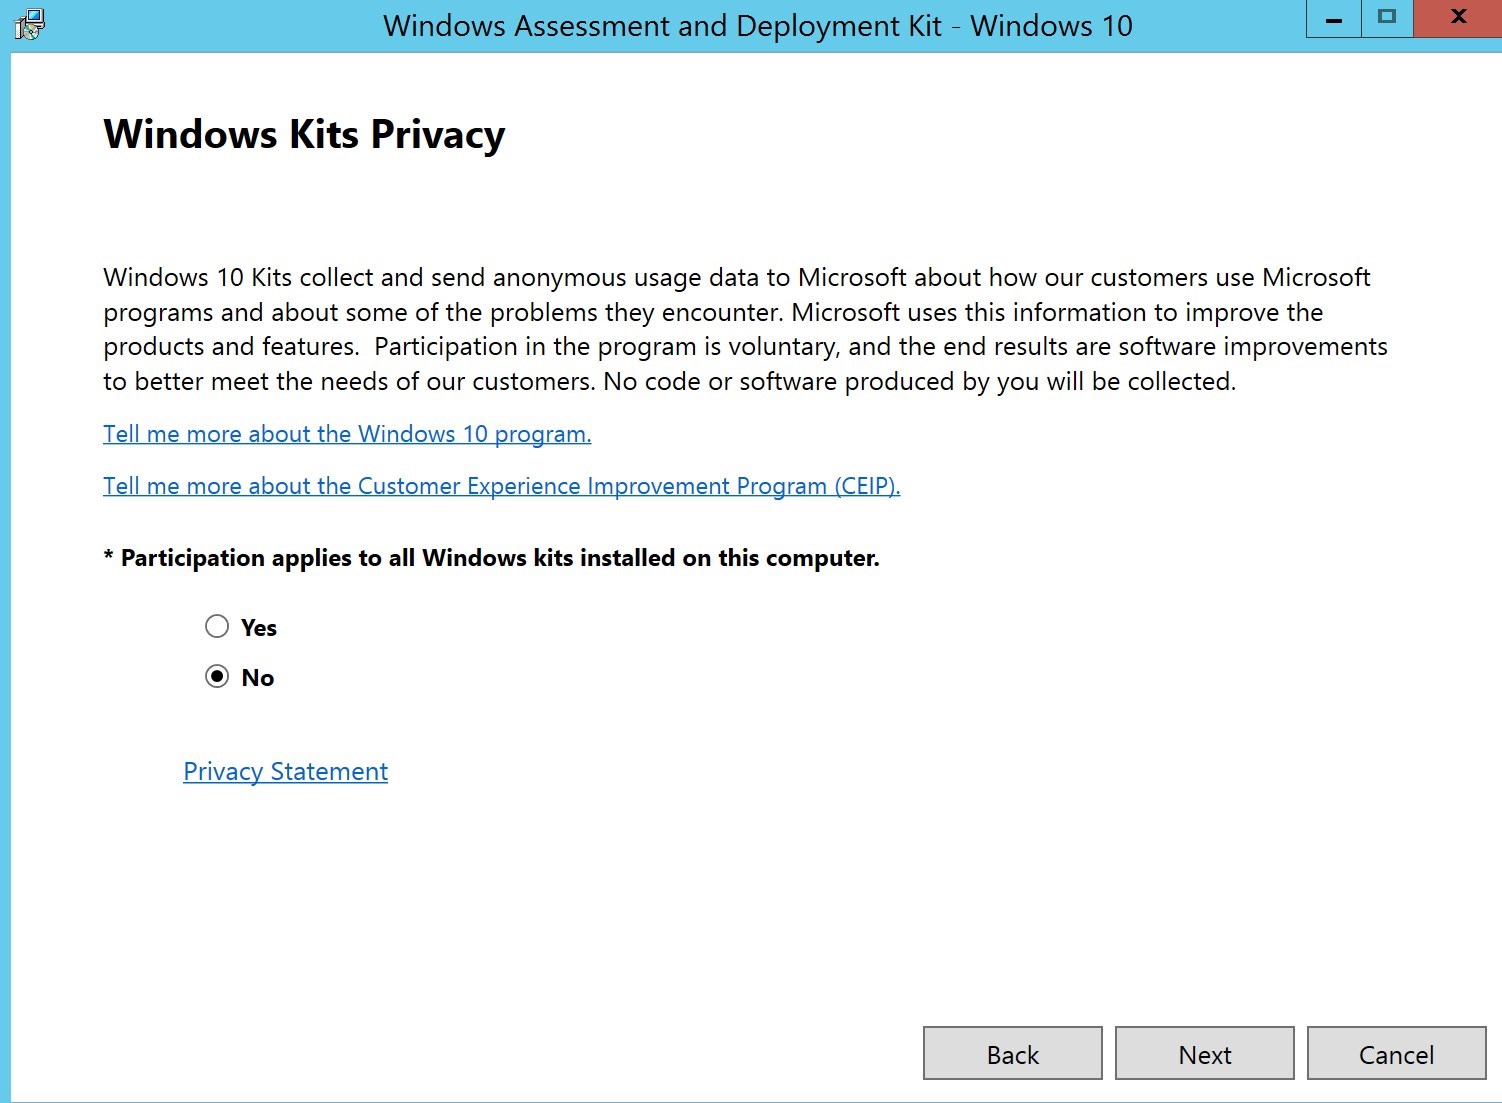
- Select Privacy level for the download
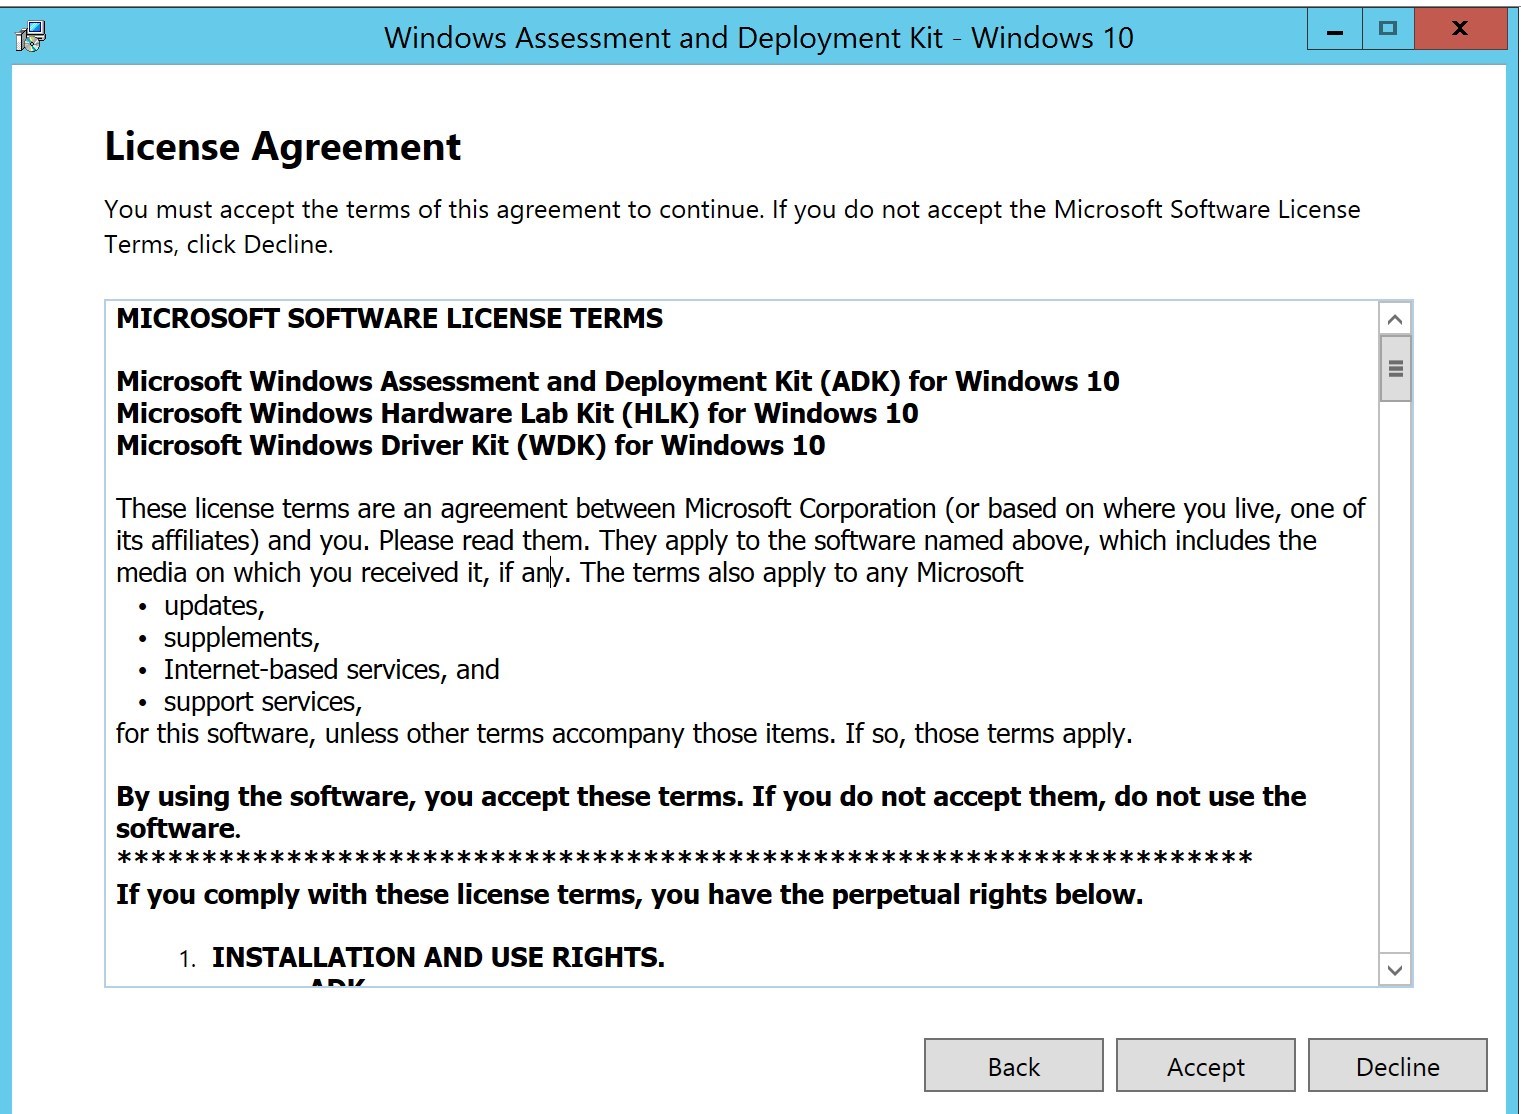
- Accept the License Agreement
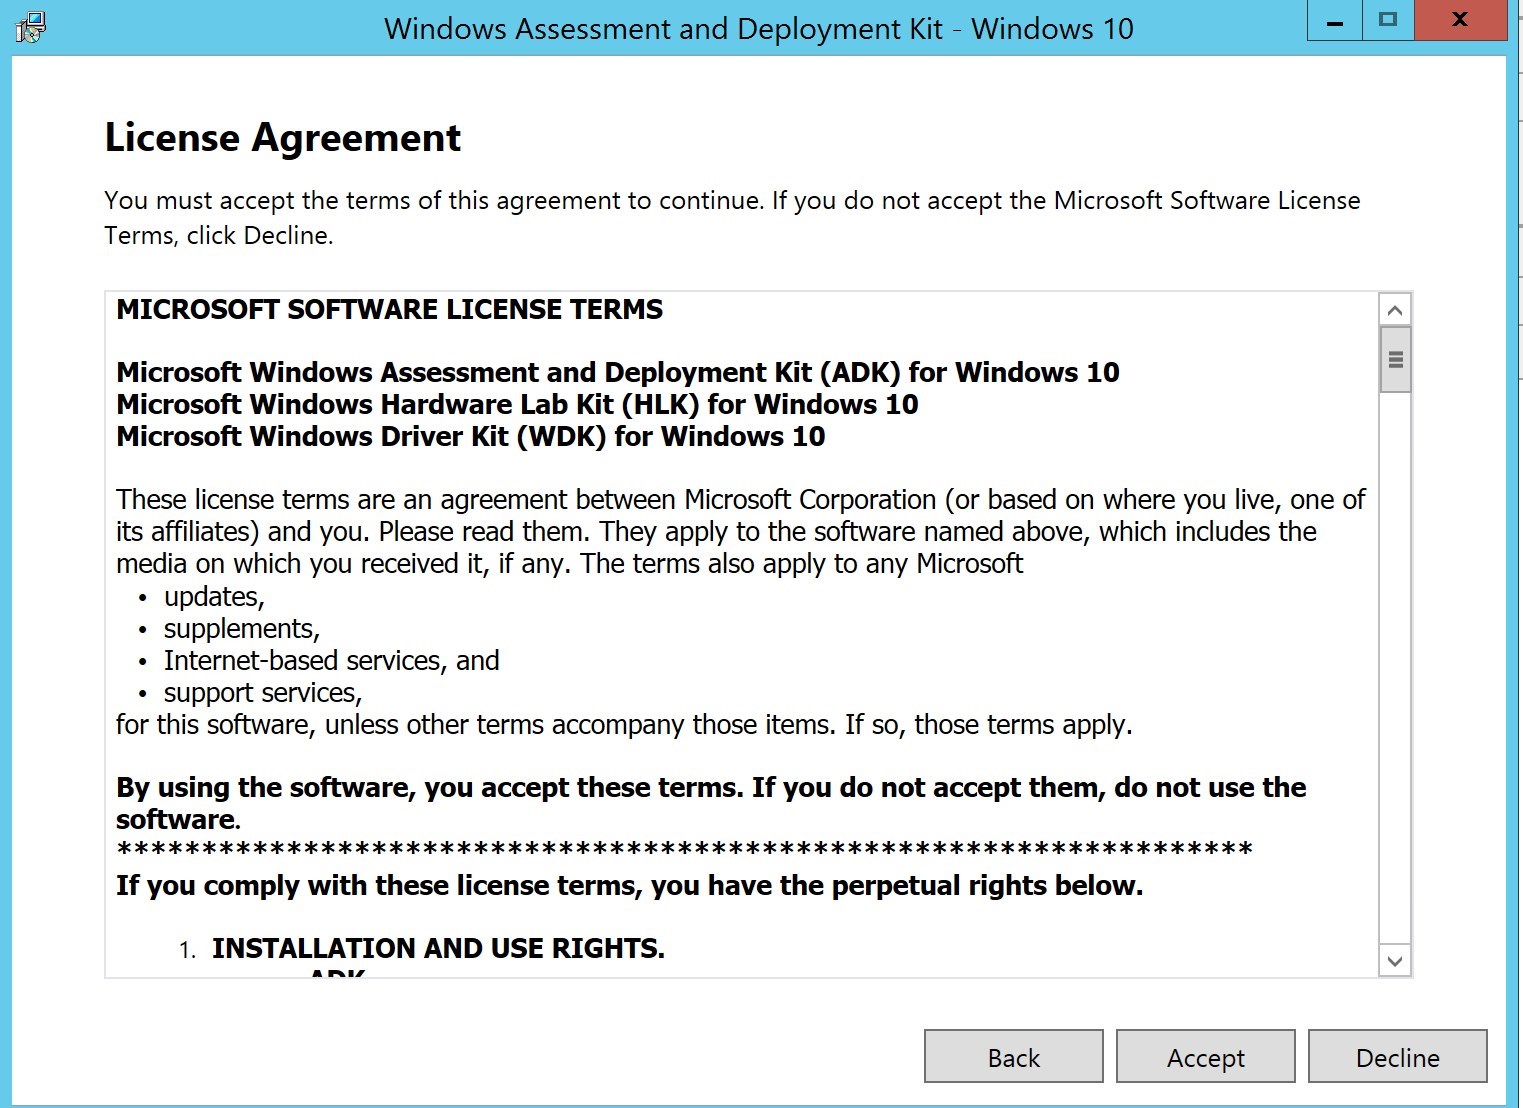
- Download will take some time as the Windows ADK is about 4.4GB
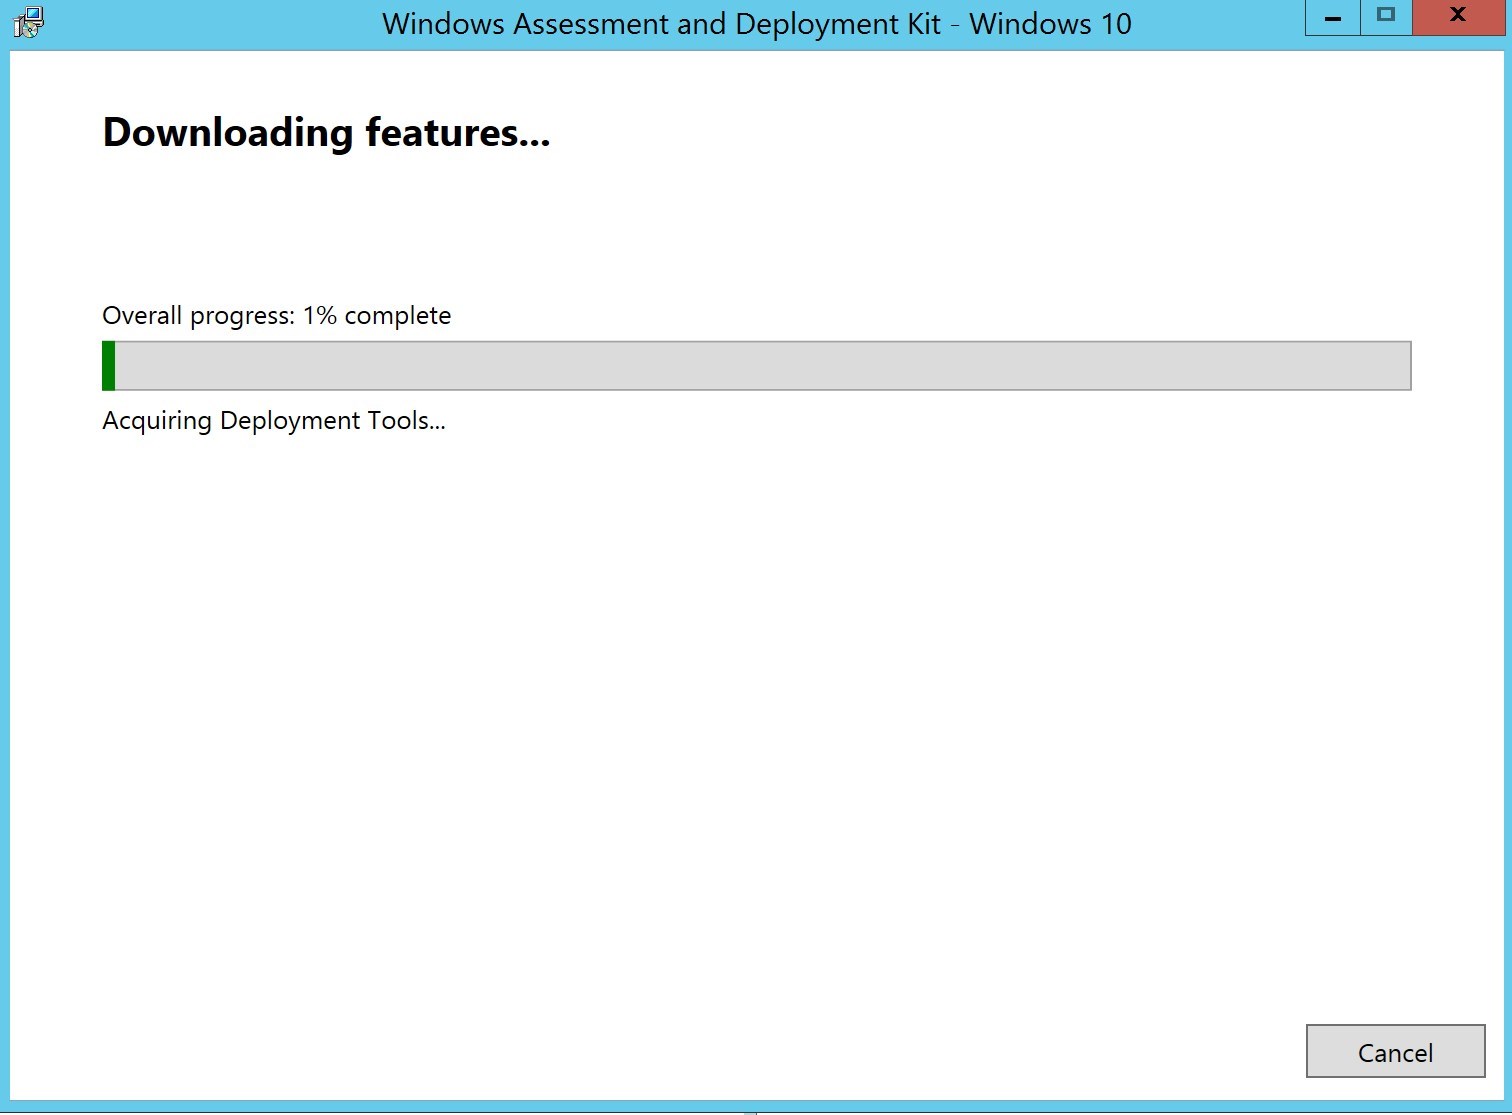
- Download completed
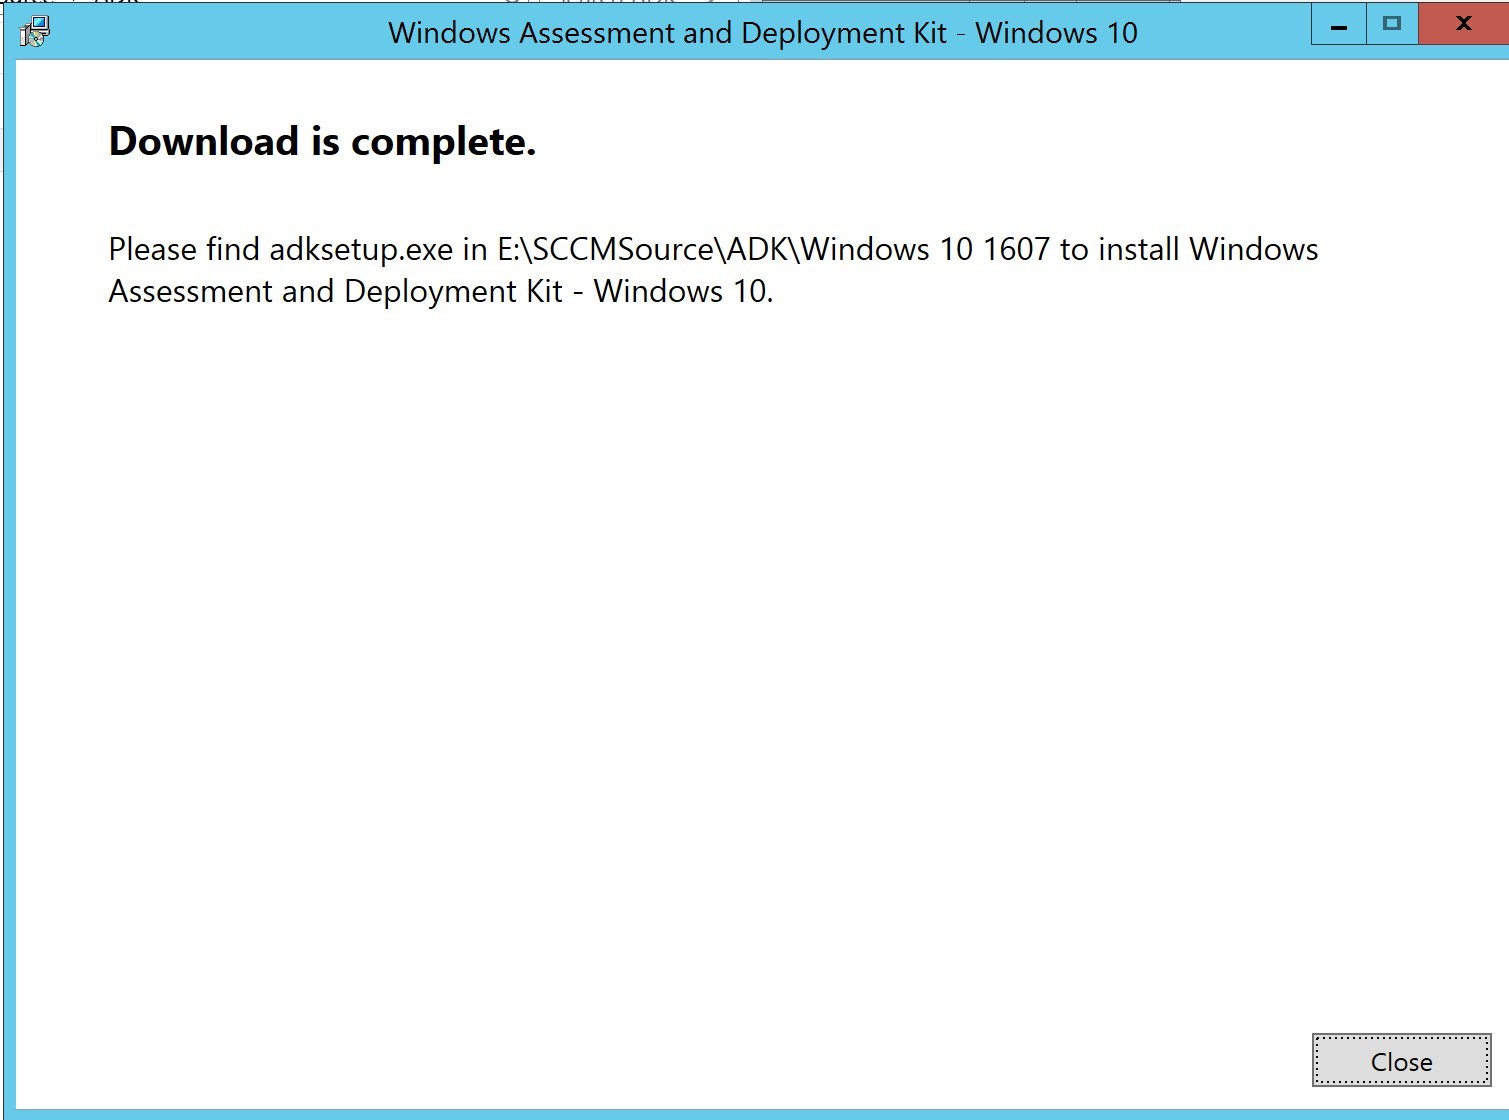
- Once ready for the update, the old version of the Windows ADK must be uninstalled
- Open Program and Features, select Windows Assessment and Deployment Kit – Windows 10 and click on Uninstall

- Once the previous Windows ADK is uninstalled, reboot the server
- Once rebooted, run ADKsetup.exe in the download folder you specified in the previous step

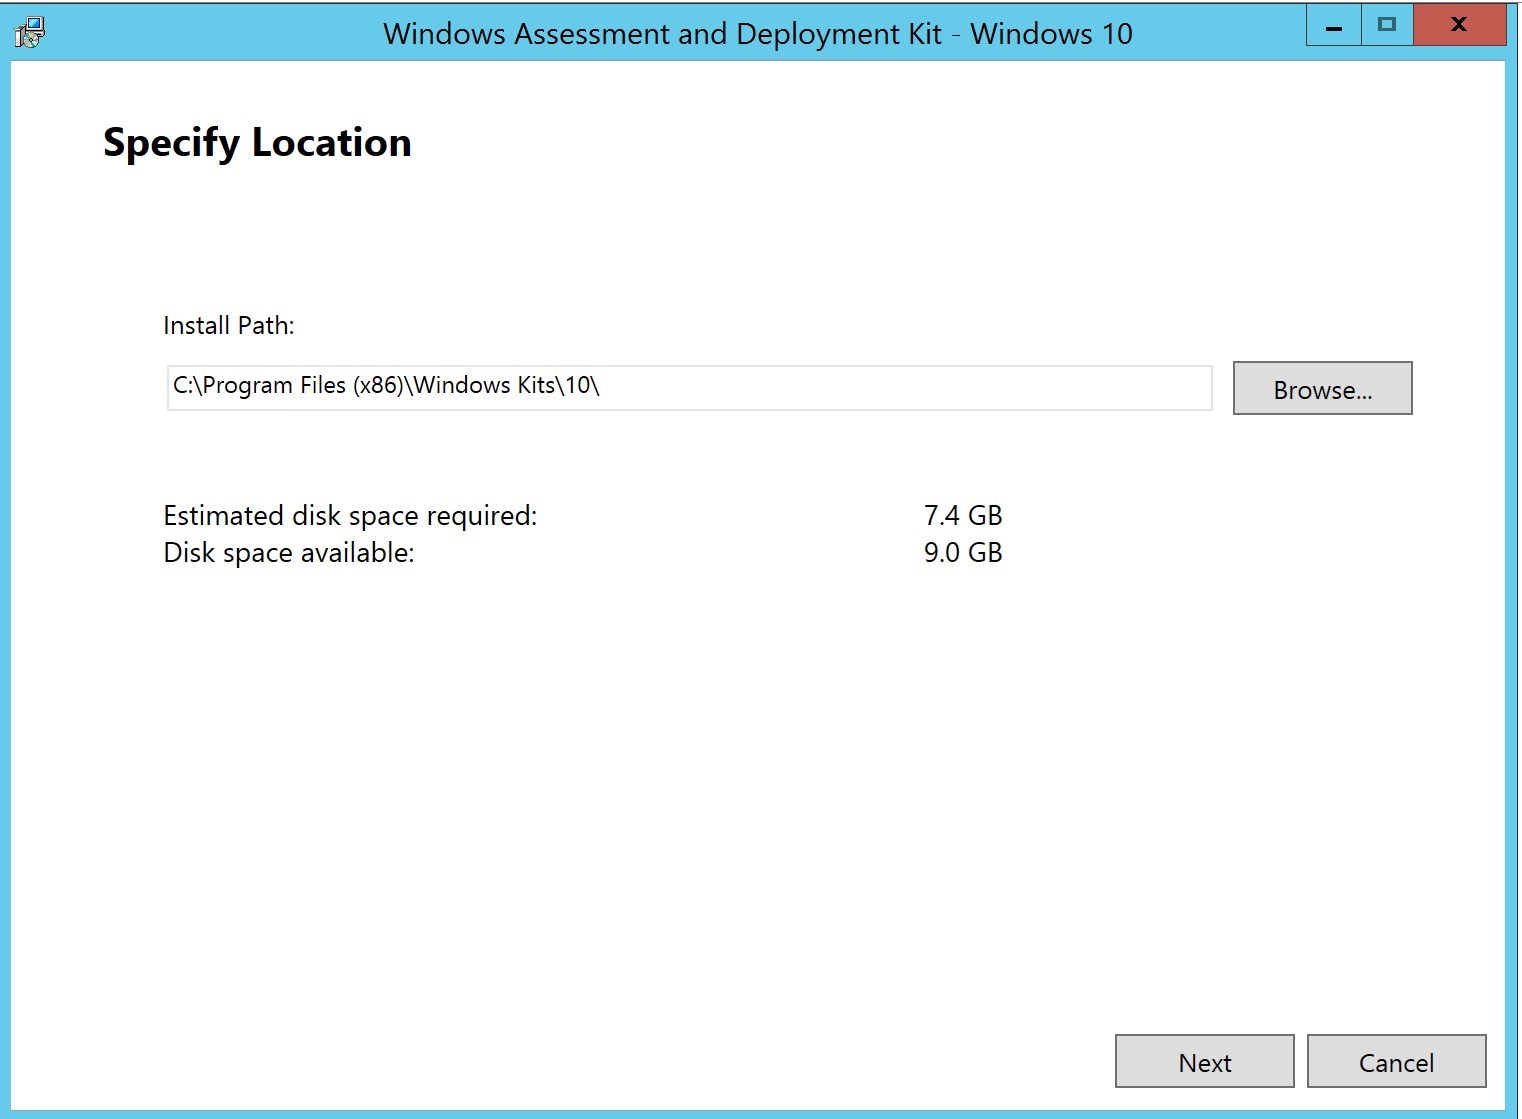
- Select the installation path, click Next
- Select Privacy level wanted. Click Next
- Accept license agreement
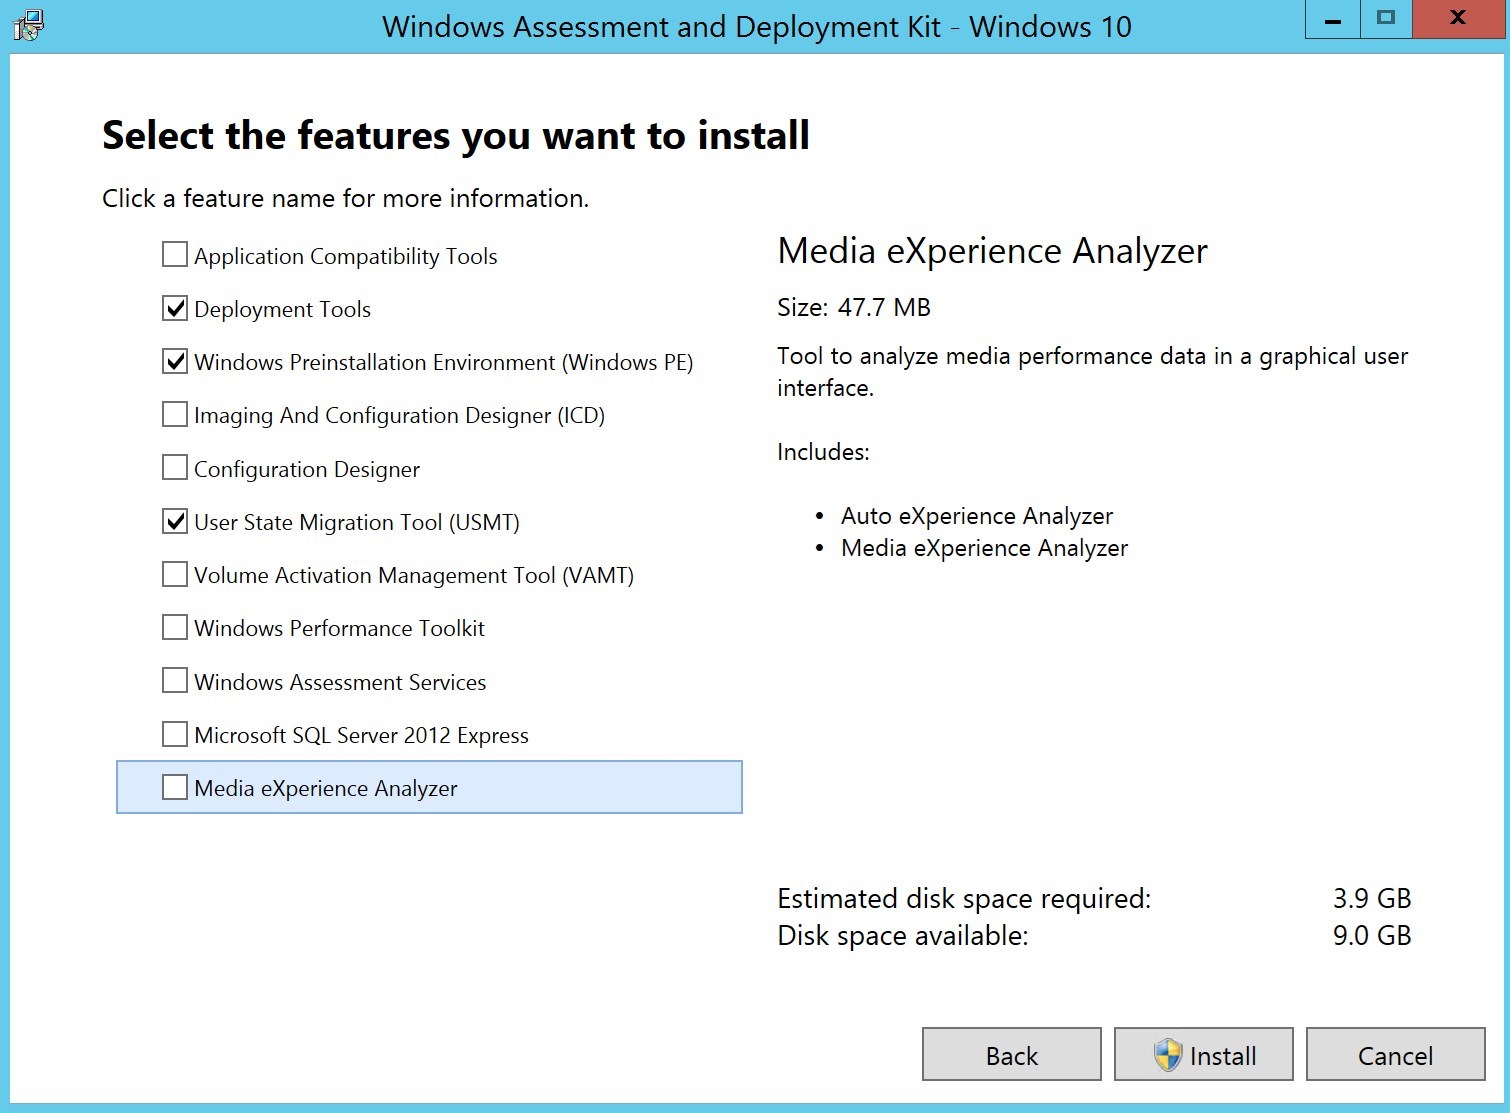
- Select the following mandatory features. You can select more if you need others. Click Install
- Deployment Tools
- Windows Preinstallation Environment (Windows PE)
- User State Migration Tool (USMT)
- Once completed, verify in the Program and Feature that Windows ADK has been updated to the latest version

- Reboot the server once again
Updating Boot images
After the Windows ADK update is completed, boot images must be updated in order to use the latest bits for Windows PE.
There are 2 scenarios for you boot images:
Default boot image and updated ADK prior of an SCCM upgrade
If you updated the ADK prior to an in-place upgrade of SCCM to a latest Current branch release, the upgrade of SCCM will automatically regenerate the default boot images as part of the upgrade.
This is not clearly stated as part of an SCCM upgrade. After an upgrade, look at the OS version of the default Boot images, if it is matching your installed version of the Windows ADK, you are good!
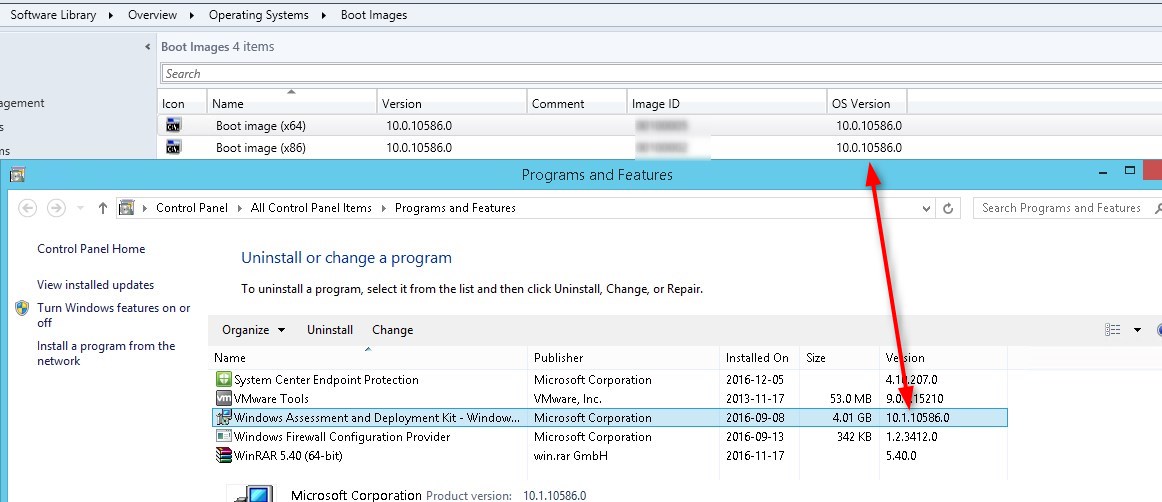
Some times, the automatic update of the default boot images doesn’t work. This is often caused by old driver that are added to boot images.
This will be possible to catch by having a previous version on the boot images
Custom boot image or updated Windows ADK after an SCCM Upgrade
If you are in one of those situation, boot images must be taken care of in a more manual fashion.
- If you use custom boot images
- If you already did the SCCM upgrade prior to the Windows ADK update
Wilhelm Kocher and Herbert Fuchs, from Microsoft Premier, created a powershell script to help with this matter
- Download the powershell script here
- Execute a Powershell command as administrator
- Run the script

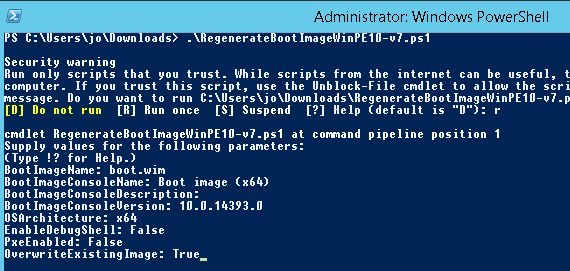
- Provide Boot Image name. This is the WIM file name

- Provide Boot Image Console name. This is the Name field used for the boot image in the SCCM console
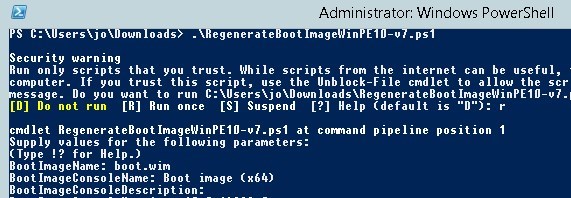
- Provide BootImageConsoleDescription. This is the comment. Can be blank.

- Provide the BootImageConsoleVersion. This is the Version field for the boot image in the SCCM console

- Provide the OSArchitecture. Possible value X86 or AMD64
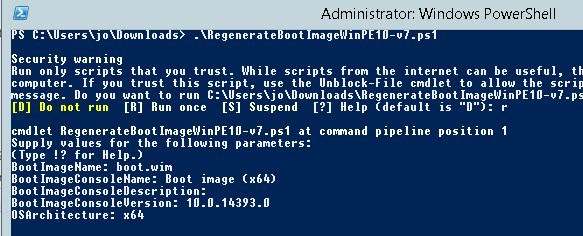
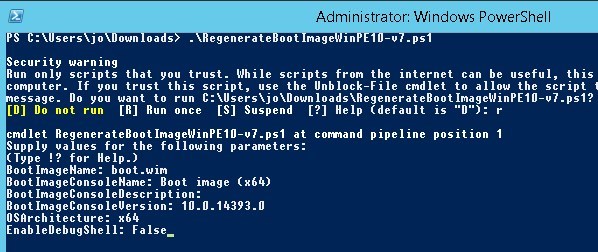
- Choose to EnableDebugShell. Possible value True or False
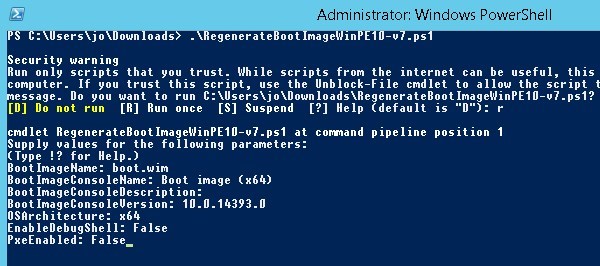
- Select if PXEEnabled. Possible value True or False
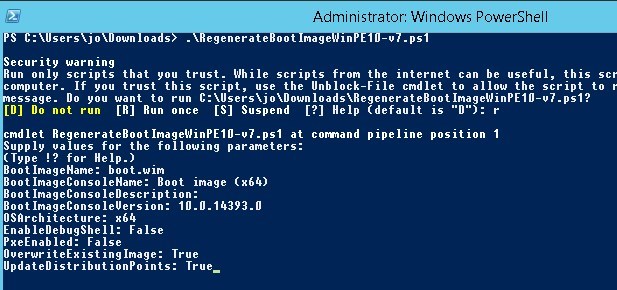
- Select OverwriteExistingImage. Possible value True or False
- Select UpdateDistributionPoints. Possible value True or False
- The script will now update the boot image with the latest source, while adding all your customization selected from SCCM.
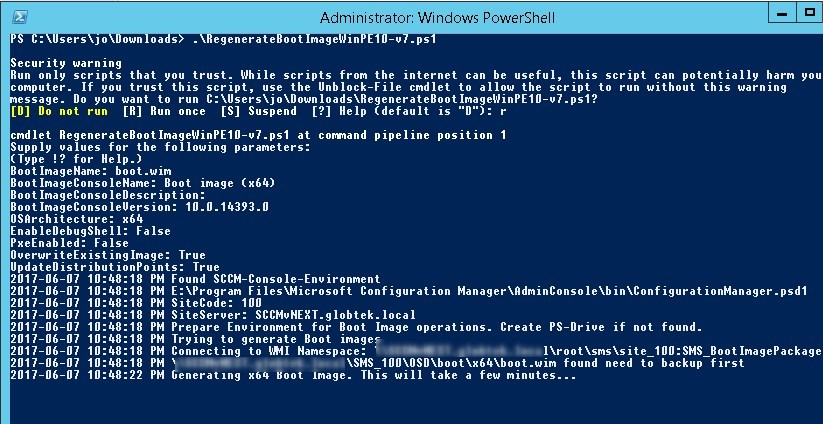
Using this script will inject the latest WinPE and also update distribution point when done
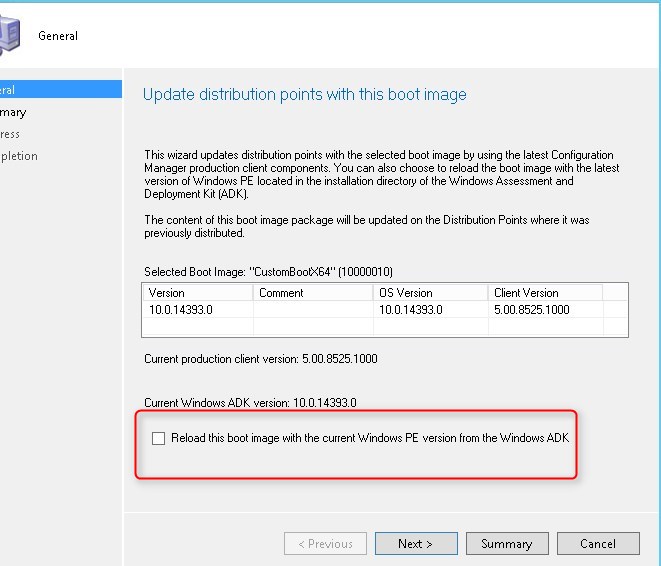
A new feature is available in the Technical Preview 1704 of SCCM.
When we hit Update Distribution Point on a boot image (custom or default), it will be possible to Reload this boot image with the current Windows PE version from the Windows ADK
This will actually do the exact same thing as the script used!
Unattend.xml files are used to pass configuration to Windows while the installation is going on. With a new release of Windows 10, new settings could become available at the installation time. XML files are configured using Windows System Image Manager (Windows SIM). Windows SIM is part of the ADK.
That said, new or modified unattend.xml files could be needed along with new Windows 10 releases. They should be modified or created with Windows SIM, after the Windows ADK as been updated.




john
08.23.2017 AT 03:34 AMJon
10.24.2017 AT 01:17 PMMichael
10.27.2017 AT 10:07 AMMichael
10.30.2017 AT 03:11 PMKannan
08.08.2017 AT 03:09 PMNishant
07.10.2017 AT 05:59 AMJonathan Lefebvre
07.10.2017 AT 08:47 AMPär
06.02.2017 AT 04:34 AMJonathan Lefebvre
06.08.2017 AT 11:59 AMAnthony
06.02.2017 AT 08:28 AMAnthony
06.01.2017 AT 09:14 PMJonathan Lefebvre
06.08.2017 AT 11:58 AM