

How to Configure the SCCM Upgrade Readiness Connector
Founder of System Center Dudes. Based in Montreal, Canada, Senior Microsoft SCCM Consultant, 8 times Enterprise Mobility MVP. Working in the industry since 1999. His specialization is designing, deploying and configuring SCCM, mass deployment of Windows operating systems, Office 365 and Intune deployments.

Benoit Lecours
PresidentTable of Content


Share


Get the latest insights and exclusive content delivered to your inbox
Upgrade Readiness (formerly Upgrade Analytics) enables you to assess and analyze device readiness with Windows 10. You can integrate Upgrade Readiness with SCCM to access client upgrade compatibility data in the SCCM admin console. You are able to target devices for upgrade or remediation from the device list.
Support for integrating Upgrade Analytics (now Upgrade Readiness) was introduced in SCCM 1610. With the 1706 release, there’s an improved integration of SCCM and Azure Services. These improvements streamline how you configure the Azure services you use with Configuration Manager. We thought this was a good opportunity to describe how to configure SCCM with the Upgrade Readiness Connector.
You must connect Upgrade Readiness to the top-tier site in your hierarchy. If you connect Upgrade Readiness to a standalone primary site and then add a central administration site to your environment, you must delete and recreate the OMS connection within the new hierarchy.
Prerequisite for SCCM Upgrade Readiness Connector
This post assumes that you have the following:
- Have a valid Azure Subscription
- An OMS Workspace
- SCCM 1706+
Configuration steps
To connect SCCM to Upgrade Readiness the following steps are required :
Register SCCM as web application in Azure AD
This step will create an application in Azure AD for the SCCM Upgrade Readiness Connector.
- Open the Azure Management portal (https://portal.azure.com)
- Select Azure Active Directory / App Registrations
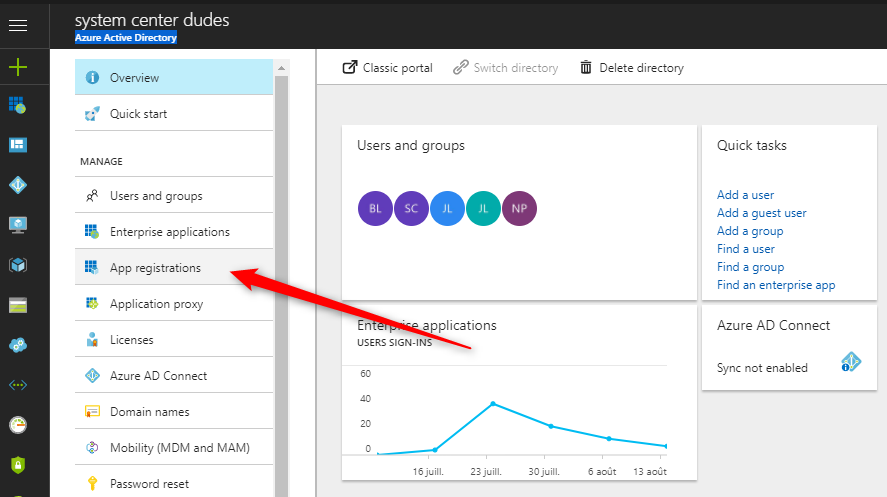
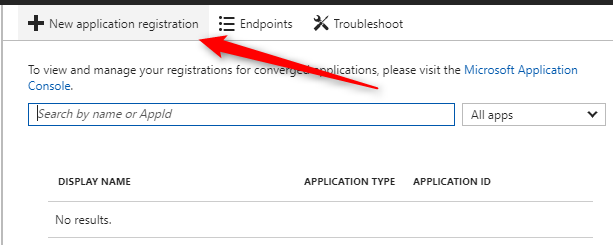
- click New Application Registration
- Enter the following information :
- Name: Specify a name for the application
- Type: Web app / API
- Sign-on URL: Specify any URL. (This URL doesn’t need to resolve)
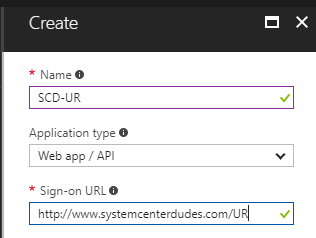
- Click Create at the bottom to create the application
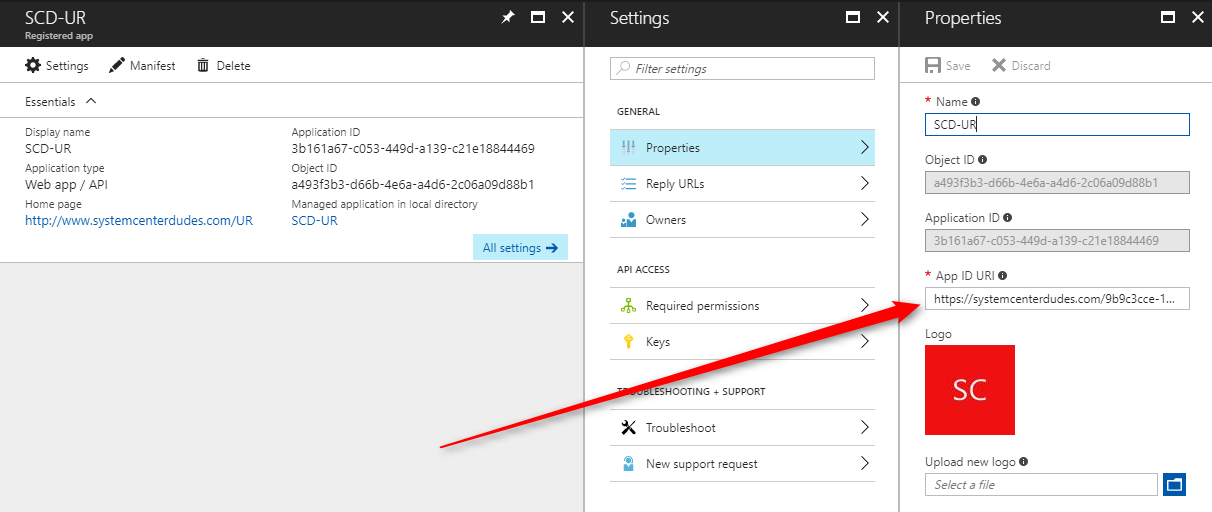
- Select your application and click on All Settings
- Click on Keys, enter a name, select a duration and click Save. The key will be created after clicking Save and can only be retrieved on this page
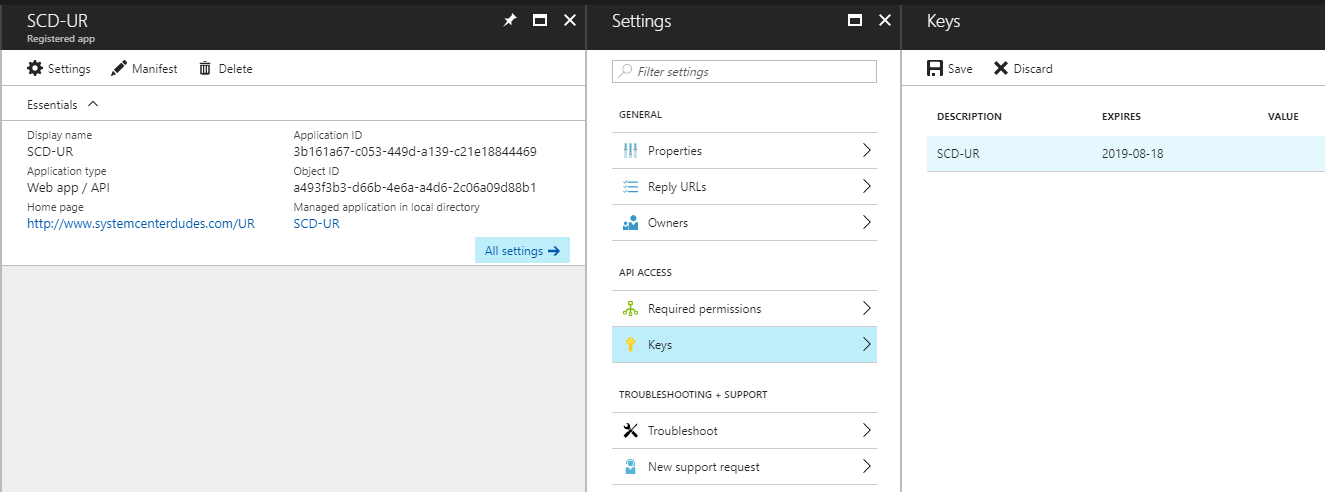
- Copy the Key and Application ID from this page. It will be needed later.
- Still in your application, click on General / Properties and copy the App ID URI
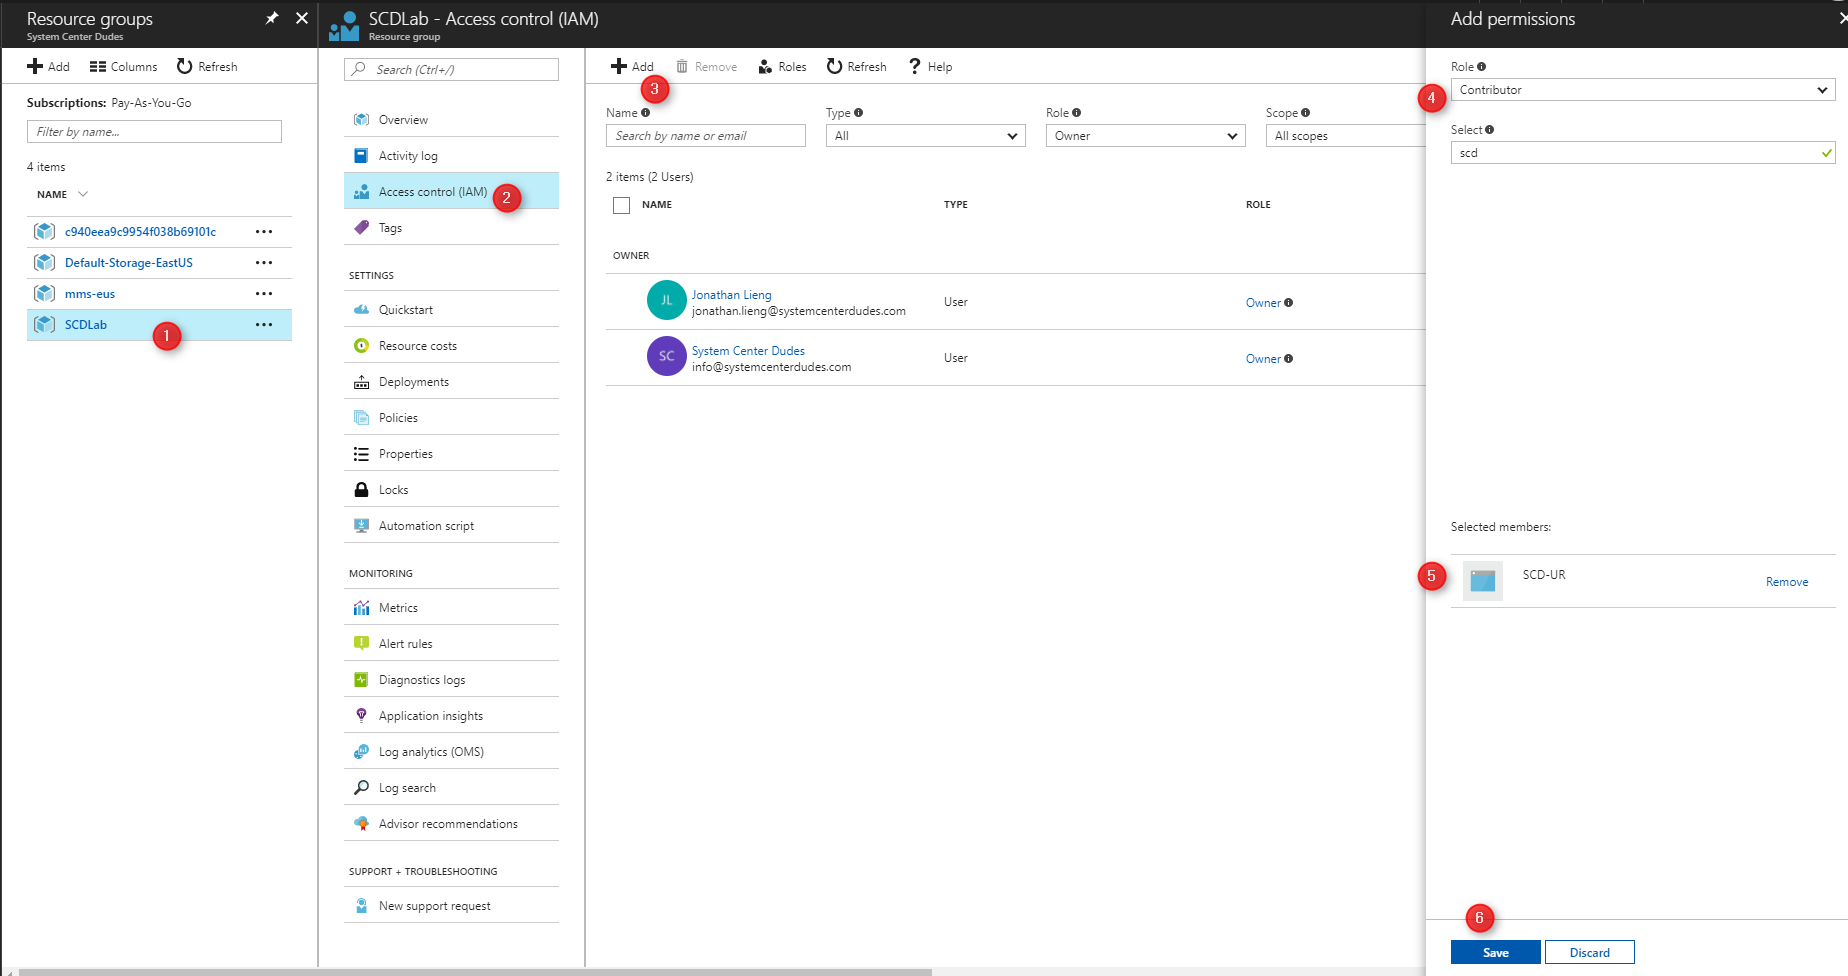
Give SCCM Application permission
We will now provide the Azure AD App permissions to access the Upgrade Readiness service.
- Go to Ressource groups, select the resource group in which you create your OMS Workspace
- Select Access Control (IAM)
- Click Add
- Select the Contributor Role and select your application, click Save
Upgrade Readiness Configuration
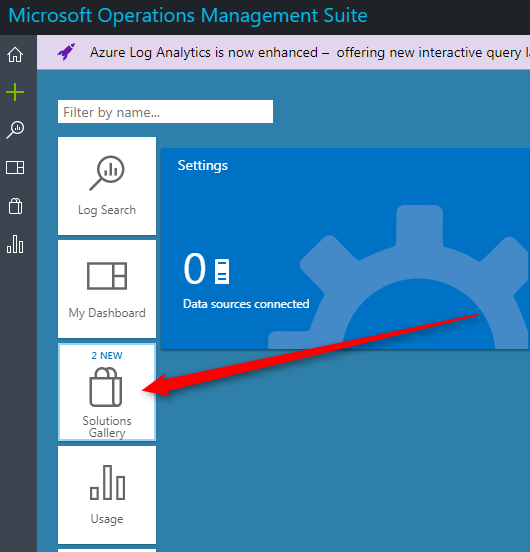
We will now add the Upgrade Readiness solution to your Operation Management Suite portal.
- Log to your OMS portal
- In the Home pane, select Solution Gallery
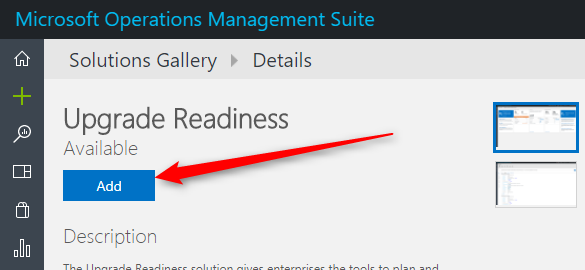
- Locate Upgrade Readiness and click on it
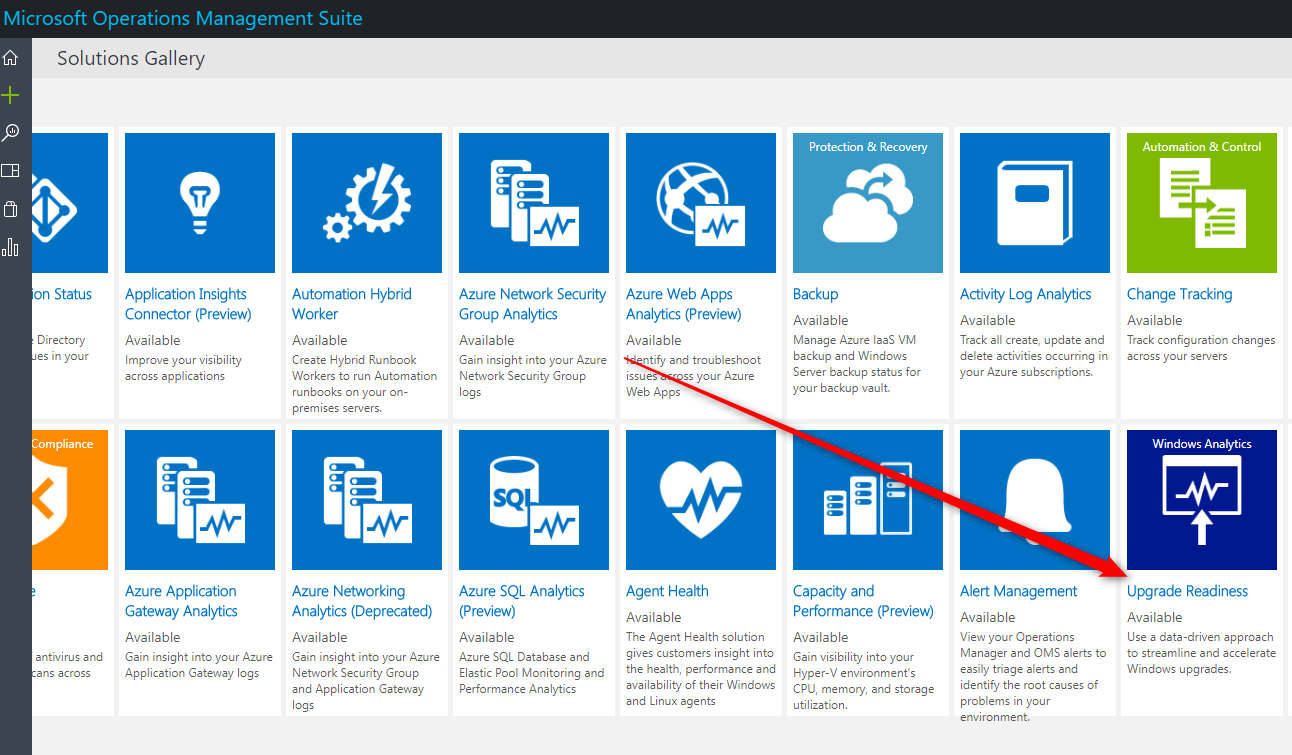
- Select Add
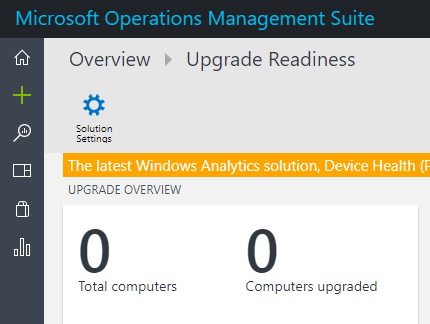
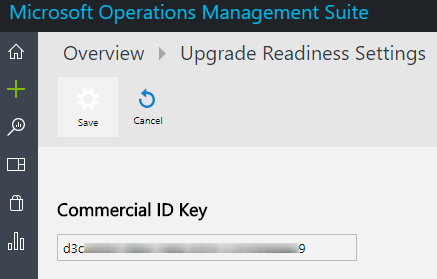
- Once the setup is completed you’ll see the upgrade statistics in your OMS portal. You can see your Commercial ID Key by clicking the Solution Settings button. This key will be needed in the deployment script that you’ll be sending to your client.
Configure the SCCM Upgrade Rediness Connector
To create the connection, you’ll need the information of the Azure AD App you just created.
- Open the SCCM Console
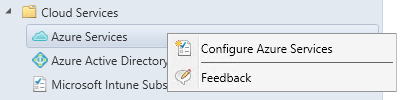
- Go to Administration / Cloud Services / Azure Services
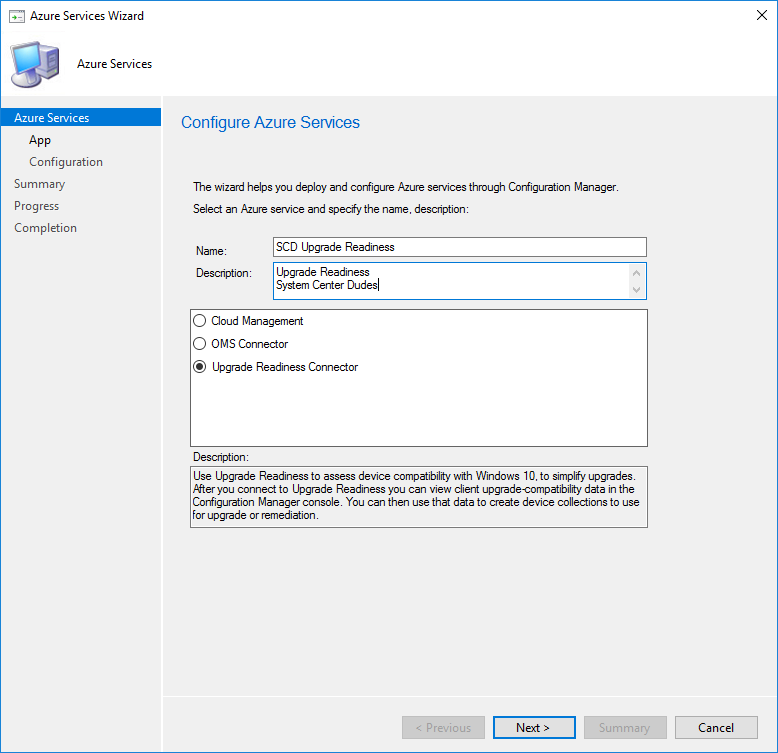
- Right-click Azure Services and select Configure Azure Services
- On the Azure Services tab, name your connection and select Upgrade Readiness Connector
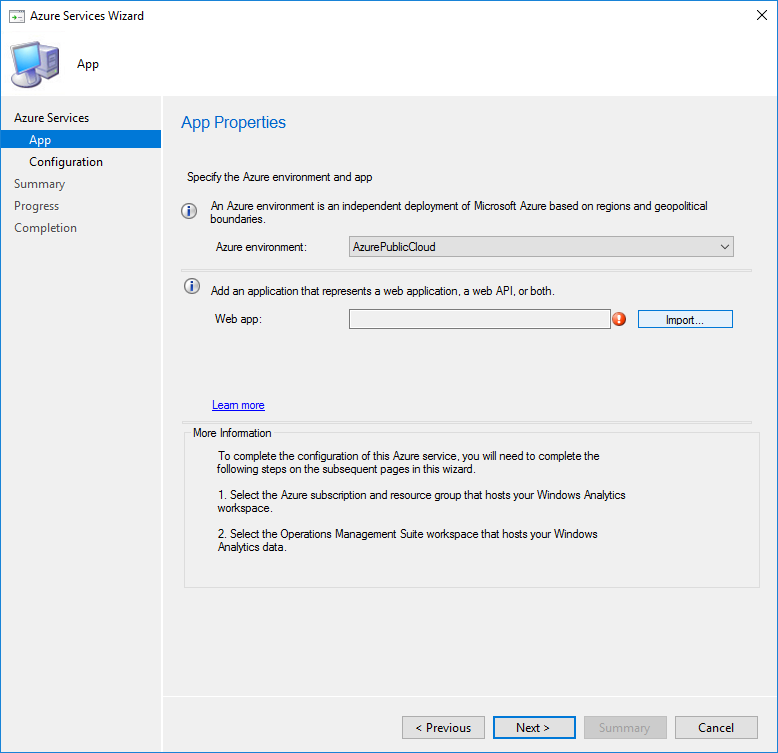
- On the App page, select your Azure environment and click Import
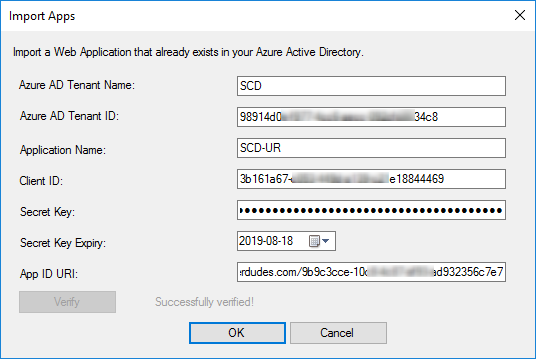
- On the Import Apps page, specify the following information :
- Azure AD Tenant Name: Specify any name
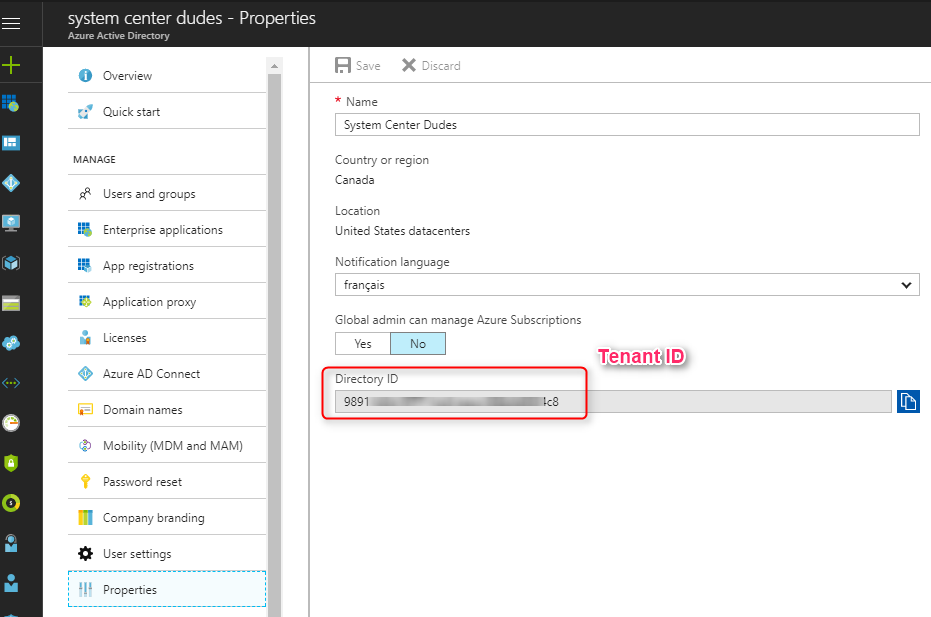
- Azure AD Tenant ID: Specify the Azure AD tenant – You can find this information under Azure Active Directory / Properties
- Application Name – Specify your application name
- Client ID: Specify the Application ID of the created Azure AD app. You can see where to find this information in the previous steps
- Secret key: Specify the Client secret key of the created Azure AD app. You can see where to find this information in the previous steps
- Secret Key expiry: Specify the expiration date of your key
- App ID URI: Specify the App ID URI of the created Azure AD app. You can see where to find this information in the previous steps
- Click on Verify then Ok
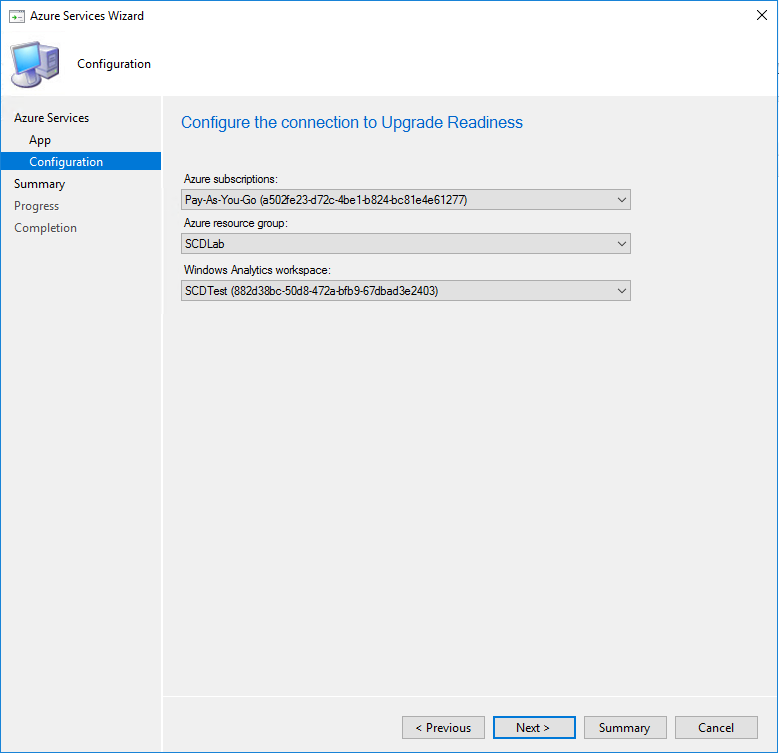
- On the configuration page, the information will be pre-populate once the Azure AD app has enough permissions on the resource group. If the fields are empty, your application doesn’t have the necessary rights.
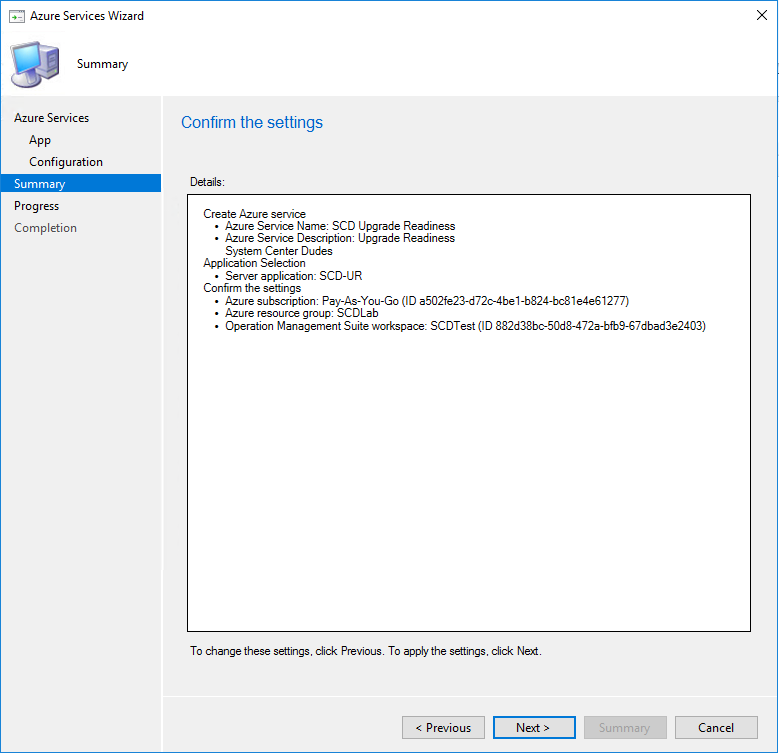
- On the Summary page, click Next
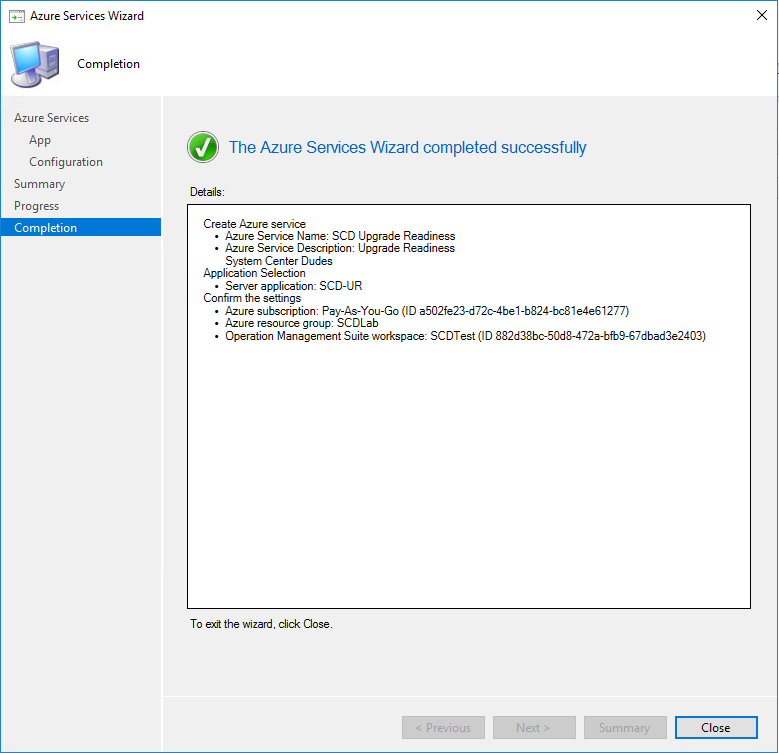
- On the Completion page, click Close
Run and Deploy Upgrade Readiness Script
The computers that you want to evaluate needs to run a script to send their data.
To do so :
- Download the Upgrade Readiness deployment script
- Extract the zip file
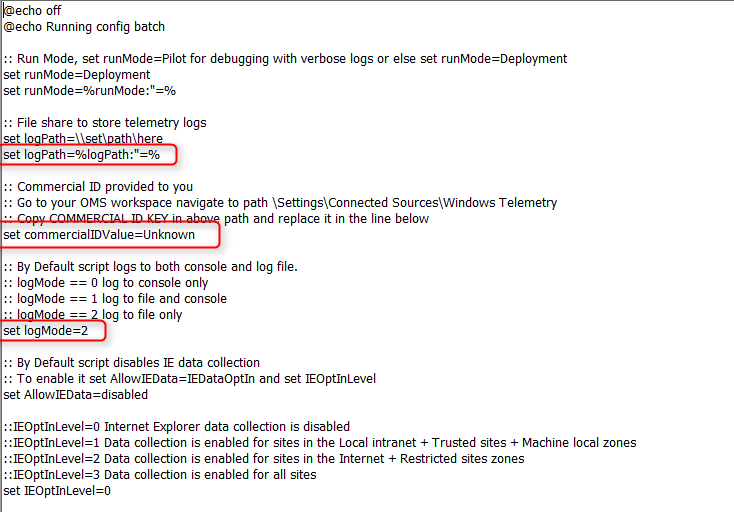
- Edit .\ UpgradeAnalytics092816\Deployment\RunConfig.bat file
- Change the following values :
- LogPath : Where you want the logs to be saved
- CommercialIDValue : Enter your commercial key
- Logmode : 1
Save the script, create a package and deploy it to your Windows 7 or 8 computers.
Verification
Once run, it can take betweek 24 to 48 hours for the first number to show in your OMS workspace and another 24-48h to show up in the SCCM Console. Be patient!
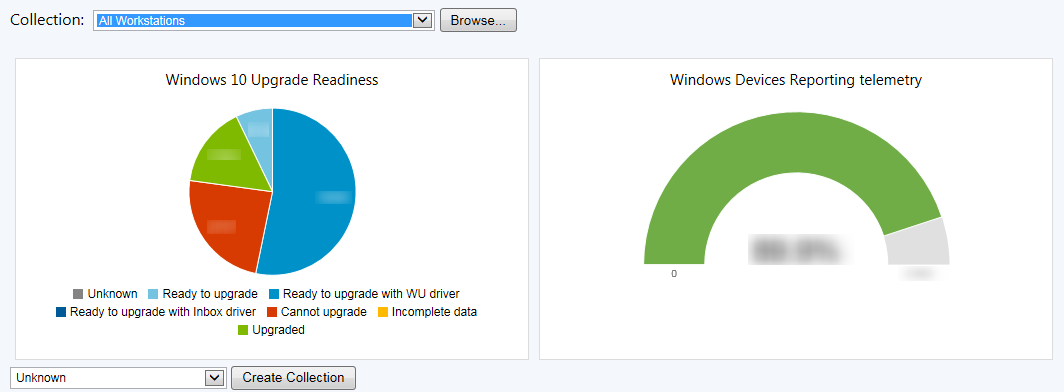
After the configuration is completed you can view the numbers in Monitoring / Upgrade Readiness.
Share
Get the latest insights and exclusive content delivered to your inbox


Baz
04.18.2019 AT 05:23 AMMichael Baldwin
03.07.2019 AT 05:57 PMjakob
06.29.2018 AT 06:50 AMthestardawg
04.27.2018 AT 03:27 PMJohn
03.24.2018 AT 02:13 AMminwitat
03.08.2018 AT 02:18 PMChris
12.12.2017 AT 03:36 PMMichael P
11.30.2017 AT 09:48 AMAdam
11.03.2017 AT 11:27 AMSeth M Allen
10.24.2018 AT 04:51 PMJohn Parry
09.28.2017 AT 05:38 AM