In the third post of this blog series about Windows 10 Deployment using SCCM, we will show you how to create a SCCM Windows 10 Build and Capture Task Sequence and deploy it. Complete the preparation of your environment before reading this post. You will be able to edit this task sequence later to customize it to your environment.

The goal of a build and capture task sequence is to capture a reference machine OS in order to redeploy its configuration multiple time. As a best practice, we recommend not to add too much software and customization to your reference image. Rather, use the task sequence steps to customize your deployment which decrease management operation tasks in the long run.

For example, if you want to include Adobe Reader to your reference image because all your users need it, do not install it on your reference machine and do your capture. Instead, use the Installed Software step in the capture task sequence. When a new version of Adobe Reader will be released, it will be a matter of a couple of click to replace the old version with the new one.

Create SCCM Windows 10 Build and Capture Task Sequence

  • Open the SCCM Console
  • Go to Software Library \ Operating Systems \ Task Sequences
  • Right-click Task Sequences and select Build and capture a reference operating system image

SCCM Windows 10 Build and Capture Task Sequence

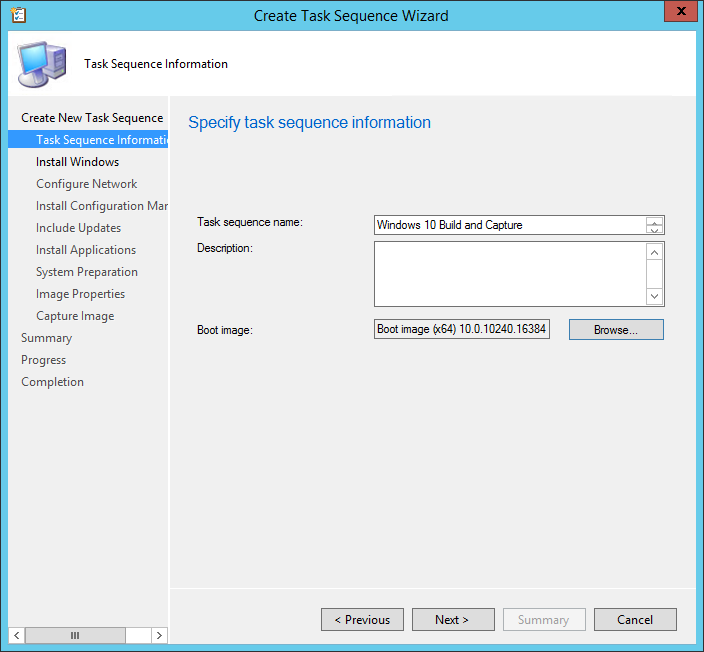
  • On the Task Sequence Information tab enter a task sequence Name and Description
  • Select the desired boot image

SCCM Windows 10 Build and Capture Task Sequence

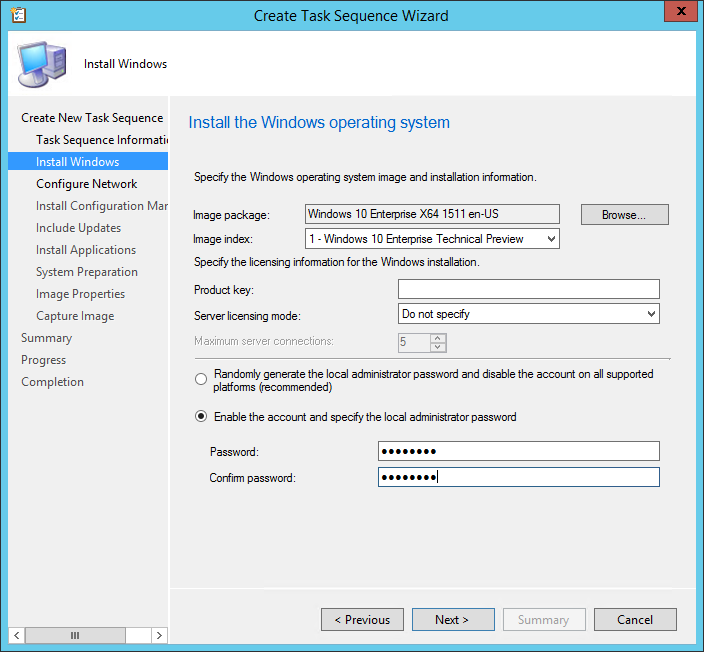
  • On the Install Windows pane, select the Image package and Image index you imported in part 1
  • Leave the Product key blank, if you are using MAK keys, read this post on how to handle that in your Task Sequence. (Hint : Even with MAK key, you need to leave the Product key blank)
  • Enter a password for the local Administrator account

SCCM Windows 10 Build and Capture Task Sequence

  • In the Configure Network pane, select to Join a workgroup. There’s no reason to join a domain when creating a build and capture task sequence. You’ll still be able to join a domain when creating a task sequence to deploy this image

SCCM Windows 10 Build and Capture Task Sequence

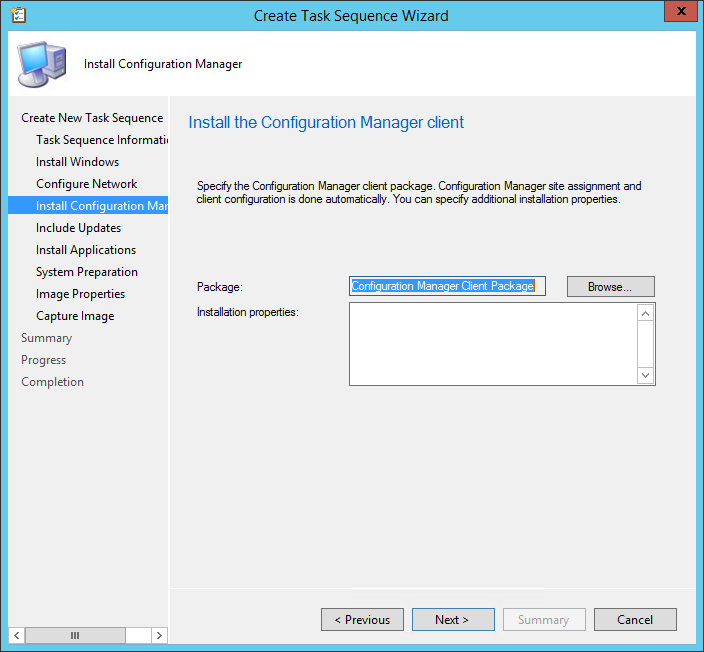
  • On the Install Configuration Manager Client pane, select your Configuration Manager Client Package and enter your installation properties

SCCM Windows 10 Build and Capture Task Sequence

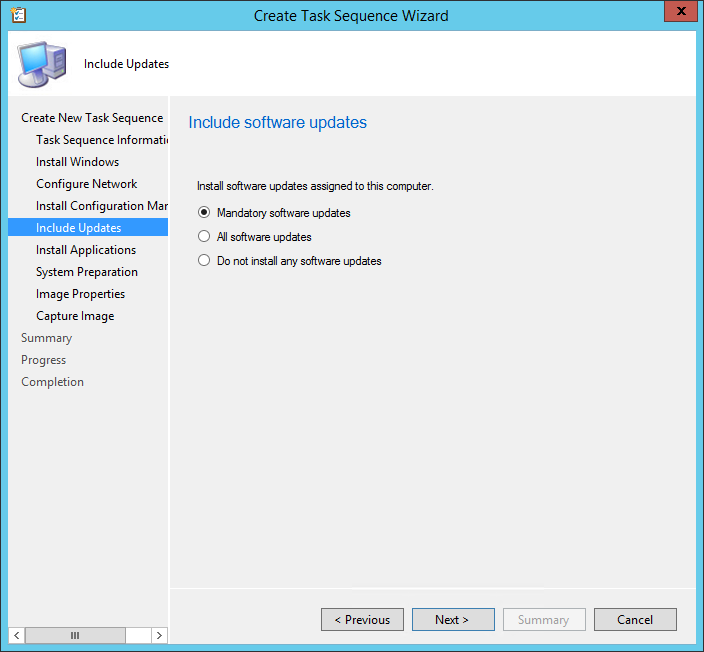
  • On the Include Updates pane, select the desired Software Update task
    • All Software Updates will install the updates regardless of whether there is a deadline set on the deployment (on your OSD collection)
    • Mandatory Software Updates will only install updates from deployments that have a scheduled deadline (on your OSD collection)
    • Do not install any software updates will not install any software update during the Task Sequence

SCCM Windows 10 Build and Capture Task Sequence

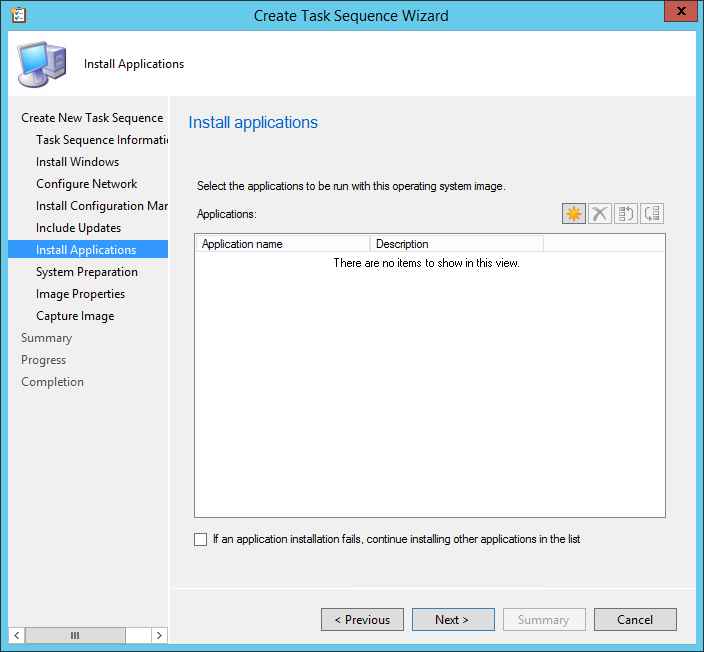
  • On the Install Applications tab, click on the Star Icon to add any application that you want to be installed during your build and capture deployment. These applications will be part of the reference image, we recommended adding only software that need to be included in every deployment… and even there, I prefer add it to a deployment task sequence rather to include it in my image. The reason is pretty simple, if you need to make an application change, you only have 1 step to change to your task sequence rather than redo the whole build and capture process and then modify your task sequence with the new image. Some likes to add Office or other big applications that every users needs to reduce deployment time.

SCCM Windows 10 Build and Capture Task Sequence

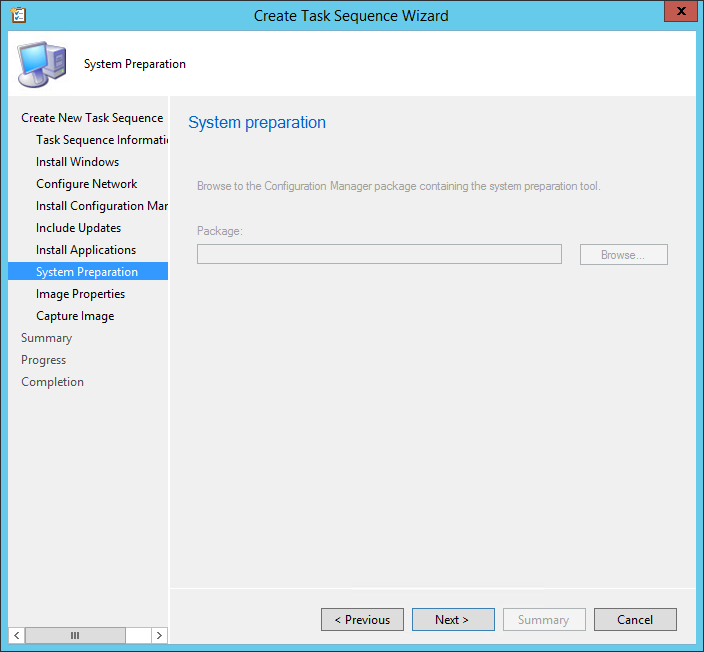
  • On the System Preparation tab, click Next

SCCM Windows 10 Build and Capture Task Sequence

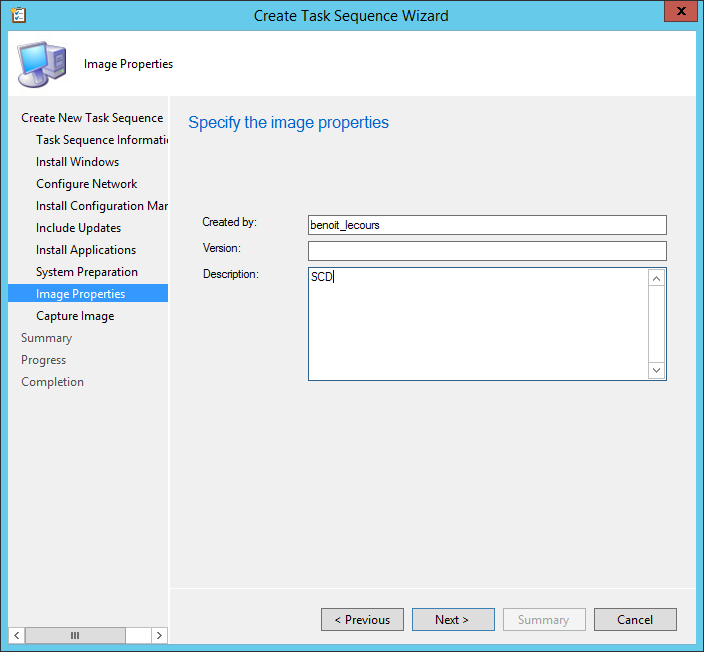
  • On the Image Properties tab, enter the desired information

SCCM Windows 10 Build and Capture Task Sequence

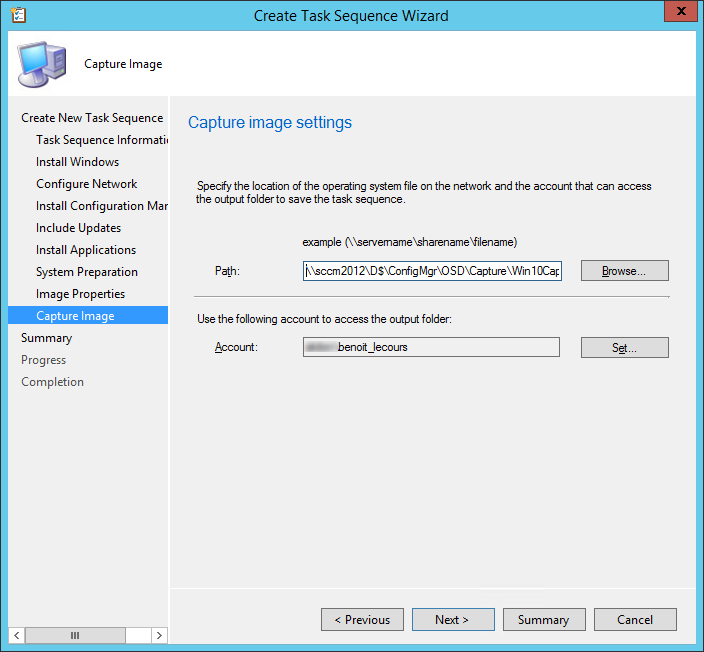
  • On the Capture Image tab, select the path where you want to save the .WIM file
  • Enter the account to access the folder. This account needs write permission

SCCM Windows 10 Build and Capture Task Sequence

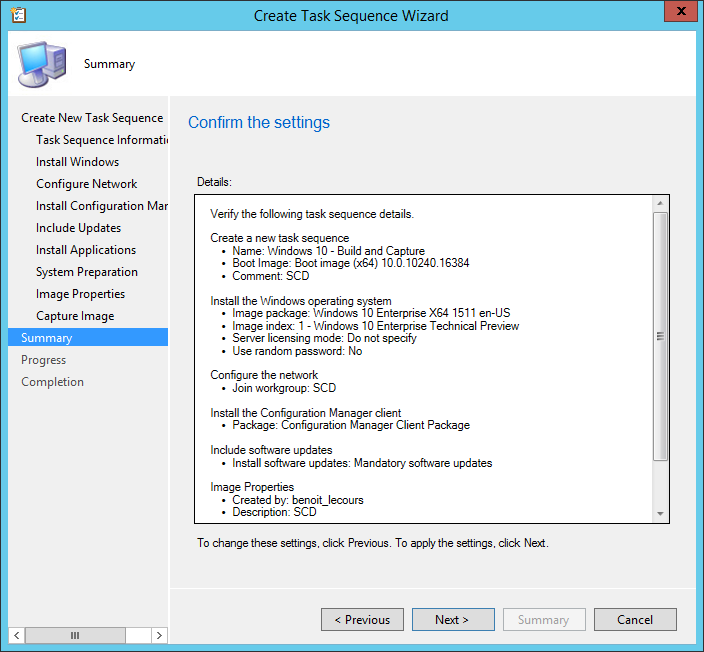
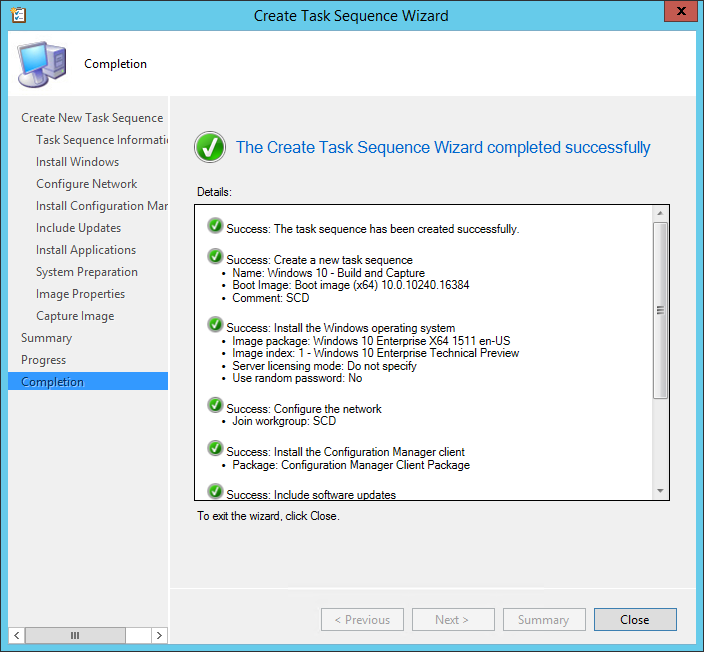
  • On the Summary tab, review your choices and complete the wizard

SCCM Windows 10 Build and Capture Task Sequence SCCM Windows 10 Build and Capture Task Sequence

Deploy Windows 10 Build and Capture Task Sequence

Now that our Task Sequence is created, we will deploy it to a collection and start a Windows 10 Build and capture. It’s strongly recommended to deploy a build and capture on a virtual machine.

Warning


Be careful when targeting the deployment. This task sequence will format and install a new OS to targeted devices.

  • Open the SCCM Console
  • Go to Software Library \ Operating Systems \ Task Sequences
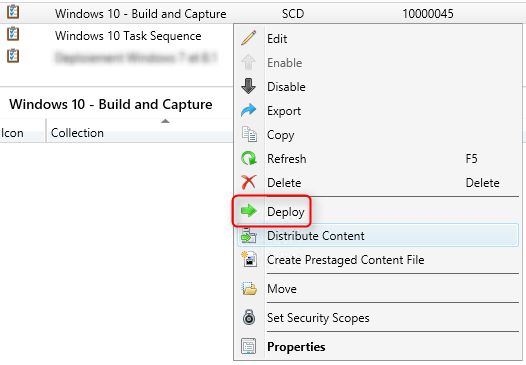
  • Right-click your Windows 10 Build and Capture Task Sequence and select Deploy

SCCM Windows 10 Build and Capture Task Sequence

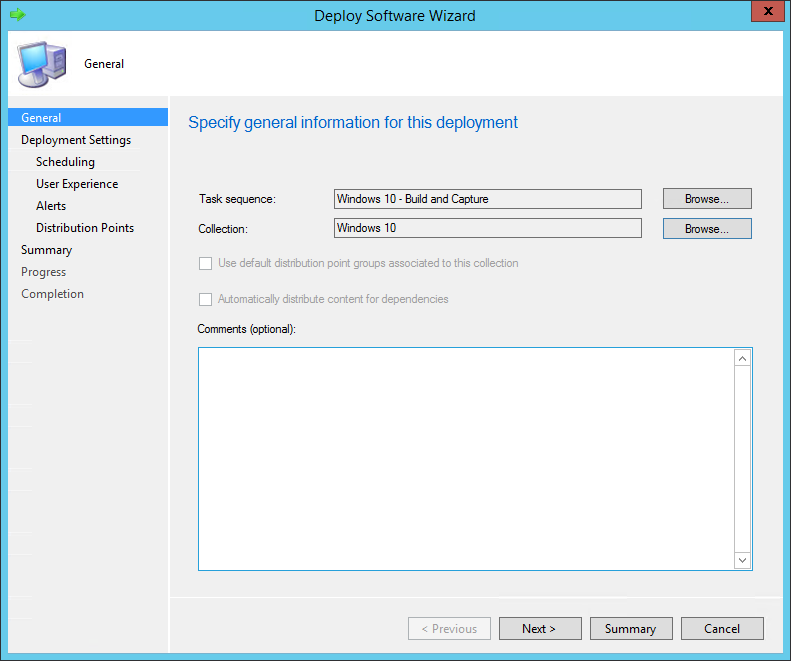
  • On the General pane, select your build and capture collection. This is the collection that will receive the Windows 10 installation and be captured to create the new WIM file

SCCM Windows 10 Build and Capture Task Sequence

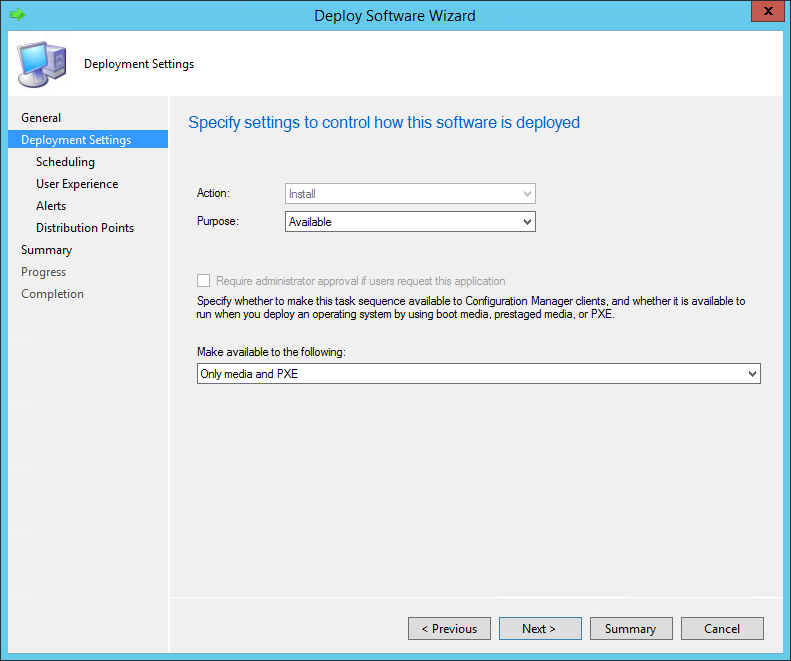
  • Select the Purpose of the deployment
    • Available will prompt the user to install at the desired time
    • Required will force the deployment at the deadline (see Scheduling)
  • In the Make available to the following drop down, select the Only media and PXE. This will ensure that you do not send the deployment on clients. This is also useful to avoid errors, using this options you *could* send the deployment to All Systems and no clients would be able to run the deployment from Windows

SCCM Windows 10 Build and Capture Task Sequence

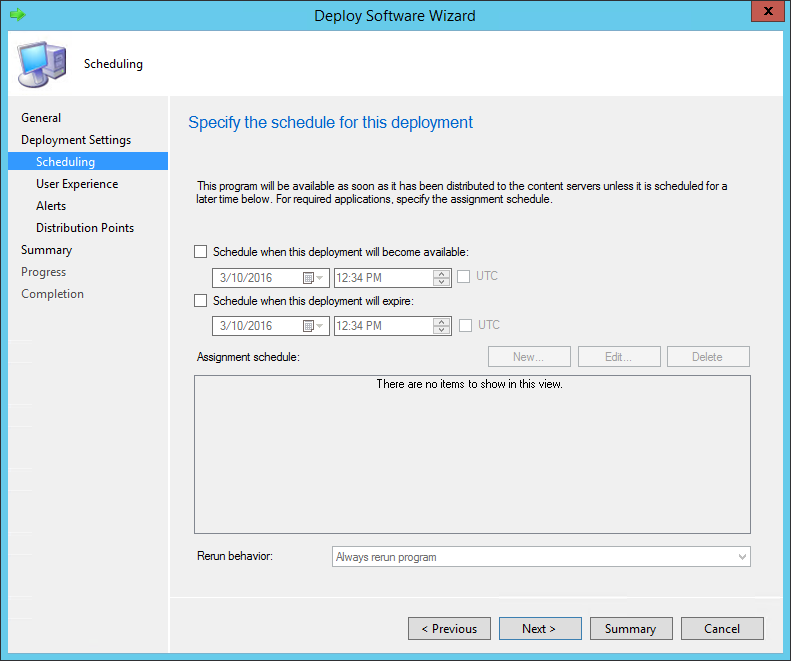
  • On the Scheduling tab, enter the desired available date and time. On the screenshot, we can’t create an Assignment schedule because we select Available in the previous screen

SCCM Windows 10 Build and Capture Task Sequence

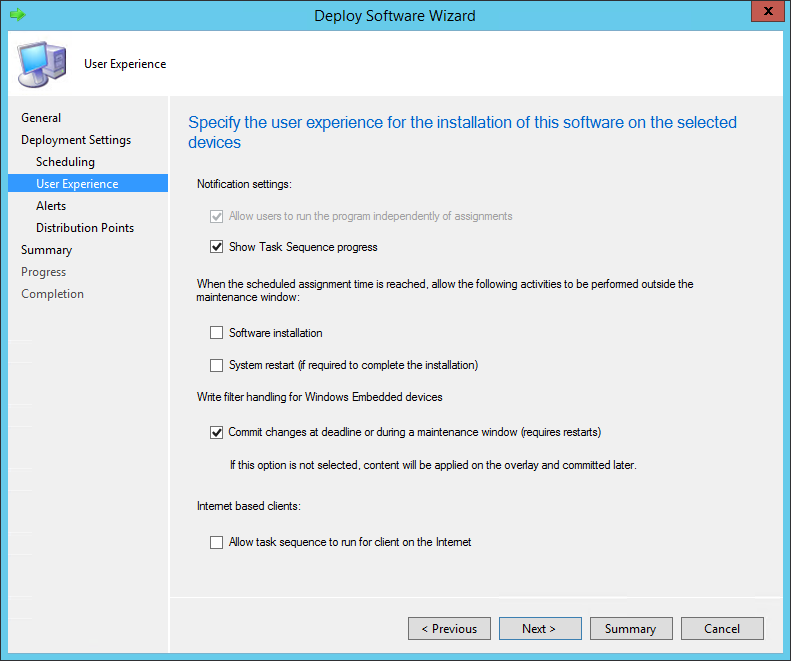
  • In the User Experience pane, select the desired options

SCCM Windows 10 Build and Capture Task Sequence

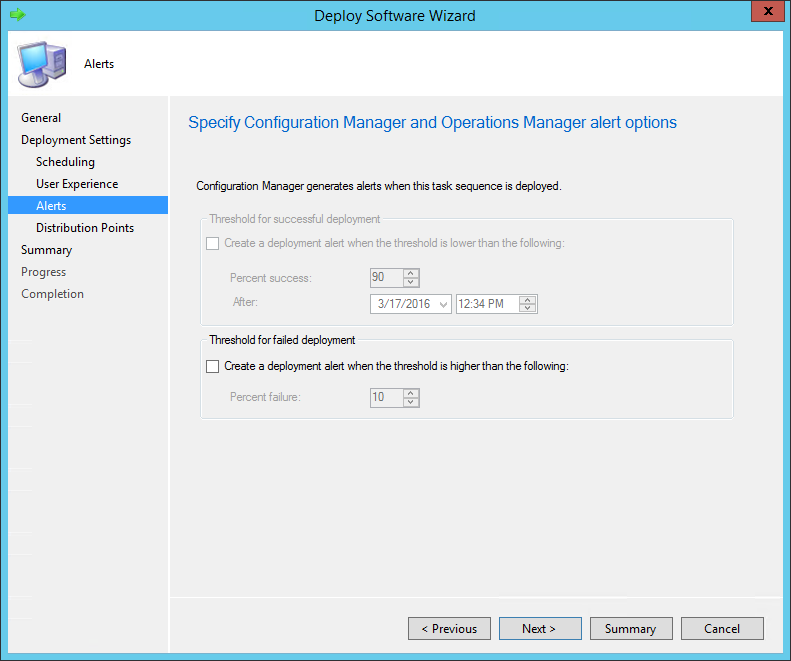
  • In the Alerts tab, check Create a deployment alert when the threshold is higher than the following checkbox if you want to create an alert on the failures

SCCM Windows 10 Build and Capture Task Sequence

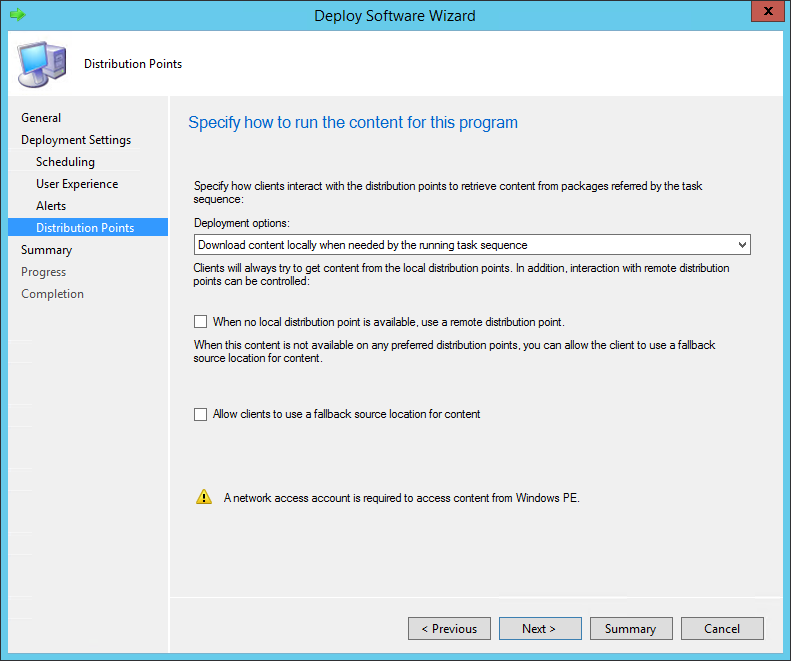
  • On the Distribution Point pane, select the desired Deployment options. We will leave the default options

SCCM Windows 10 Build and Capture Task Sequence

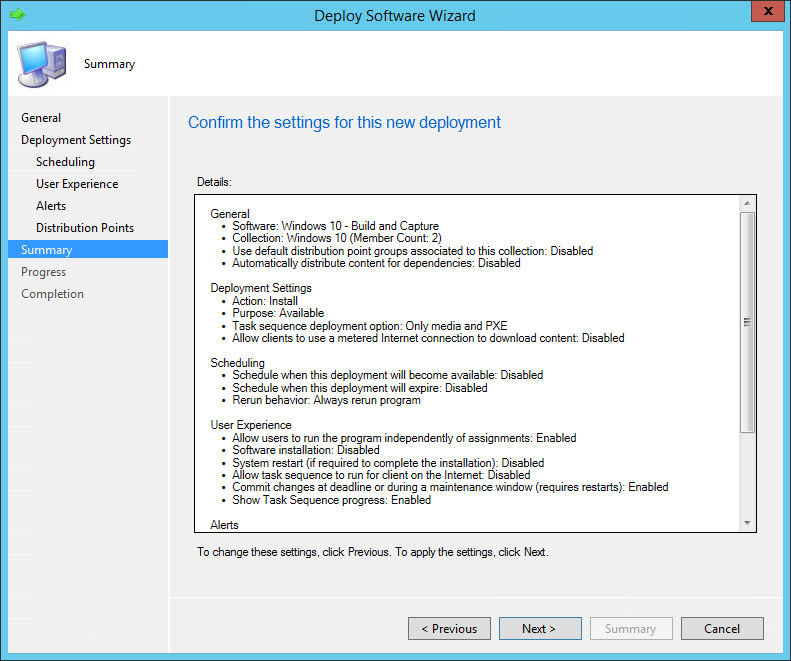
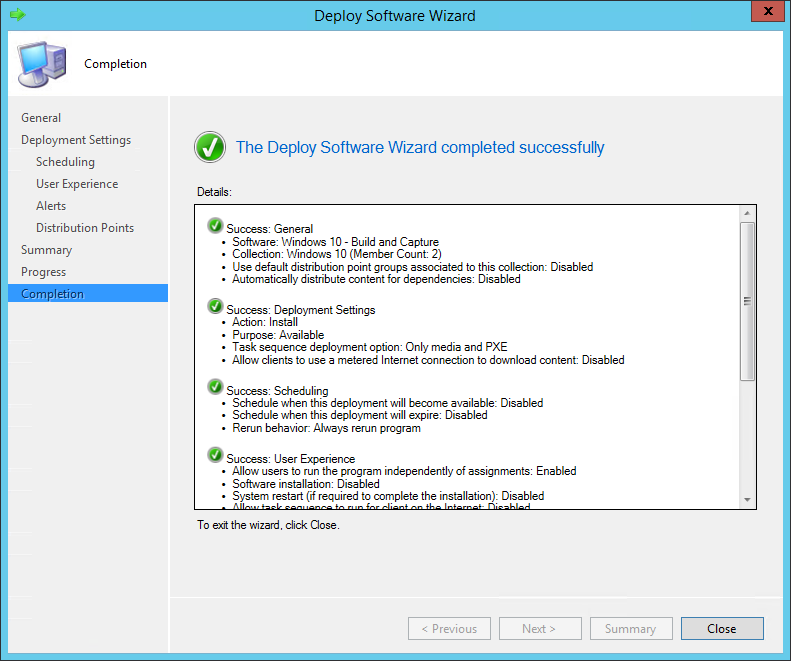
  • Review the selected options and complete the wizard

SCCM Windows 10 Build and Capture Task Sequence

SCCM Windows 10 Build and Capture Task Sequence

PXE Boot

Now that we’ve created our task sequence and that it’s deployed. We can start the deployment on the machine. Make sure that the system you want to capture is a member of your deployment collection and start the device. (See this Technet article to know how to import a computer).

For this example, we will be using a virtual machine running on Hyper-V.

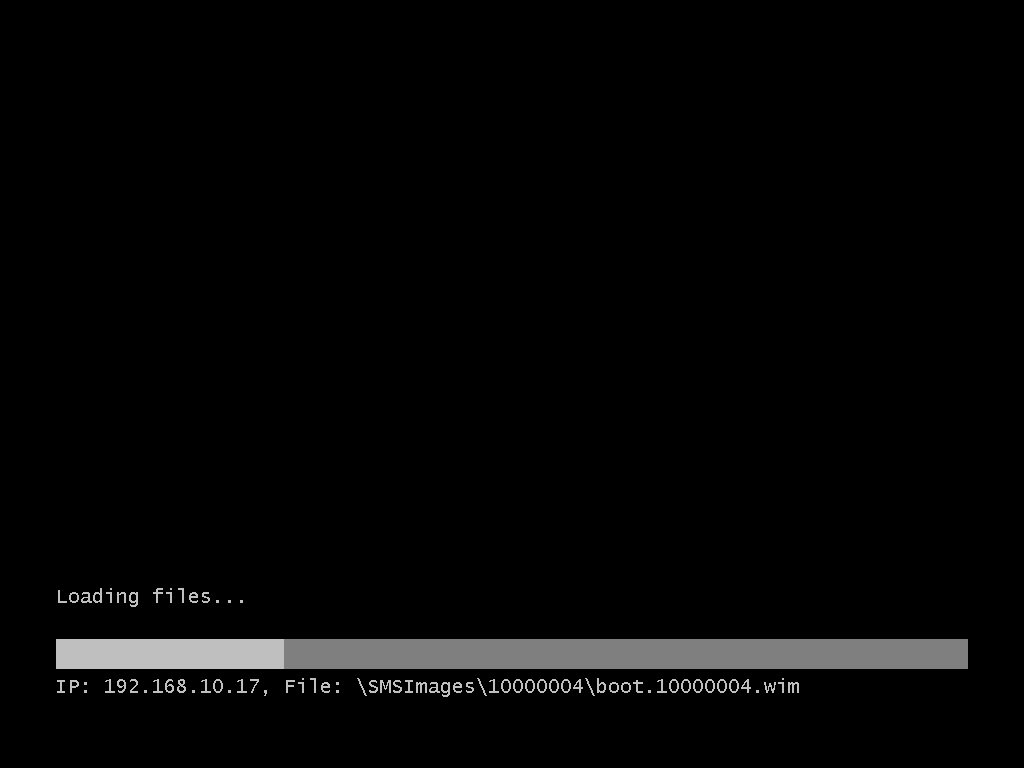
  • The machine is booting and waiting for the PXE to respond

SCCM Windows 10 Task Sequence

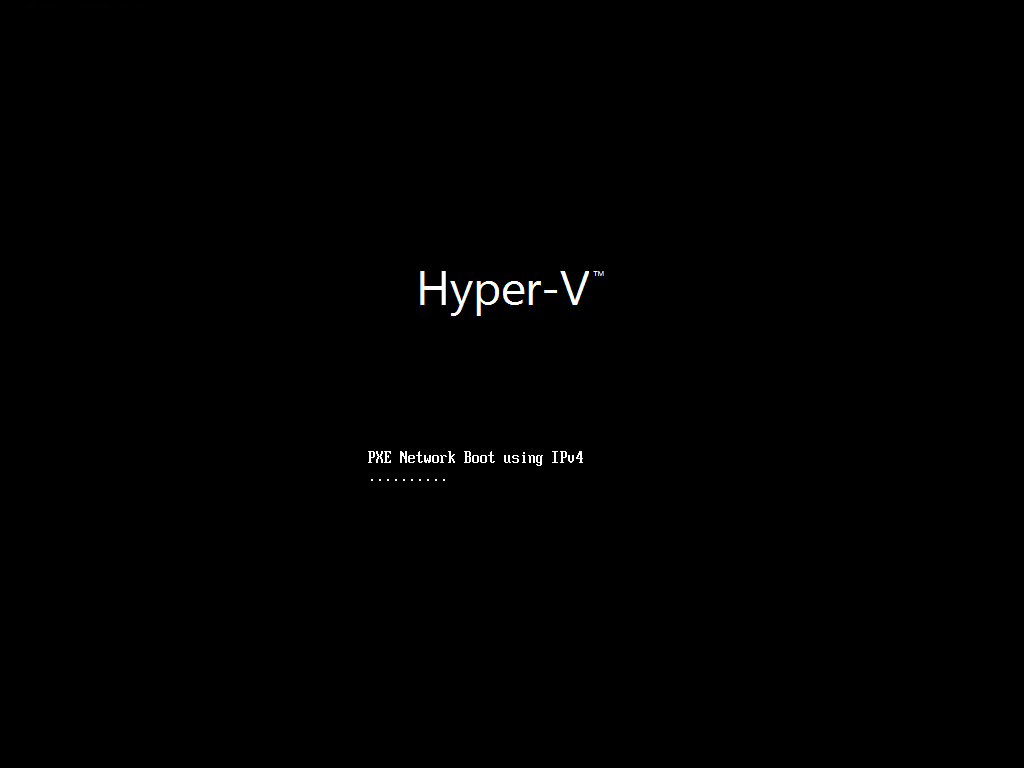
  • Our SCCM Distribution point is sending the boot image to our VM

SCCM Windows 10 Task Sequence

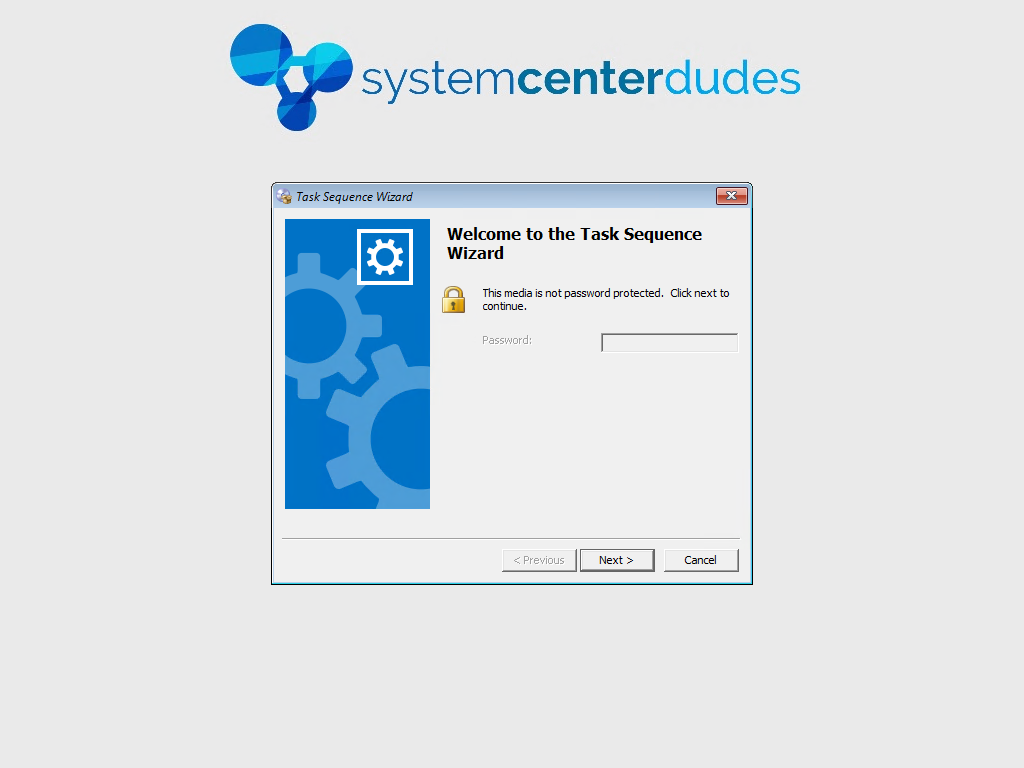
  • The Welcome to the Task Sequence Wizard pops-up. This is because of the Available purpose in the Deployment Settings. If we had a Required deployment, the task sequence would start right away. Click Next

SCCM Windows 10 Build and Capture Task Sequence

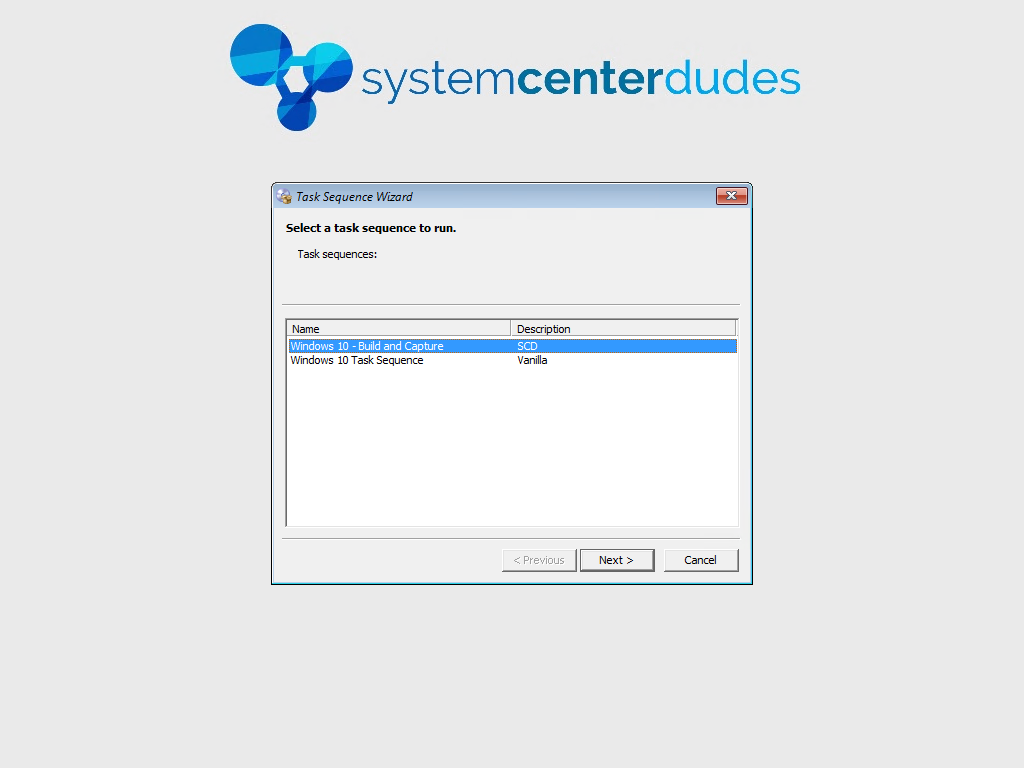
  • All the available task sequence are listed. In our example we have our deployment and our build and capture task sequence. Select the Build and Capture task sequence and click Next

SCCM Windows 10 Build and Capture Task Sequence

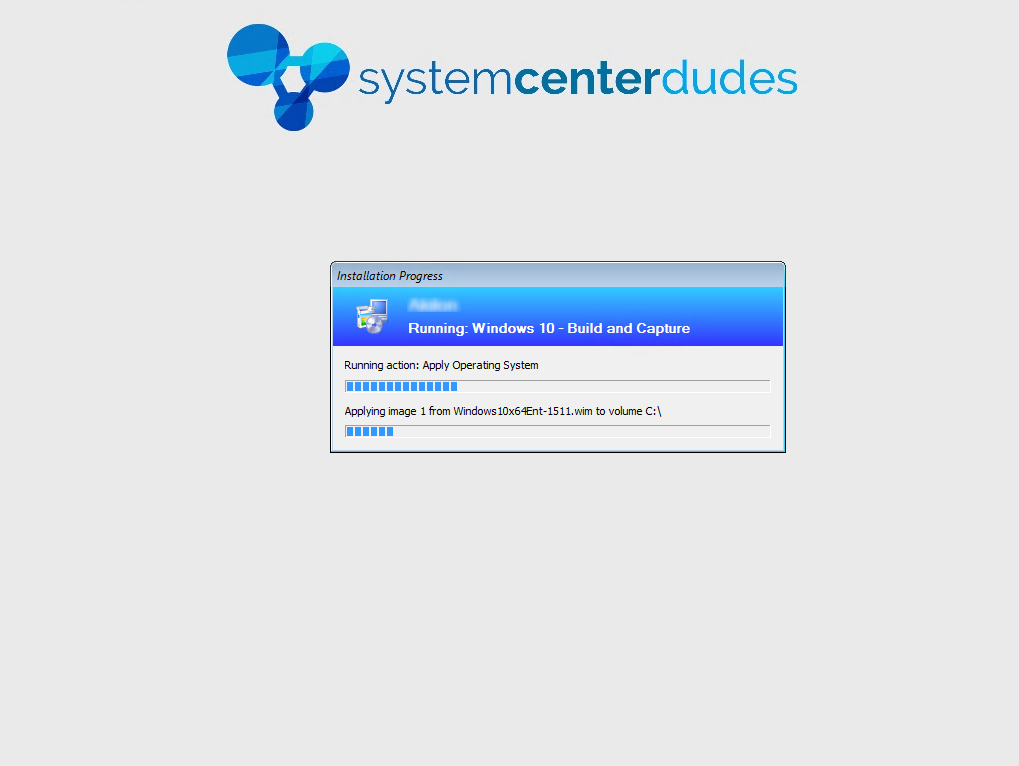
  • The Task Sequence starts

SCCM Windows 10 Build and Capture Task Sequence

Monitoring

See our blog post on this topic which covers the various ways to monitor your task sequence progress.

Comments (29)

Dave Smith

03.23.2020 AT 12:39 PM
have created a Task Sequence within SCCM v. 1910 to deploy Windows 10 operating systems. This task sequence also includes the domain name and Server 2016 domain administrator account to join the operating systems to the Active Directory domain. I have tested that the password I have entered for the domain administrator account is correct by clicking the Test connection button. I then get a message that says "The connection was successfully verified." However, one thing I have noticed is that after I have tested the connection when I go back into the account setting and test the connection again (using the password that has been previously saved, I get a message that says "The user name or password is incorrect." So it appears that the domain administrator password might not be successfully saved. The Windows 10 operating systems successfully install on the client computers using this task sequence. The problem is that once the Windows 10 operating systems have installed I am then unable to logon to them using either a domain account or local user account. What do I need to do to fix this so that I will be able to logon to these Windows 10 operating systems using either a local or domain user account once they have been loaded using this SCCM version 1910 task sequence? I need to ensure that the Windows 10 operating systems deployed using this task sequence will either: 1. Successfully attach to the Active Directory domain so I can the logon to them with a domain account or 2. Create a local account on the Windows 10 OS so I can then logon with this local logon account and join the computer to the domain

Keith Moore

06.26.2019 AT 07:36 AM
I'm in the process of creating a new task sequence to deploy Windows 10 (1809 build) to our University PCs. I'm selecting "Create new custom task sequence" and running through the wizard, it seems to be working fine apart from when I log in after running the image, where the C:\ drive is showing as X:\ even if I select C as the Specific logical driver letter in the Apply Operating System section. I have added a Task Sequence Variable step "OSDPreserveDriveLetter" and set this to C before the Apply Operating System step, when looking through the SMSTS log file this shows as successful, however I'm perplexed as to why I have an X:\ drive at the end. Can you help please?

Seth

03.05.2019 AT 06:41 PM
I get the error code (0x000000035) and from the log file said it cant find the specified path, wondering if because I didnt specify joining the domain?

Harry

01.14.2019 AT 10:53 AM
Could you help me to understand the difference between applying the updates via task sequence steps and applying updates directly to the WIM. I'm trying to find any articles associated to it, but I couldn't get the info.

Yodelling Joe

08.06.2018 AT 02:32 AM
In SCCM 1802 the way to get to this is: Right Click Task Sequences > Create Task Sequence > Build and Capture a reference Operating System Image

Bergen

07.11.2018 AT 10:11 AM
Hello The post is amazing, I wanted to know, after making B&C, what should I do? or where can I add my customization to this B&C?

Drew

01.02.2018 AT 12:06 PM
My question is after I complete all of these steps, what is next?

Arshad

10.17.2017 AT 08:10 AM
Where do I get the installation files for the Creators update? So that I can install the Creators Update in the first place as opposed to installing the Anniversary Edition and then update. Looking to PXE boot using Task Sequence. Thanks in advance.

Andrew

10.02.2017 AT 03:28 AM
Hey. ConfigMgr 1702/Windows 10 1703. Having problems with the image containing a "defaultuser0" account after sysprep, any advice? Regards Andrew

Wiiliam jovel

08.06.2017 AT 09:55 AM
Hello, How can I install one brand new machine with Ms windos 10 with two volumes ( c,: d🙂 ? My reference computer has c; and d: I captured the image, then I started the procedure to install the brand new machine using the capture image, but no functioned Thanks

Jonathan Lefebvre

08.06.2017 AT 07:42 PM
Hi Wiiliam, Reference image do not contain partition configuration. Edit a deployment task sequence, look for the task called UEFI - Partition Disk or BIOS - Partition Disk, to set the disk configuration. hope this help! Jonathan

Lee

12.07.2016 AT 04:21 PM
First off, I want to say that SCD rock! You've helped me through the growing pains of the old-to-new transition of SCCM. I've been given the green flag for OSD testing. The question came up if a new unboxed PC can be quickly added to a deployment collection without having pre-joined the domain, etc., etc.? I'm leaning far towards no, but I wanted to ask. Thanks a ton.

James

07.31.2017 AT 05:00 AM
Hi Lee, I think your looking for the unknown computers collection. Hopefully someone sorted you out by now! regards James

Staceland

10.03.2016 AT 08:57 AM
I don't understand the difference between this build and capture TS and the capture media boot media. This required that I select an existing wim file to apply as the operating system. All it did was overlay my prepared source machine with the existing OS and then recaptured it resulting in two identical wim files on my server. My original source machine now has to be rebuilt.

Jack

09.16.2016 AT 03:48 PM
Does the workstation (VM) that I am adding to the Windows 10 Collection to run the build and capture on have Windows 10 installed on it already or do I create a new VM? If I create a new VM do I install windows first? How do I add that new VM to a collection if no OS is installed on it? Sorry I am confused on that part.

LAPaone

12.09.2018 AT 07:05 PM
Jack, advertise the build and capture task sequence to the unknown Computers collection and then boot the system into the PXE environment and select your operating system.

honda vs toyota reliability

04.11.2017 AT 05:04 PM
I still use the Acnes Mentholatum Cleanser. However, I changed my toner, because I ran out. However, when I go back to Taiwan, I am going to buy more, because I absolutely love it [:

hotel bauen kredit

02.12.2017 AT 12:24 PM
Great post! I do many myself and am a very active agent in the area. It has been a mess down here for the last few years and we are hoping and praying for stabilazation in the very near future.

Benoit Lecours

09.20.2016 AT 01:01 PM
You can deploy your B&C on an existing SCCM client or import your VM as you would do for a brand new computer. https://technet.microsoft.com/en-us/library/bb633291.aspx?f=255&MSPPError=-2147217396

bishop

09.07.2016 AT 10:53 AM
sounds like a good idea in theory. but how do you customize the default user profile? for example, if you use the step to install an app in the reference image but you want to customize some of the settings for that app later on. How can I pause the process so I can do that and then continue the process to finish the capture?

Jonathan Lefebvre

09.18.2016 AT 07:49 AM
Hi Bishop, I suggest you have a look at this post 🙂 https://systemcenterdudes.com/sccm-windows-10-customization/ Jonathan

Curt

06.28.2016 AT 08:39 AM
I don't get this either. This would give me two WIMs on my quickly running out of space server. The one we import from part 1 and the one we capture after pushing out the first one. I already have a reference machine built. Why can't I just capture that one?

Jackr

04.05.2016 AT 06:04 PM
I don't understand this. Usually what you would do in a build and capture scenario whether using MDT or sccm is to create a windows installation from reference media manually and install office within a VM. Then within the OS you run the script that reboots the pc and creates a copy of the wim file on the network. This wim file is then imported in to MDT or SCCM for deployment as an Image. Here you boot the vm and run the task sequence and it automatically starts deploying a windows 10 image?

Benoit Lecours

04.06.2016 AT 11:28 AM
No, the task sequence is used to boot a VM, deploy Windows 10 (and associated configuration) and then capture the WIM file and stores it on a specified location. You will then use this "captured" WIM file in your regular task sequence. Hope it helps.

jackr

04.15.2016 AT 11:27 AM
Ok Sorry. I understand, it is the updates and applications that is customizable in the wizard that permits customizing the wim.

jackr

04.06.2016 AT 01:15 PM
Thanks for the reply, but I am still missing a step or two. I don't see where in your guide anything is being captured. Where in your guide are your adding anything to windows 10 (the associated config) and capturing it?

Chris

03.30.2016 AT 02:01 PM
"These applications will be part of the reference image, we recommended adding only software that need to be included in every deployment… and even there, I prefer add it to a deployment task sequence rather to include it in my image." Does this greatly increase network load and deployment time versus deploying a thick image (only drivers and hardware-dependent applications installed during deployment)?