

Enable and Manage Windows Defender Firewall using Intune
Founder of System Center Dudes. Based in Montreal, Canada, Senior Microsoft SCCM Consultant, 8 times Enterprise Mobility MVP. Working in the industry since 1999. His specialization is designing, deploying and configuring SCCM, mass deployment of Windows operating systems, Office 365 and Intune deployments.

Benoit Lecours
President


Share


Get the latest insights and exclusive content delivered to your inbox
If you’re managing your device using Microsoft Intune, you may want to control your Windows Defender Firewall policy. This can be useful to make sure that every device has the Windows Firewall enabled and that you’re controlling the inbound and outbound connections.
The Microsoft Intune interface makes this configuration pretty easy to do. The key is to create a configuration profile to target your Windows 10 devices. In this article, we’ll describe each step needed to manage the Windows Defender firewall using Intune.
Windows Defender Firewall Intune Requirements
The only requirement to manage your Windows Firewall with Intune is that your device runs Windows 10 and that it’s enrolled into Intune.
Create a Configuration Profile
To Begin, we will create a profile to make sure that the Windows Defender Firewall is enabled.
After, using the same profile, we will block certain applications and ports.
- Log in our Intune Portal
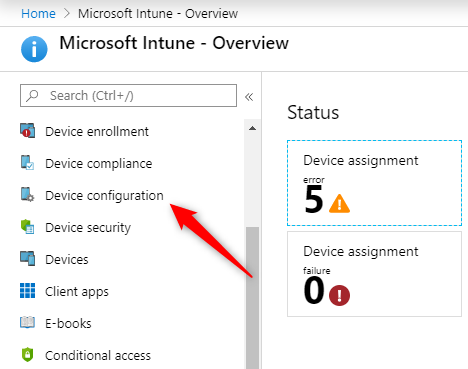
- One the left, select Device Configuration
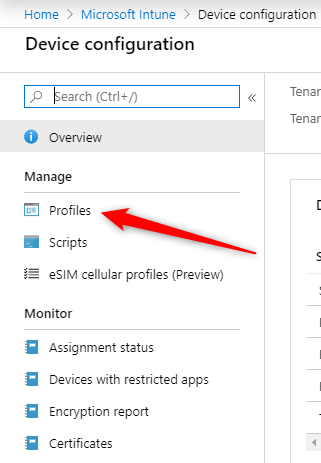
- On the Device Configuration pane, select Profiles
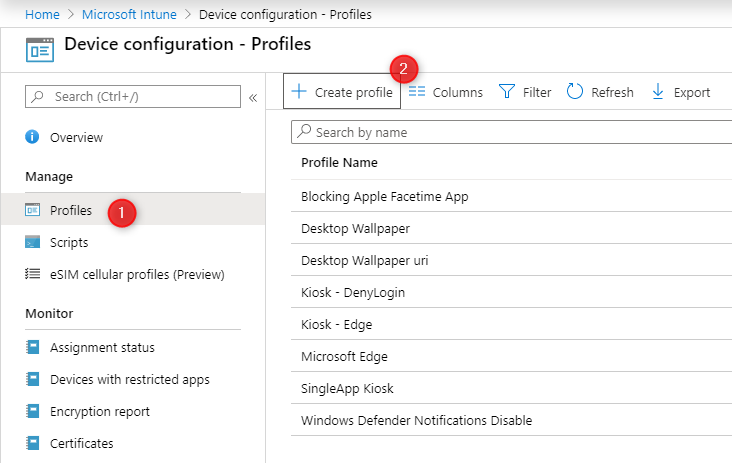
- At the top of the Profile pane, select Create Profile
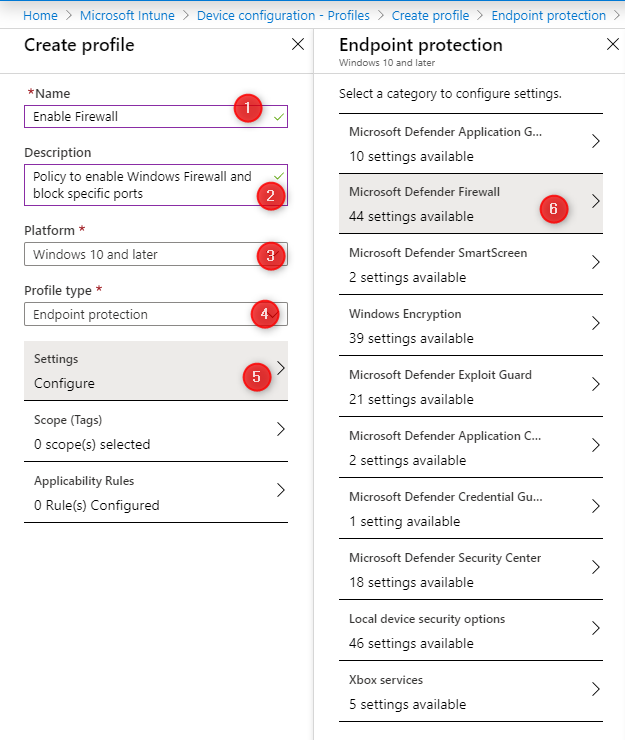
- On the Create profile Pane
- Enter a Name for your profile (1)
- Add a Description (2)
- Under Platform, select Windows 10 and later (3)
- Under Profile Type, select Endpoint Protection (4)
- Under Settings, click Configure (5)
- The Endpoint Protection Pane opens
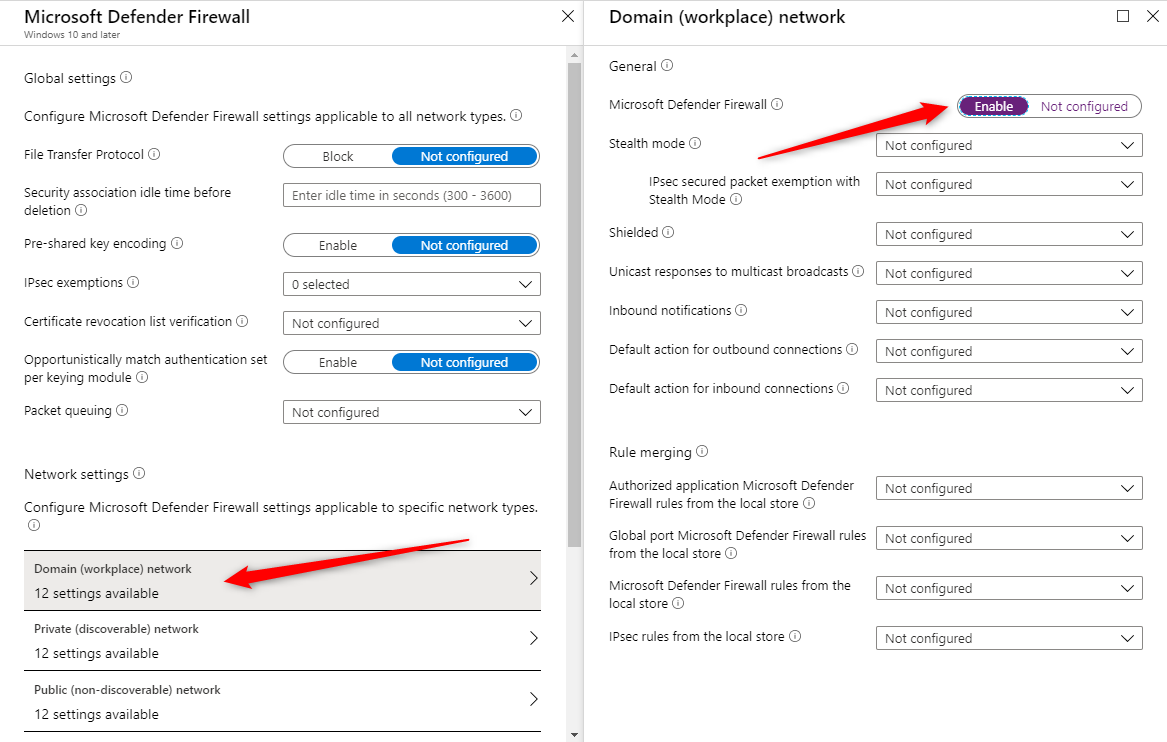
- Select Microsoft Defender Firewall (6)
- On the Microsoft Defender Firewall screen, at the bottom, we select the Domain network and in the opening pane, we select Enable under Microsoft Defender Firewall
- Click Ok at the bottom to close the Domain network pane
- This ensures that the device has the Firewall enabled
We will now create a firewall rule to block inbound port 60000 to communicate with our device.
- Back in the Microsoft Defender Firewall pane, click the Add button at the bottom to add a Firewall rule
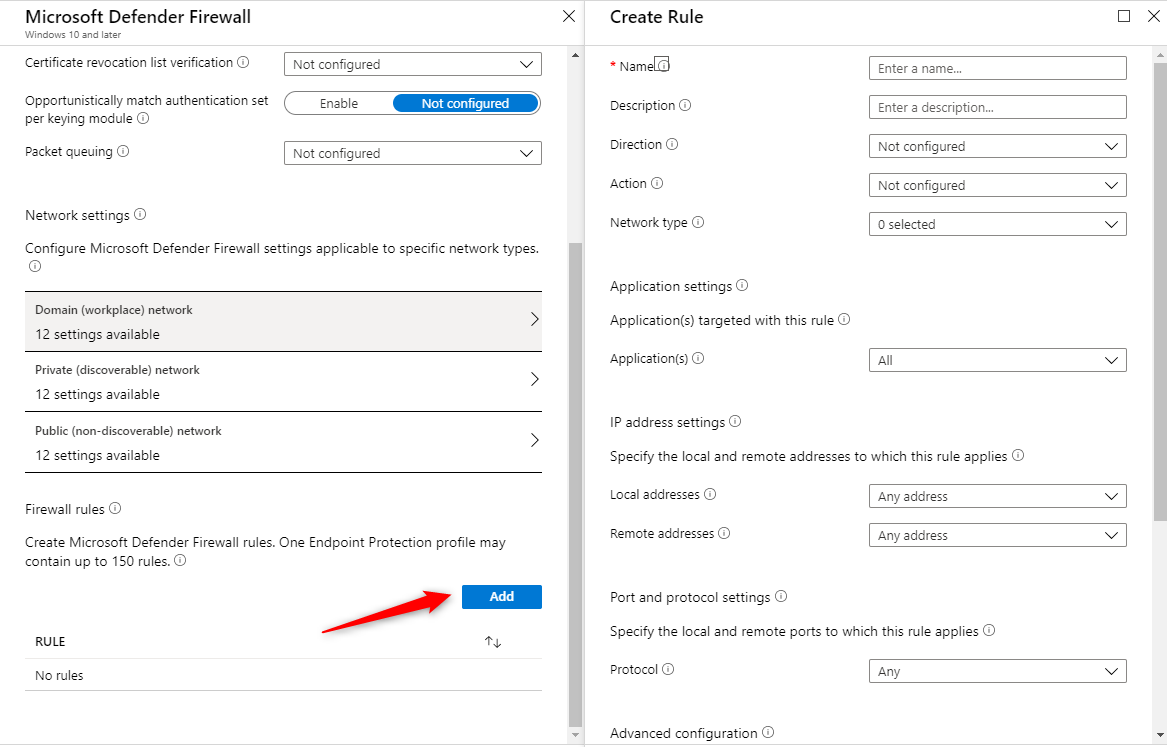
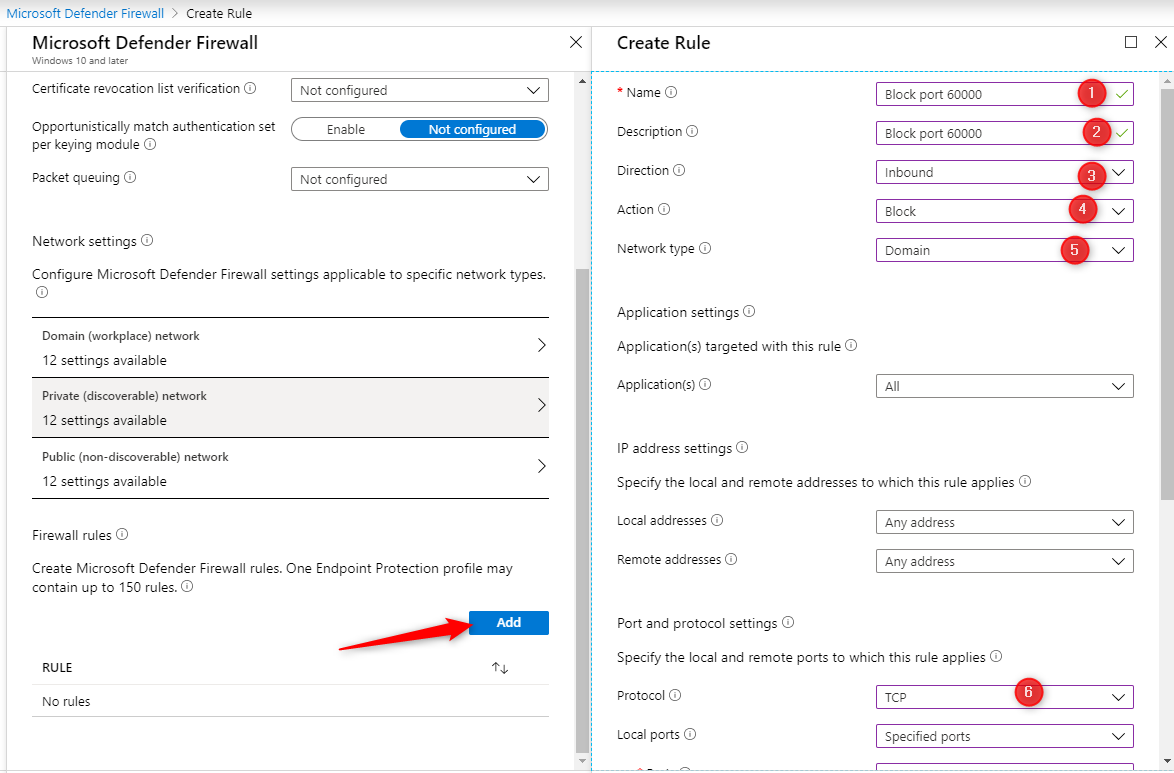
- In the Create Rule pane, enter the desired information
- Enter a rule Name
- Enter a rule Description
- In Direction, enter Inbound
- Under Network Type, select Domain
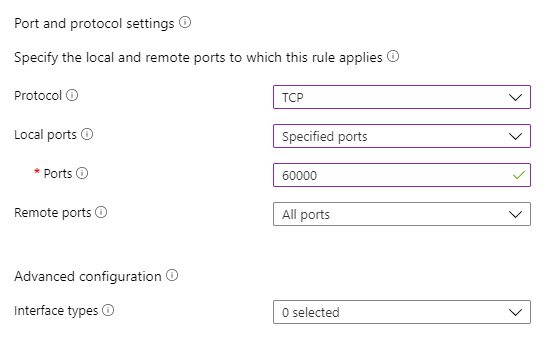
- In the Protocol box, enter TCP
- In Ports, enter 60000
- Click Ok at the bottom
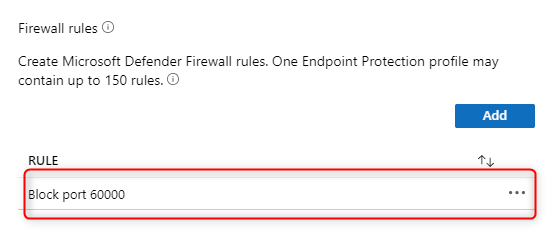
- Back in the Windows Defender pane, ensure that your Rule has been added
- Repeat the steps if you need to add more firewall rules
- You can remove it by clicking on the 3 dots at the right if needed
- Click Ok twice and click Save to save your profile.
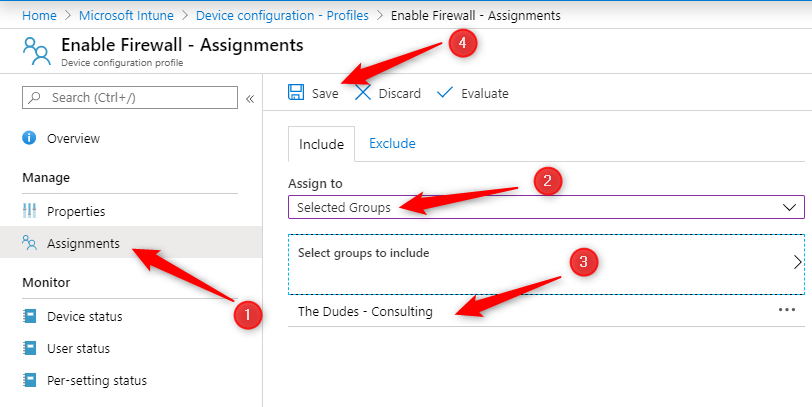
- Now, it’s time to assign your profile to your devices. Without an assignment, your profile is not applied.
- Click Assignments at the left (1)
- Select Include and in the Assign to box, select the group you want to assign your Windows Firewall profile you just created (2-3)
- Click Save at the top (4)
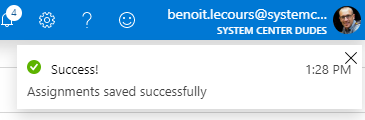
- You’ll see a confirmation at the top right
- On a managed device, you’ll see the following message: For your security, some settings are controlled by Group Policy

- In the Inbound Rules section, you’ll see our rules that have been applied

Share
Get the latest insights and exclusive content delivered to your inbox


Only authorized users can leave comments
Log In