Upgrade Windows 10 using SCCM Task Sequence
With the introduction of new Windows 10 service branches, you will need to upgrade your Windows 10 devices at a much faster pace. Hopefully, SCCM Current Branch (1511 and higher) has built-in features to help you fulfill this task. You can choose between Upgrade Task Sequence or the new Windows Servicing feature. This post will describe how to upgrade Windows 10 using SCCM Upgrade Task Sequence.
If you are running SCCM 1511 we recommend to use the Upgrade Task Sequence over the new servicing features. There is an issue in SCCM 1511 that make all Windows 10 languages and editions to be downloaded to the device when the ADR runs. This is fixed in SCCM 1602, using a new filter you can exclude unwanted languages and editions.
If you are running SCCM 1602 or later, it’s really a matter of preference of which process to use. Each one has their own advantages, the new servicing features is using the ADR/Software Update engine, the Task Sequence one is using Task Sequence engine. The Task Sequence method allows to run additional tasks after the upgrade or install new applications. Read both our post before making your decision or use both if needed.
In this post, we will be upgrading a Windows 10 1511 to Windows 10 1607 using SCCM 1606. You can use this method to upgrade any upcoming Windows 10 release. Refer to our other blog post if you’re looking to upgrade Windows 7 to Windows 10 using task sequences.
Requirement for Windows 10 SCCM Task Sequence Upgrade
In an upgrade task sequence, you will need to have the full Windows 10 1607 media imported in Operating System Upgrade Packages node in SCCM :
- Open the SCCM Console
- Go to Software Library \ Operating Systems \ Operating System Upgrade Packages
- Select Add Operating System Upgrade Packages

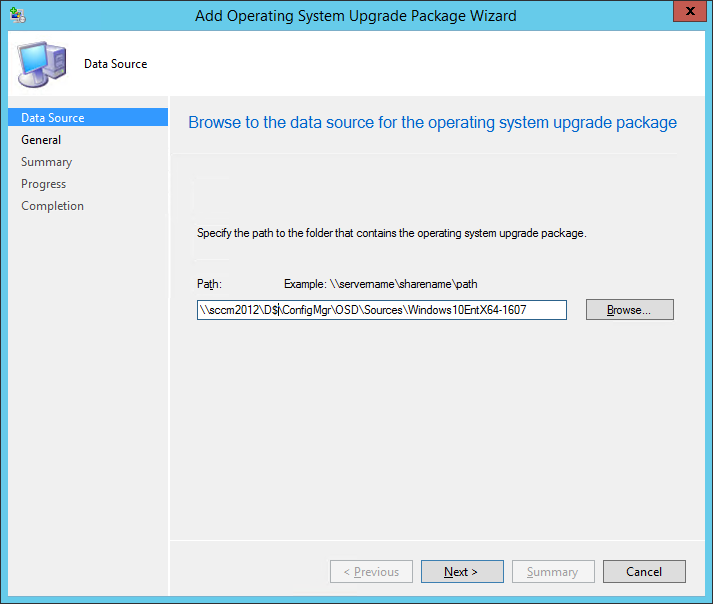
- Select the path where you extracted the Windows 10 ISO
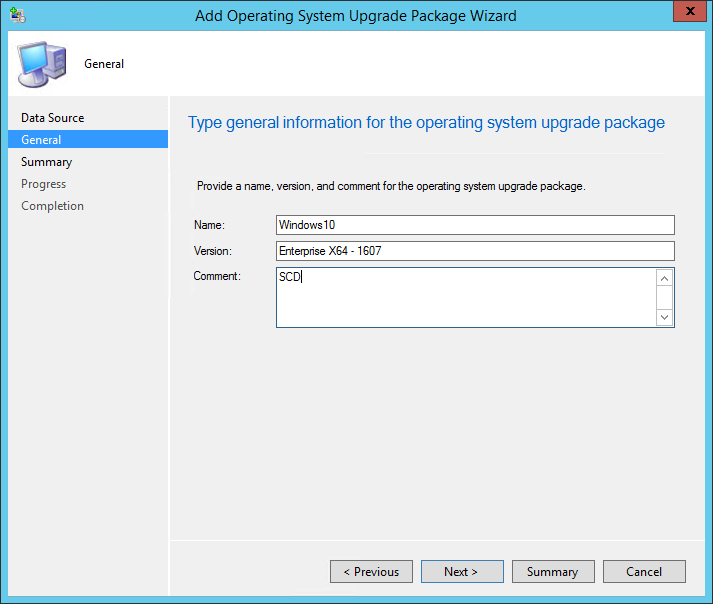
- In the General tab, edit Name, Version and Comment fields, click Next
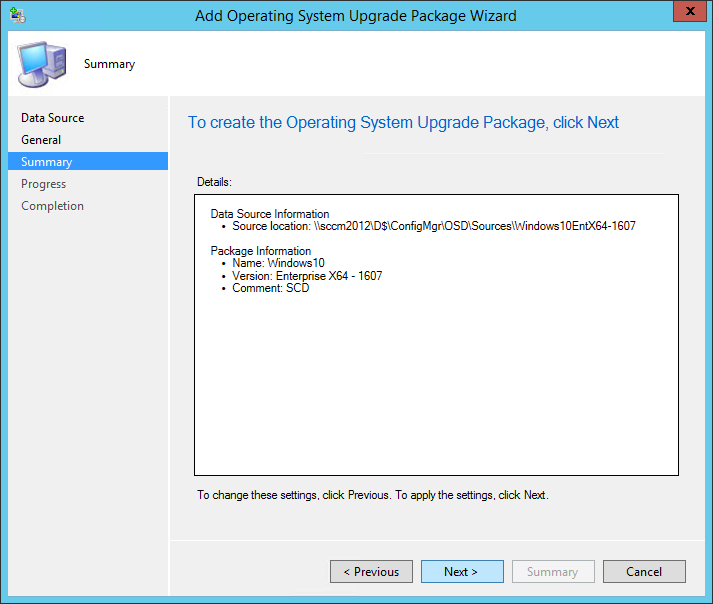
- In the Summary tab, review your choices and click Next
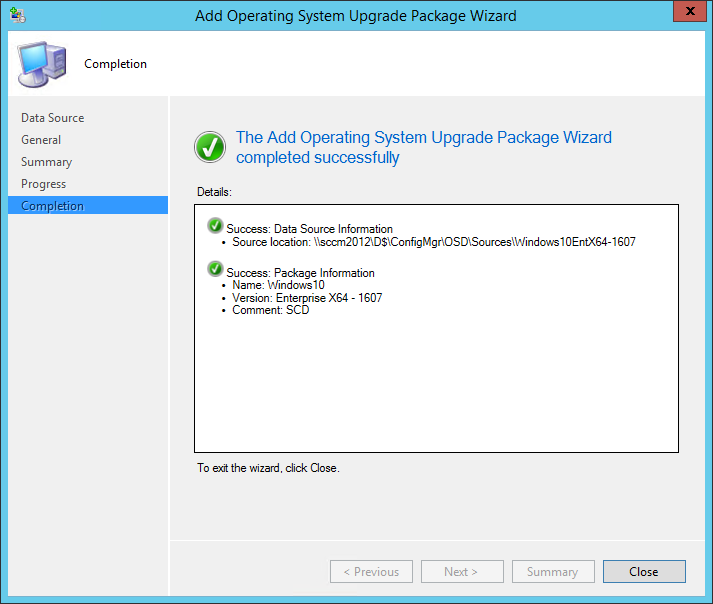
- Your operating system upgrade package is imported and ready to use in an upgrade task sequence
Distribute Operating System Upgrade Packages
- Select your newly imported operating system upgrade packages and select Distribute Content
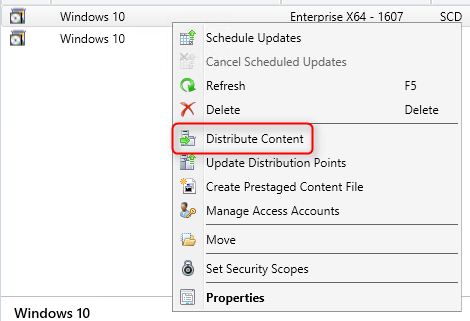
Send it to all your distribution points where you will be doing Windows 10 upgrade
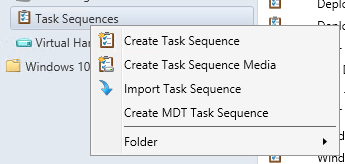
Create Windows 10 Upgrade Task Sequence
- Open the SCCM Console
- Go to Software Library \ Operating Systems \ Task Sequences
- Right-click Task Sequence and select Create Task Sequence
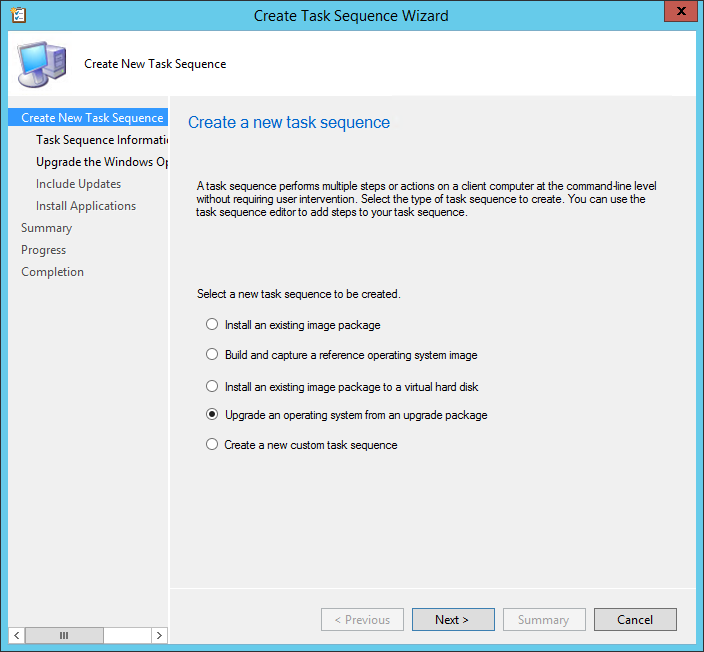
- Select Upgrade an operating system from an upgrade package, click Next
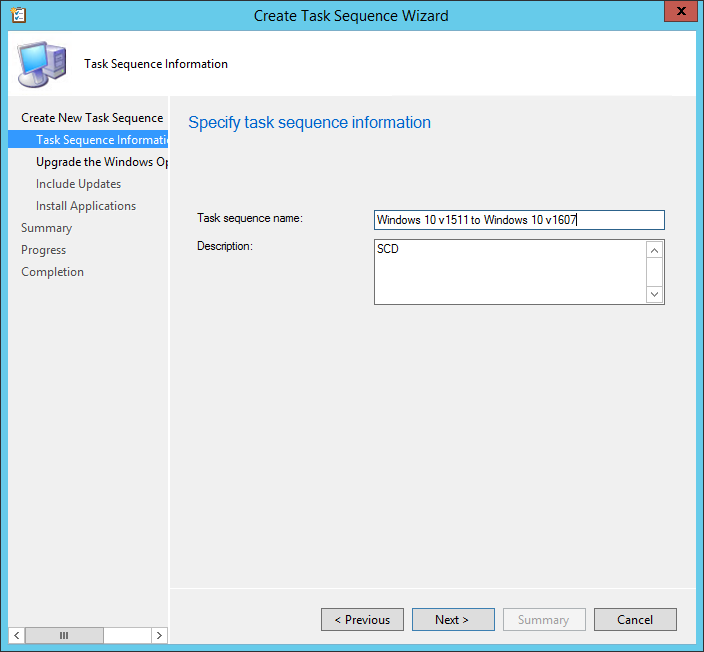
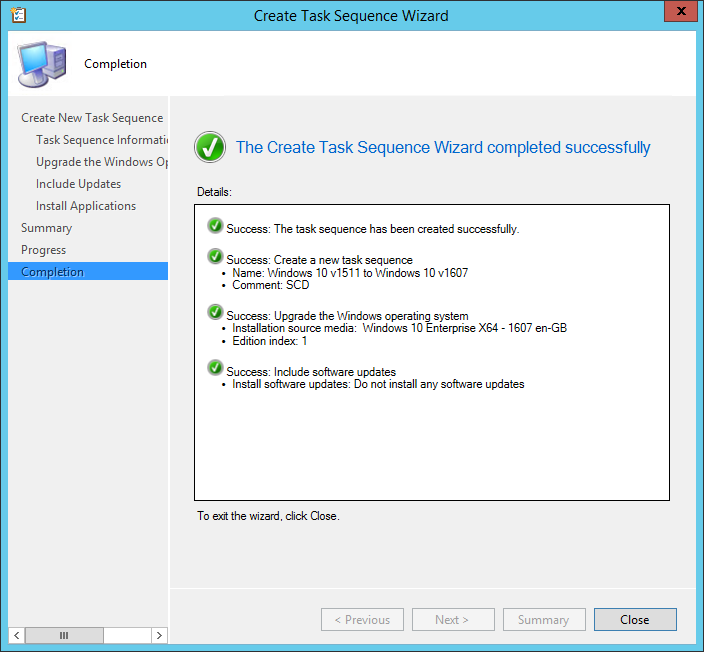
- In the Task Sequence Information tab, modify the Task sequence name and description if needed, click Next
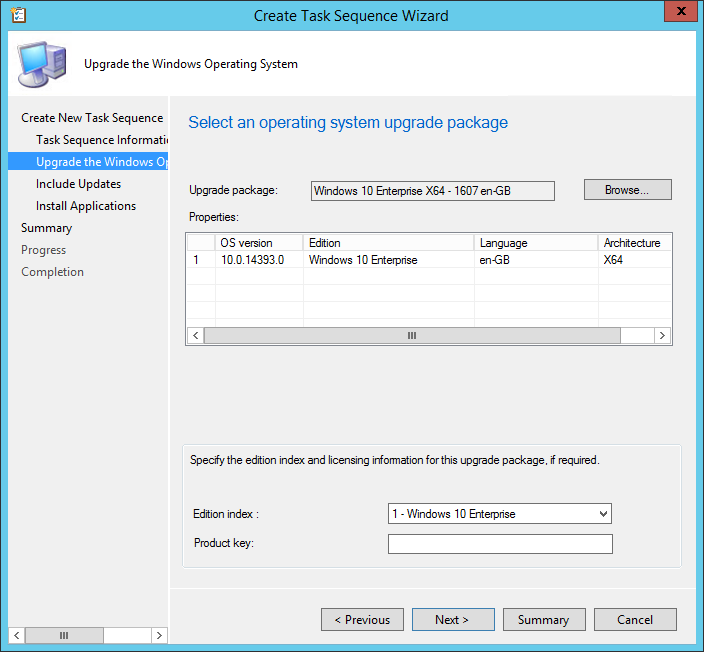
- In the Upgrade the Window Operating System tab, click Browse and select your imported package, click Ok then Next
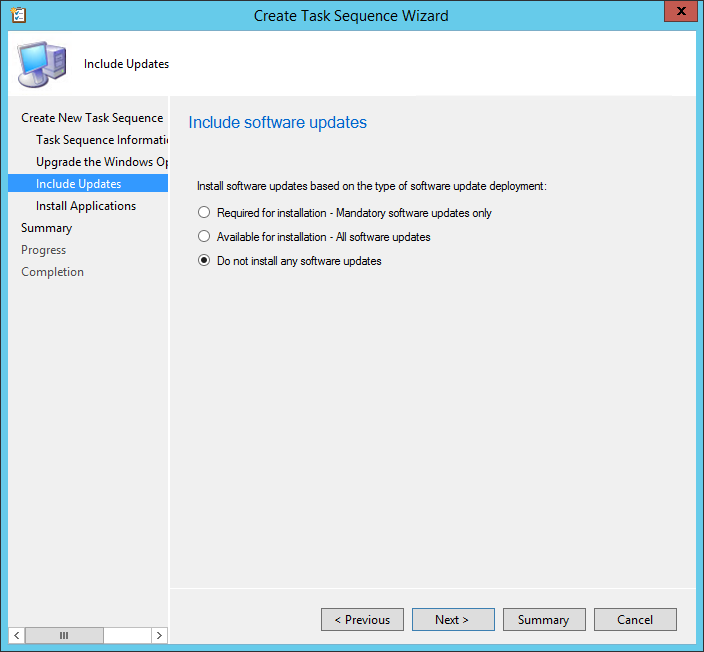
- In the Include Updates tab, we’ll select Do not install any software updates
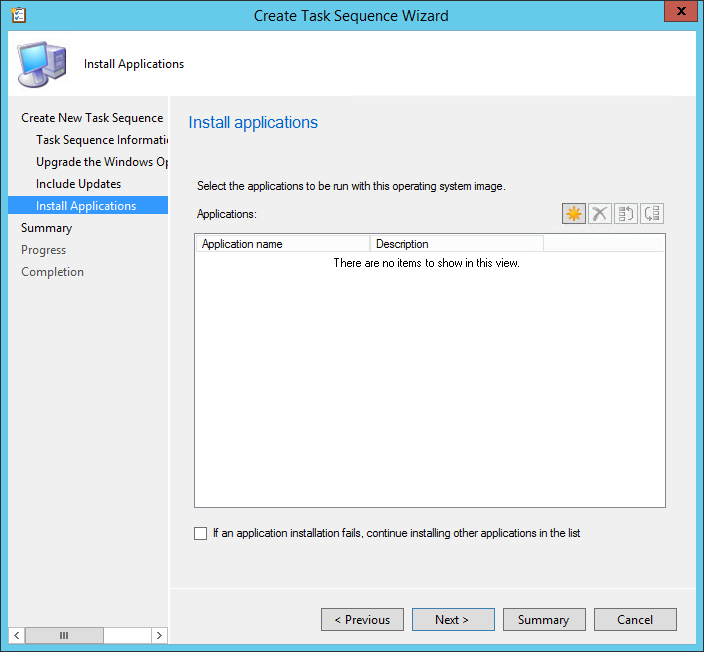
- In the Install Applications tab, add any applications you want to install after the upgrade, click Next
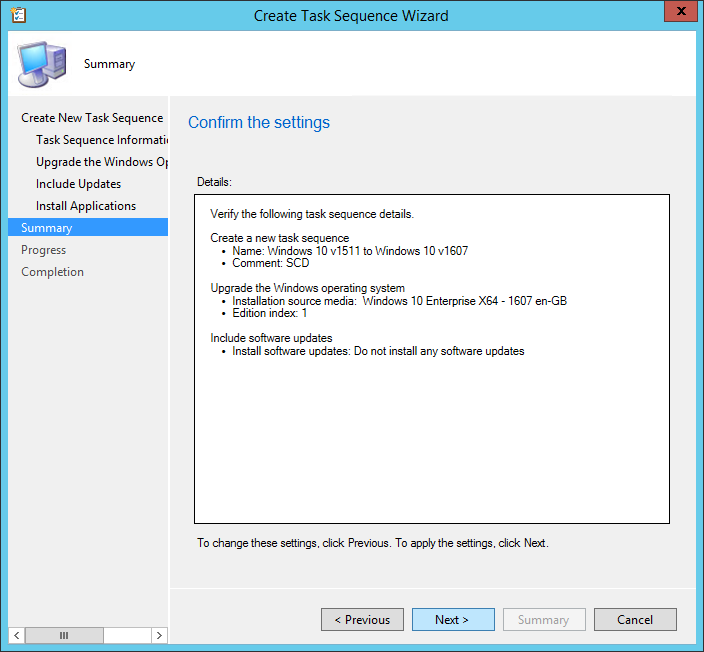
- Review your choices, click Next and close the Create Task Sequence Wizard
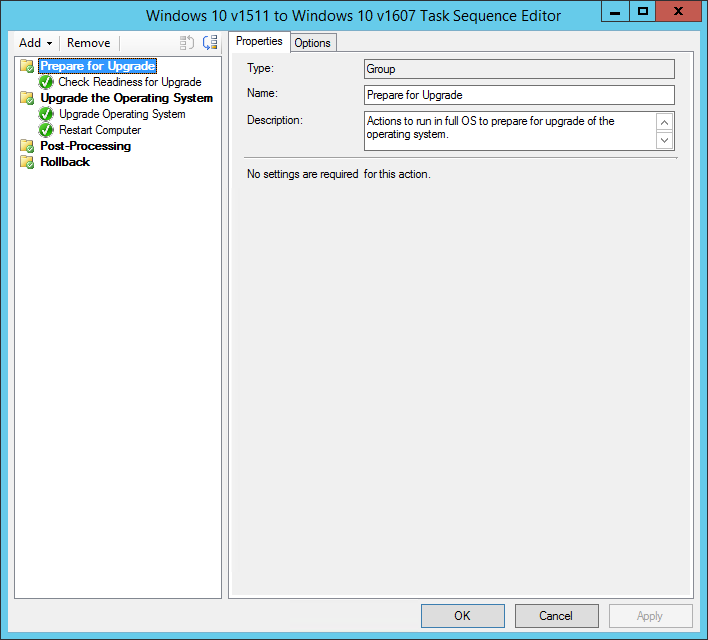
- If you right click your newly created task sequence and select Edit, you’ll notice that the task sequence is really simple. You can add additional steps if required
Deploy the Task Sequence
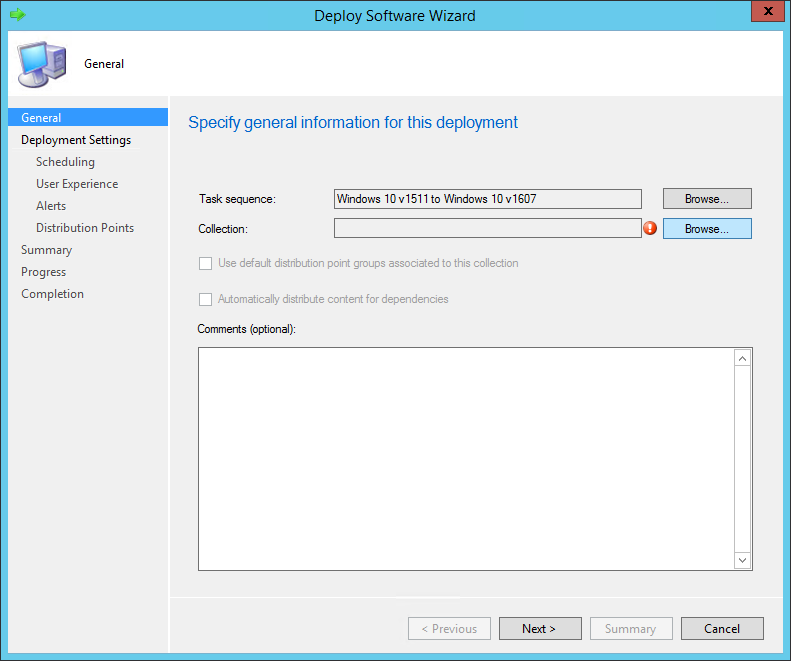
- Right click your newly created task sequence and select Deploy

- In the General tab, click Browse and select a collection that contains your Windows 10 devices to be upgraded. At this point, we recommend to select a collection containing a couple of devices to test your deployment. Click Next
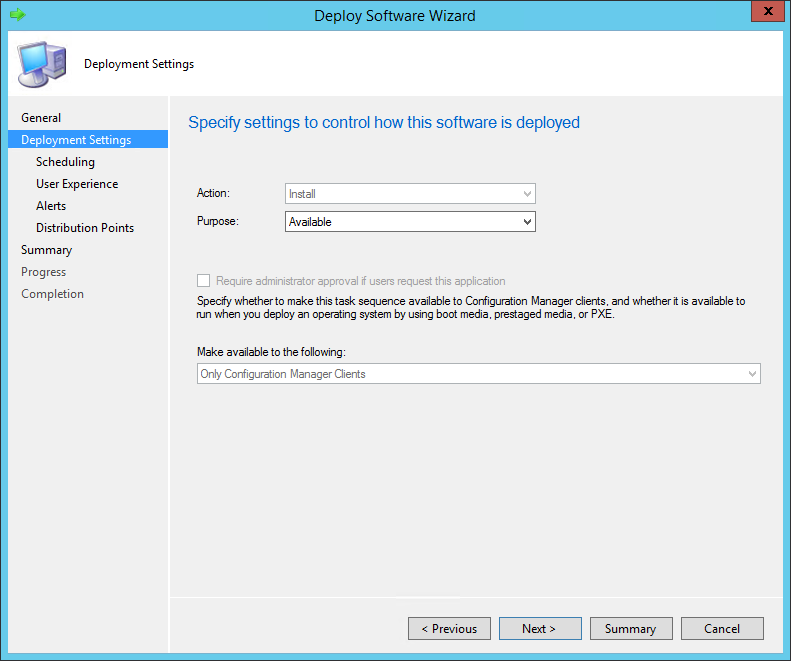
- In the Deployment Settings tab, select the Purpose (Available or Required). For this post we will select Available, click Next
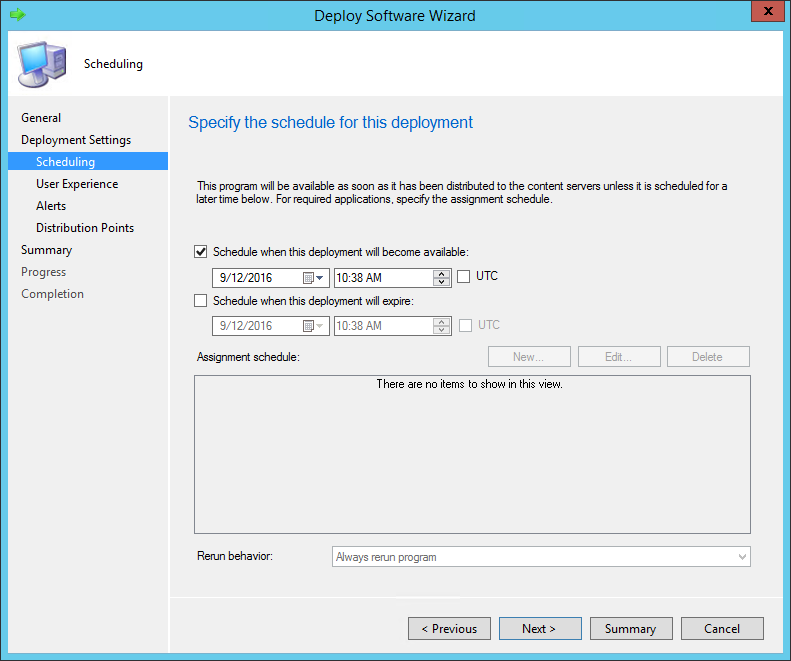
- In the Scheduling tab, select the desired date and time, click Next
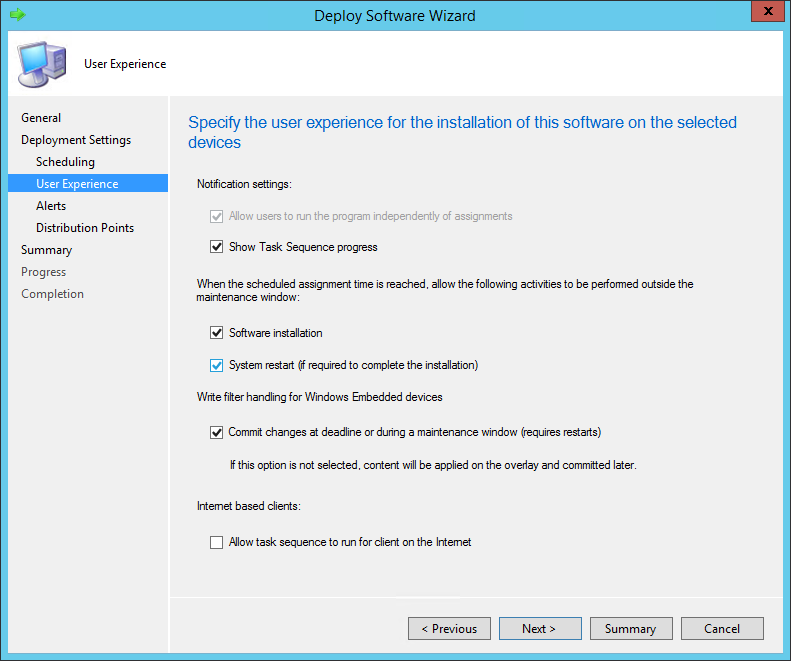
- In the User Experience tab, select desired options and click Next
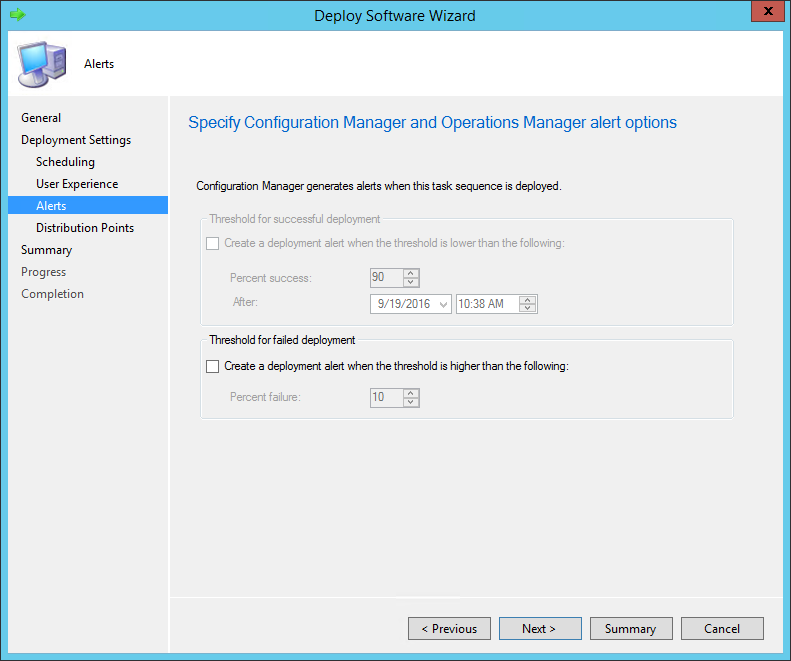
- In the Alerts tab, decide if you want to create alerts for the deployment and click Next
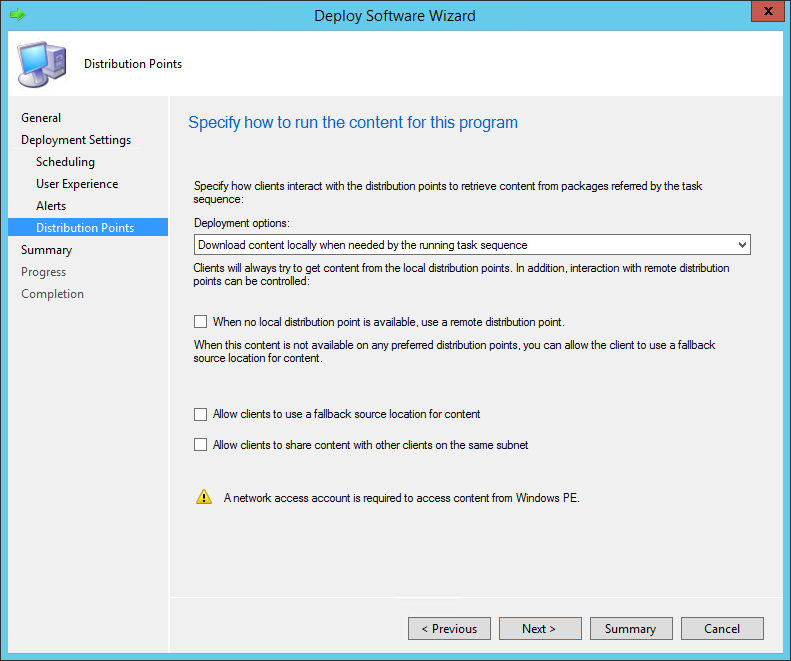
- In the Distribution Points tab, select desired options, click Next
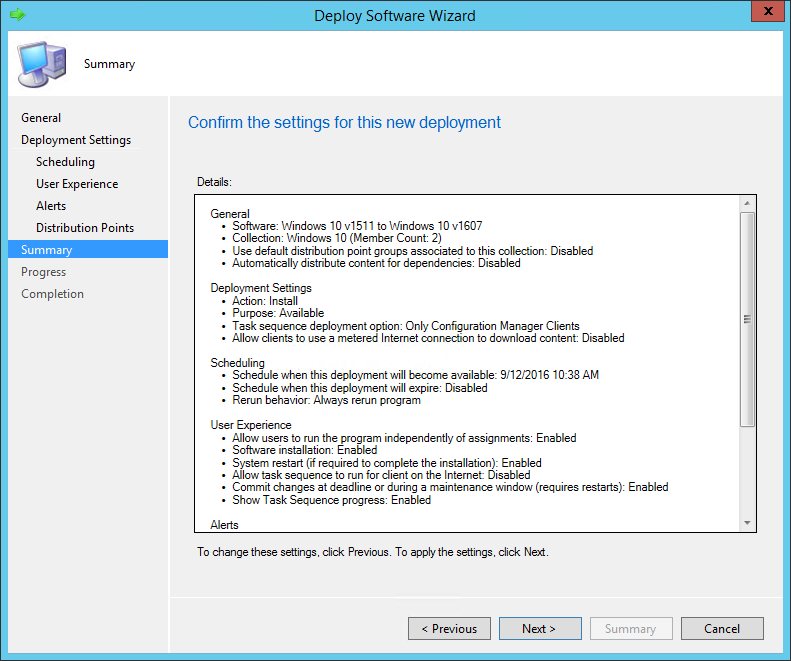
- Review your settings, click Next and close the wizard

Deploy the Task Sequence on a Device
Now that our task sequence is targeted to our Windows 10 device, we need to open the Software Center to initiate the upgrade process.
Before launching, let’s look at our current Windows 10 version :
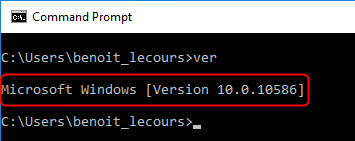
- Open a command prompt and enter ver
- We are running Windows 10 1511 (Build 10586)
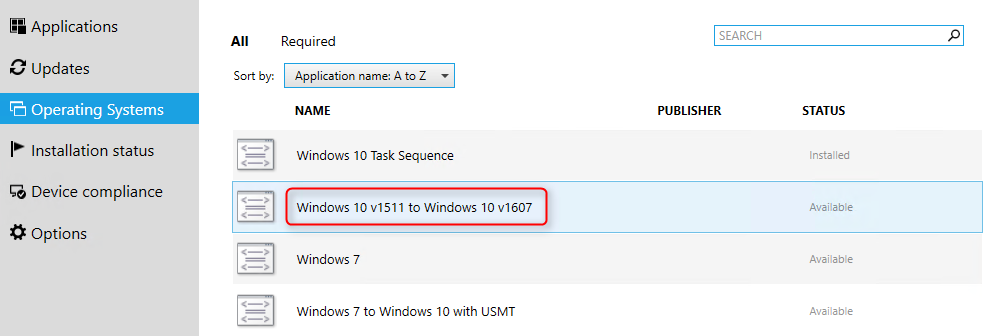
- In the Start Menu, select Software Center. We are using the new Software Center, your screens may differ if you’re not.
- Browse to Operating Systems and select your task sequence
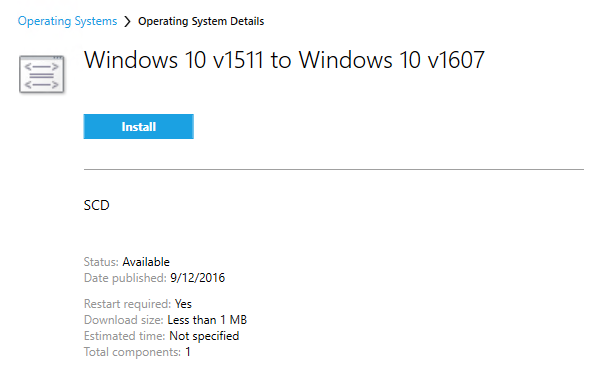
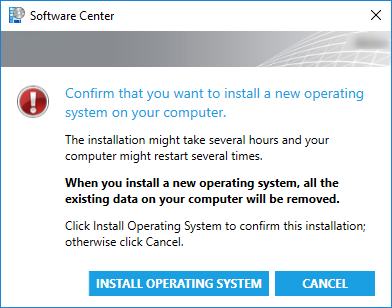
- Accept the warning by selecting Install Operating System (No, your data won’t be lost !)
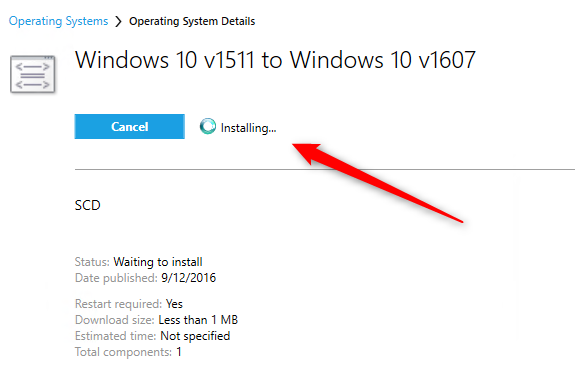
- The installation process starts. You can monitor the progress in C:\Windows\CCM\Logs\SMSTSLog\SMSTS.log
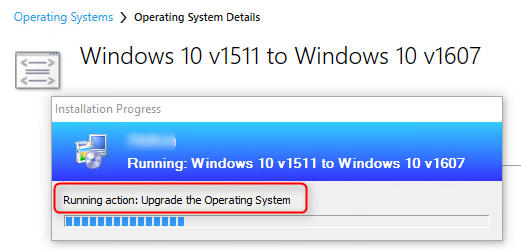
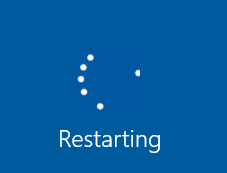
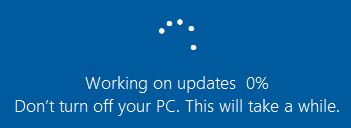
- The computer will restart after about 5 minutes
- The whole upgrade process takes about 30 to 45 minutes and your device will be rebooted several time
- Once completed, log on the computer using your account. Windows is happy to tell you that it’s updated

- Open a command prompt and enter ver
- We are now running Windows 10 1607 (Build 14393)

Use the comment section to tell which upgrade method you are preferring.


Thank for your reply!