The PDF file is a 162 pages document that contains all informations to install and configure SCCM Current Branch. Use our products page or use the button below to download it . |
This blog post has been updated. Please refer to the new SCCM Current Branch Installation Guide. |
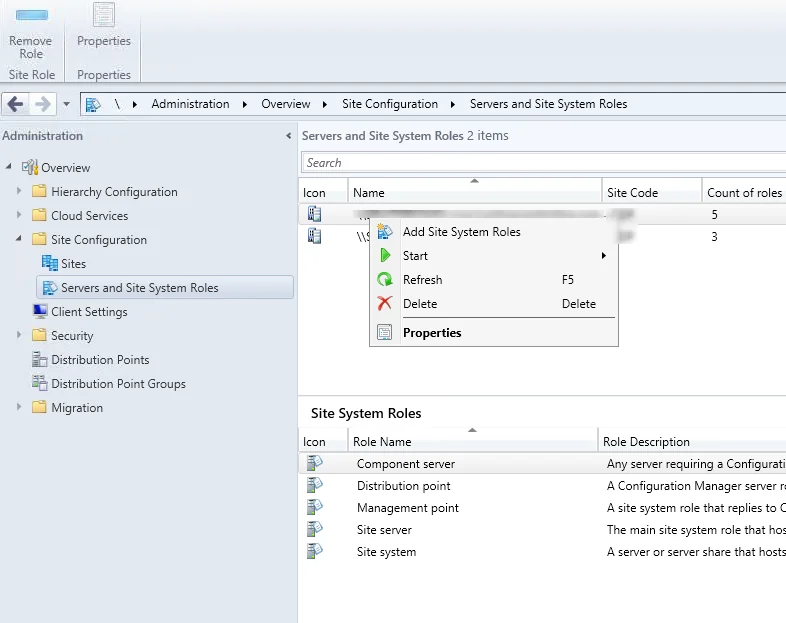
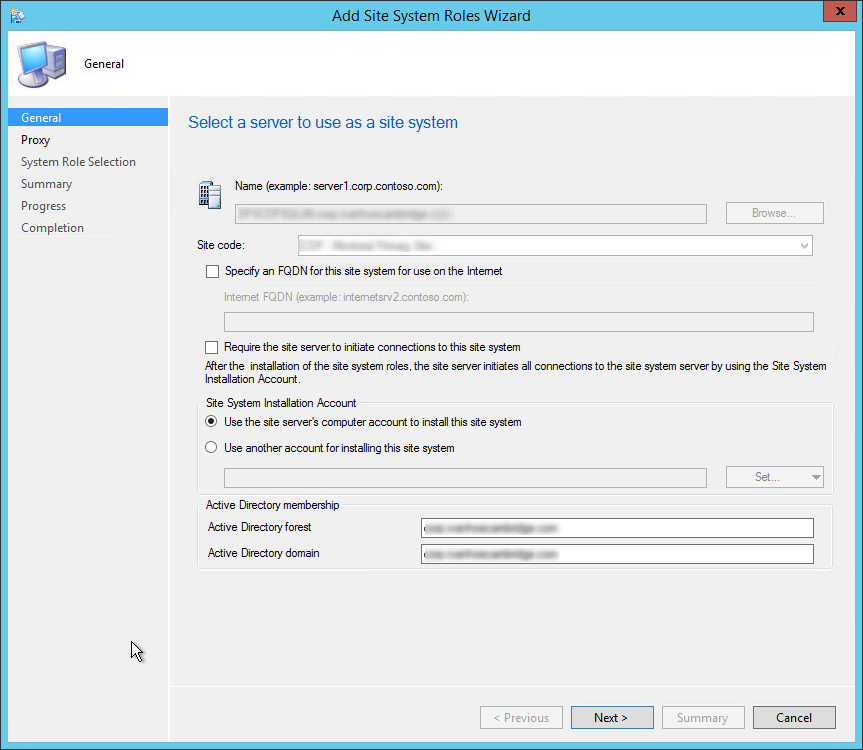
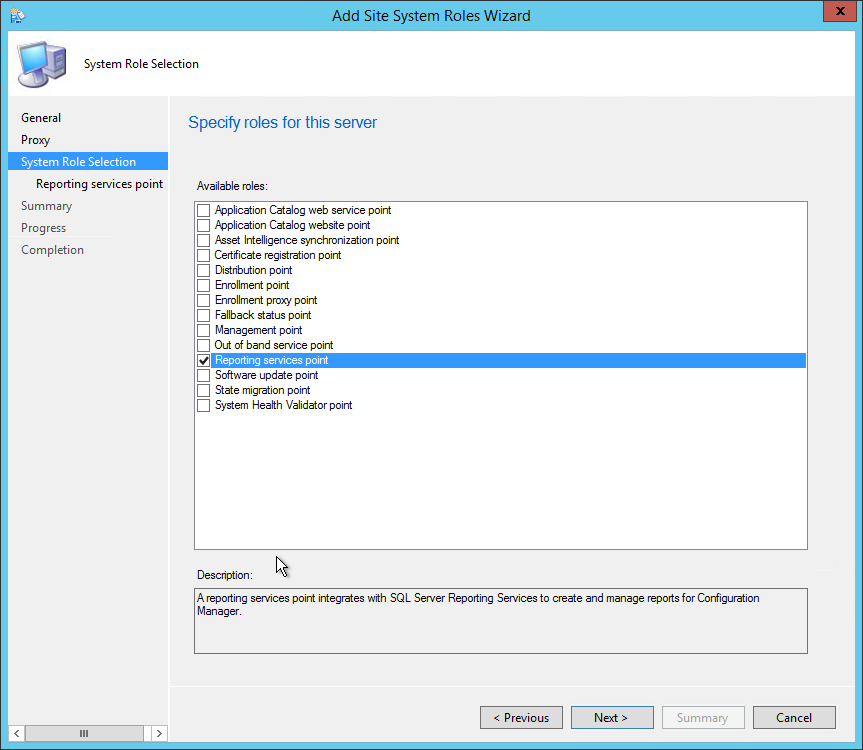
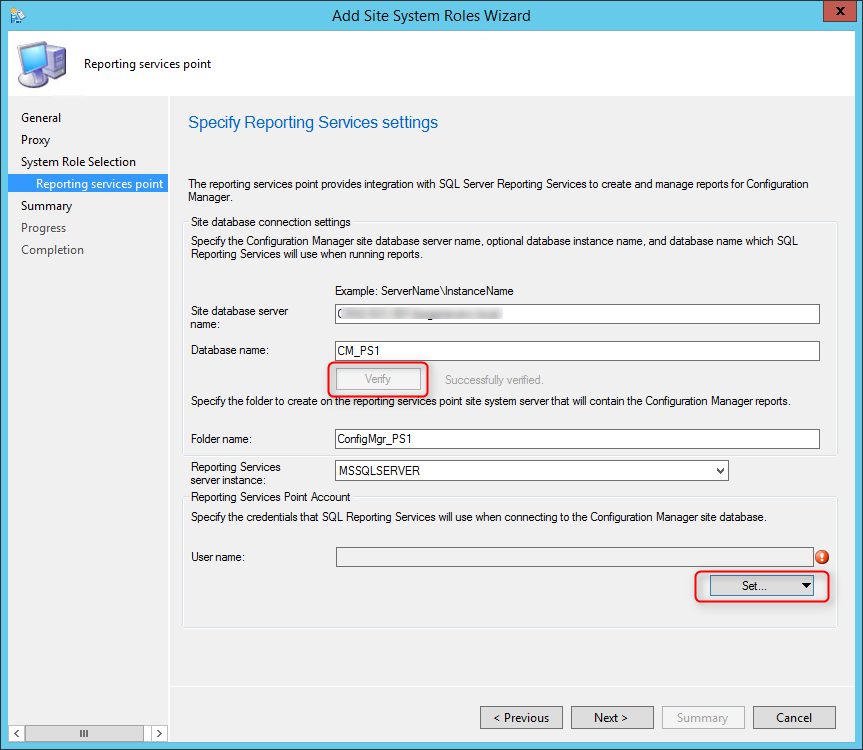
In this part of SCCM 2012 and SCCM 1511 blog series, we will describe how to install a SCCM 2012 or SCCM 1511 reporting services point.
This role can be installed on a remote machine, the process is the same but the logs location is different.
Before you can install the reporting services point role you must configure SQL correctly.
We’ll be using SQL 2012 on this post. We are assuming that SQL is already installed and that your SCCM site is up and healthy.
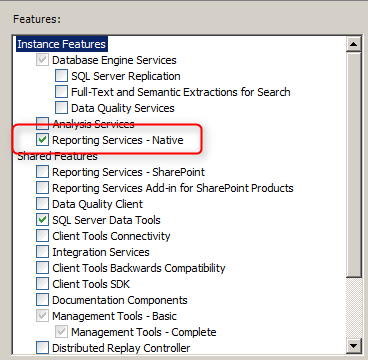
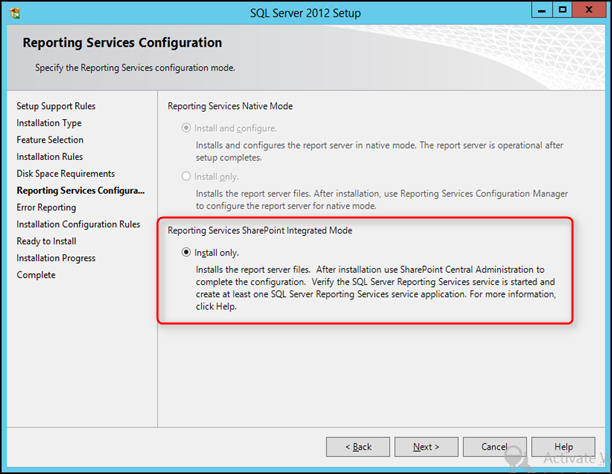
During the initial SQL installation, you must select Reporting Services.
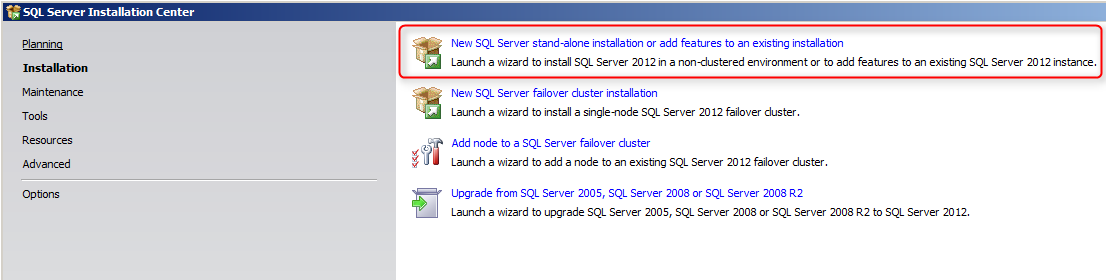
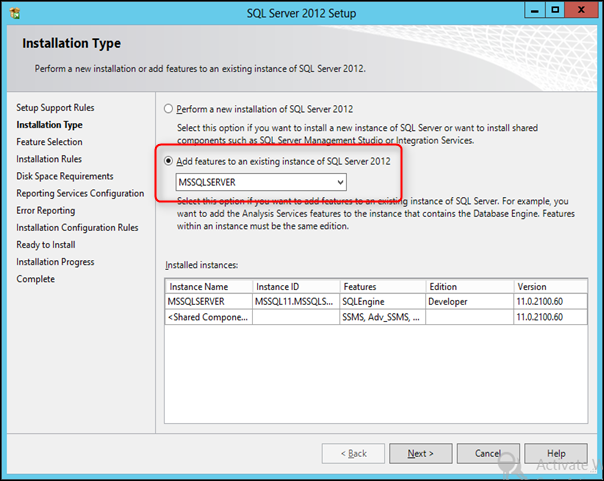
If you have installed SQL Server, but have not installed Reporting Services follow the following steps. If Reporting Services is already installed, skip to the “Configure Reporting Services” section.
Continue through the wizard and reboot the computer at the end of the installation if instructed to do so.
Before configuring the reporting point, some configuration needs to be made on the SQL side. The virtual instance needs to be created for SCCM to connect and store its reports.
If you installed Reporting Services during the installation of the SQL Server instance, SSRS will be configured automatically for you. If you install SSRS later, then you will have to go back and configure it as a subsequent step.
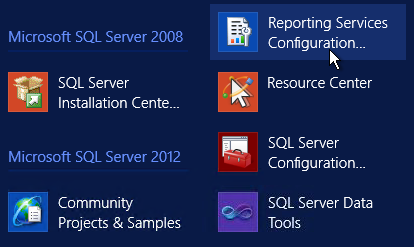
To configure, Open Reporting Services Configuration Manager

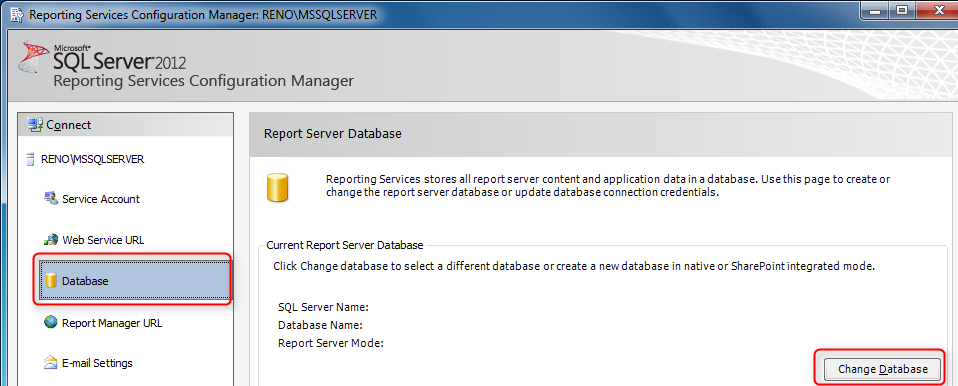
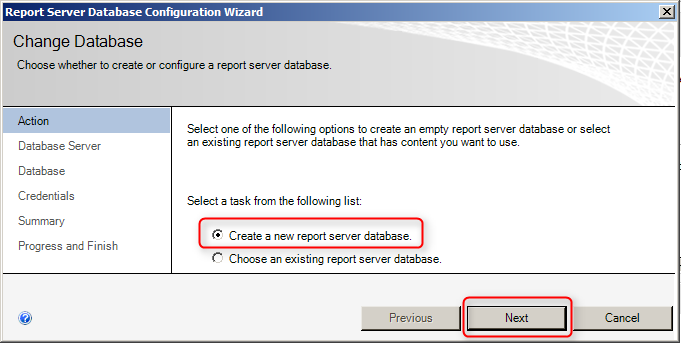
This wizard creates two databases: ReportServer, used to store report definitions and security, and ReportServerTempDB which is used as scratch space when preparing reports.
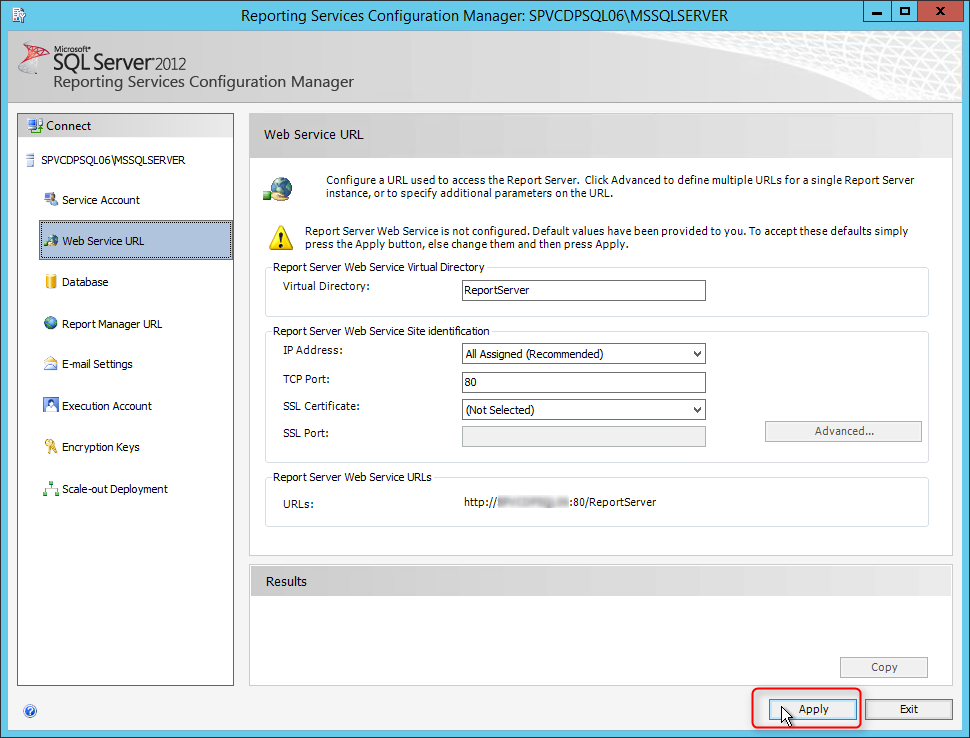
This step sets up the SSRS web service. The web service is the program that runs in the background that communicates between the web page, which you will set up next, and the databases.

If the Apply button was already grayed out, this means the SSRS was already configured. This step sets up the Report Manager web site where you will publish reports
Exit Reporting Service Configuration Manager.
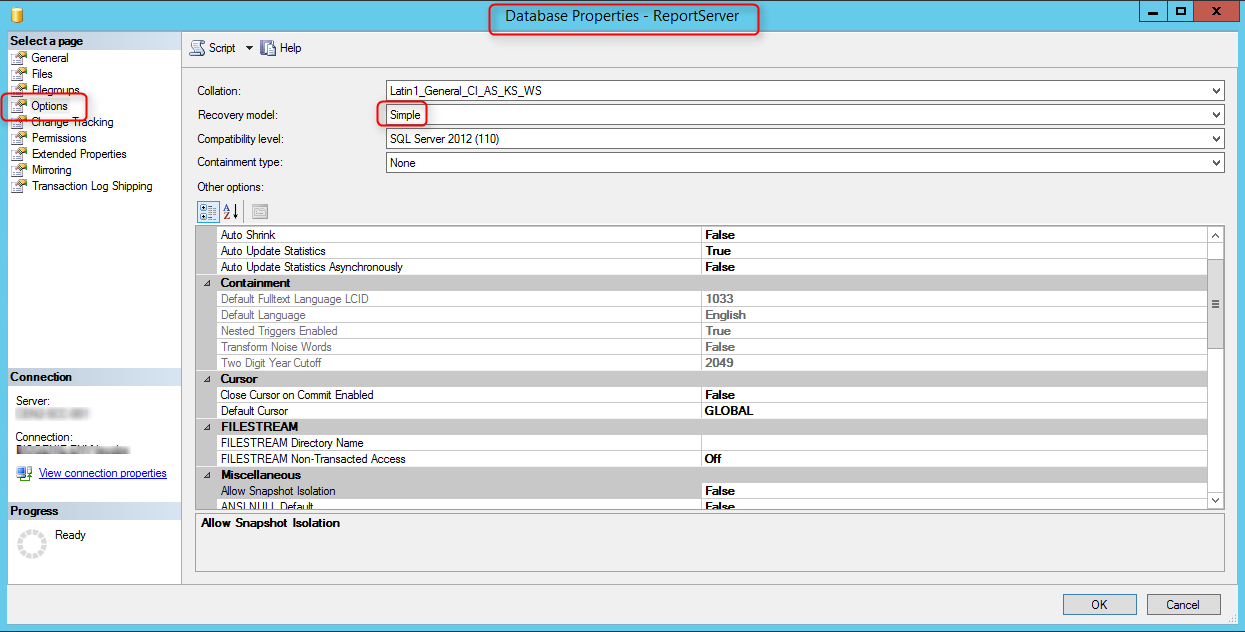
Recovery Model
Using the simple recovery model improves performance and saves your server hard drive and possibly large transaction log file.
To change the Recovery Model of the ReportingDB to Simple
Log
Check for the following logs for reporting point installation status. Both logs are under the SCCM logs file locations.
If your reporting point is installed on a remote server look for the logs in :
Drive:\SMS\Logs\
Console
Open Monitor/Reporting/Reports node. Verify that your reports are listed
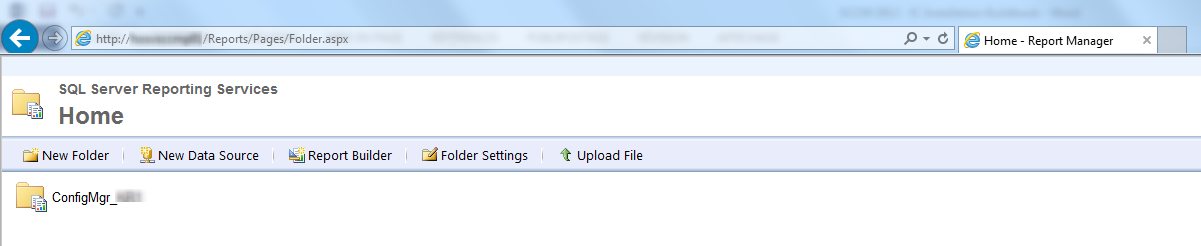
Web Browser
Open Internet Explorer, navigate to http://yourservername/Reports
If everything went well, you’ll have a folder Config_SiteCode containing your reports
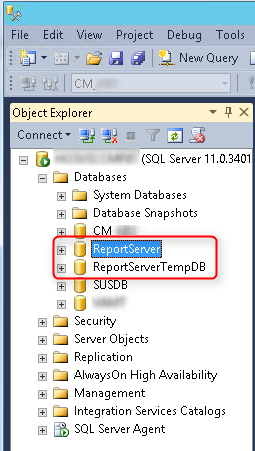
SQL
If you check your SQL instance, you’ll see the 2 new database which were created by the installation.
Happy reporting ! 🙂

Please fill out the form, and one of our representatives will contact you in Less Than 24 Hours. We are open from Monday to Friday.

Thank you for subscribing to our newsletter or requesting a quote. You will receive our next month's newsletter. If you have requested a quote, we will get in touch with you as soon as possible.

Something went wrong!

Thank for your reply!