Install SCCM Reporting Services Point with SQL 2022
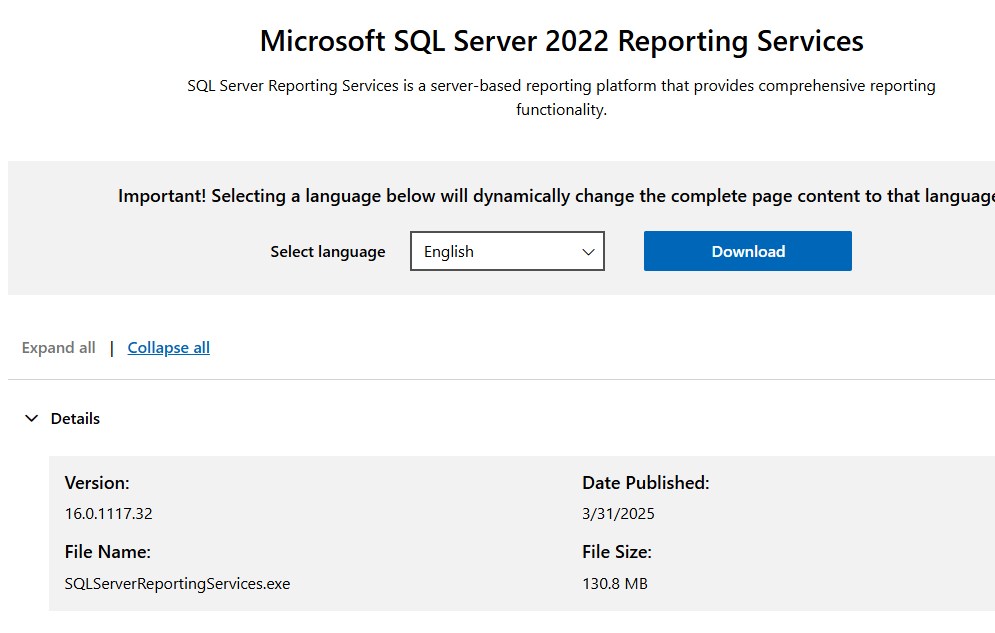
This post will cover how to install SQL Reporting Services 2022 along with the Reporting point for SCCM as part of refreshing some older posts. This is needed in a complete SCCM installation.
This role can be installed on a remote machine. The process is the same, but the logs are on a different machine.
We’ll be using SQL 2022 as the backend and SCCM 2503. We are assuming that SQL is already installed and that your SCCM site is up and healthy.
Install SQL Reporting Services 2022 – SCCM SSRS 2022
Before you can install the Reporting Services point role, you must configure SQL Reporting Services correctly.
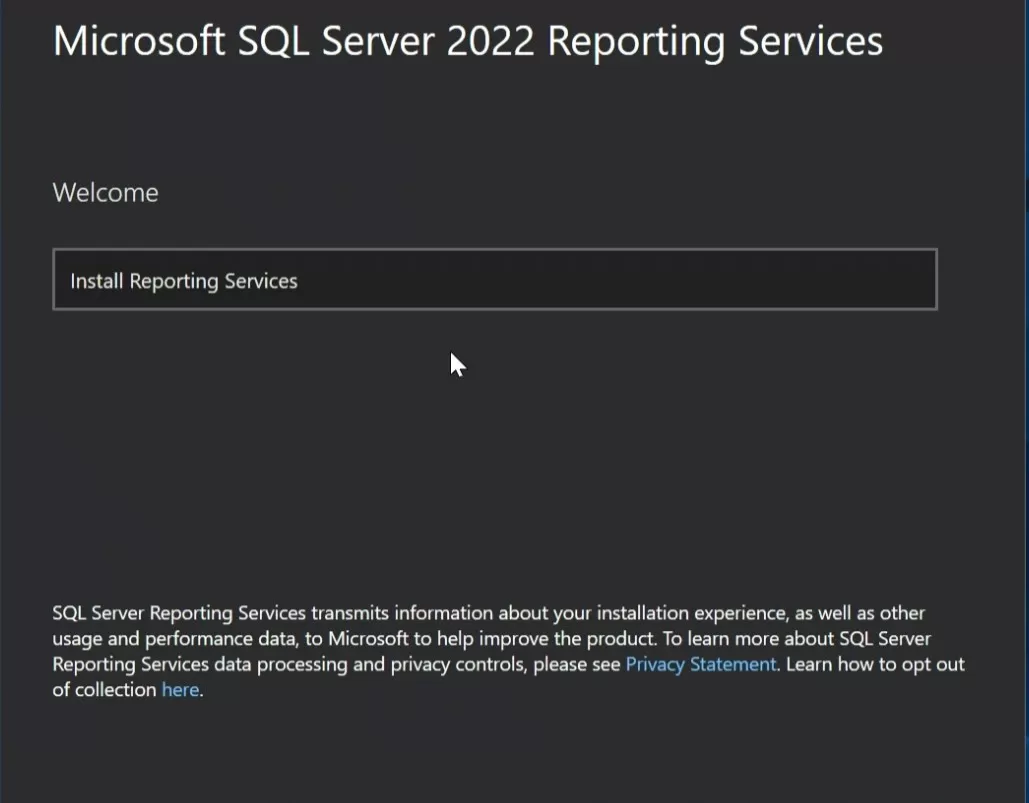
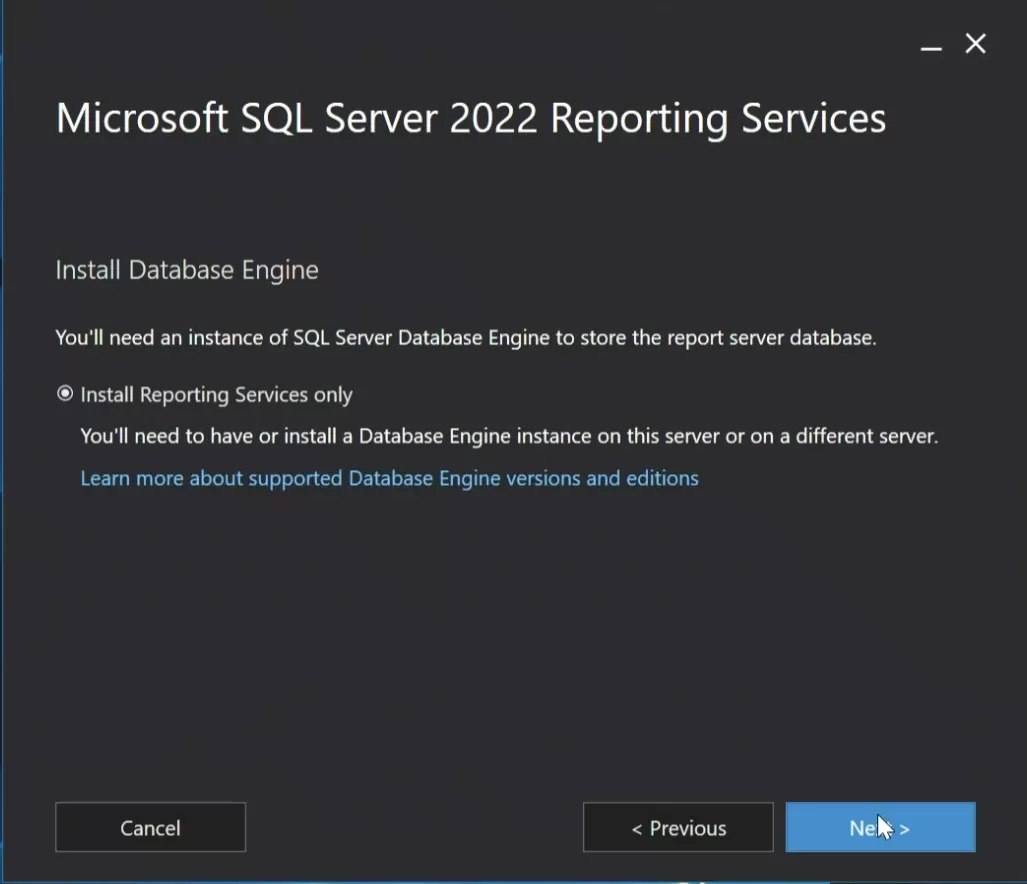
Launch the installer, and select Install Reporting Services
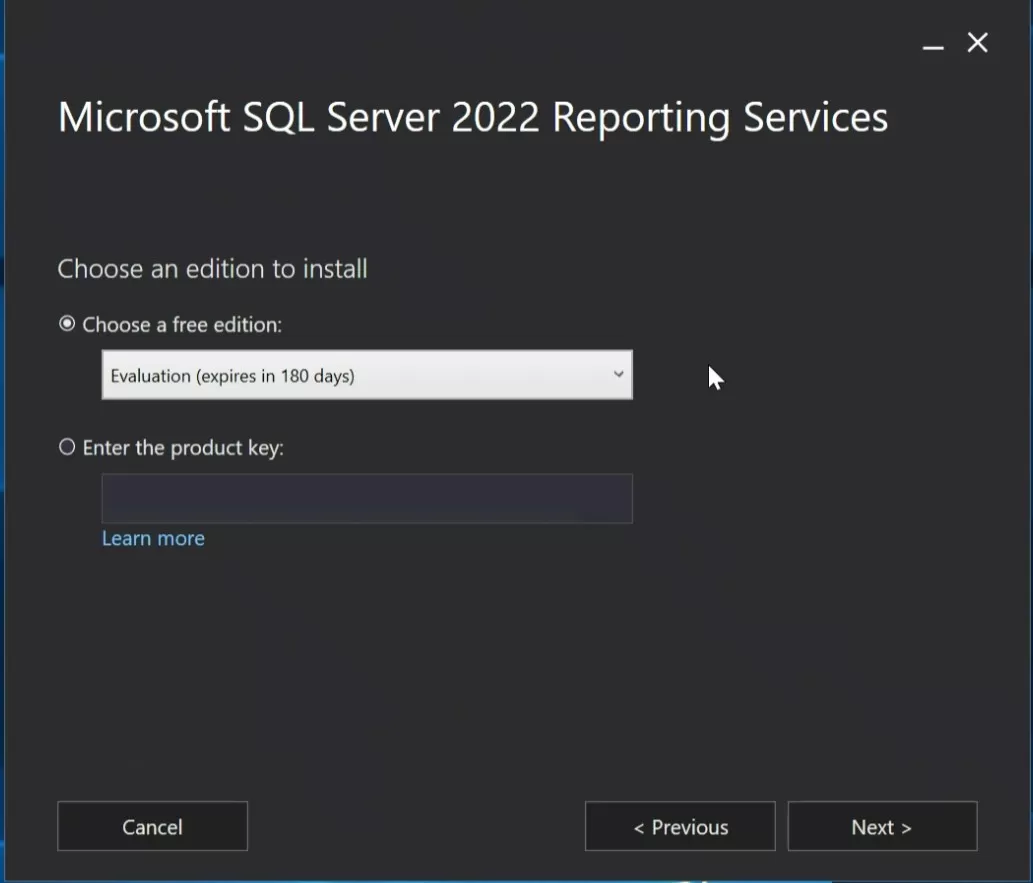
If you already have the SQL product key, enter it here. Otherwise installation can be done as Evaluation and later upgraded with the product key
Tip: easily find the SQL product key by launching the installer of SQL Server.
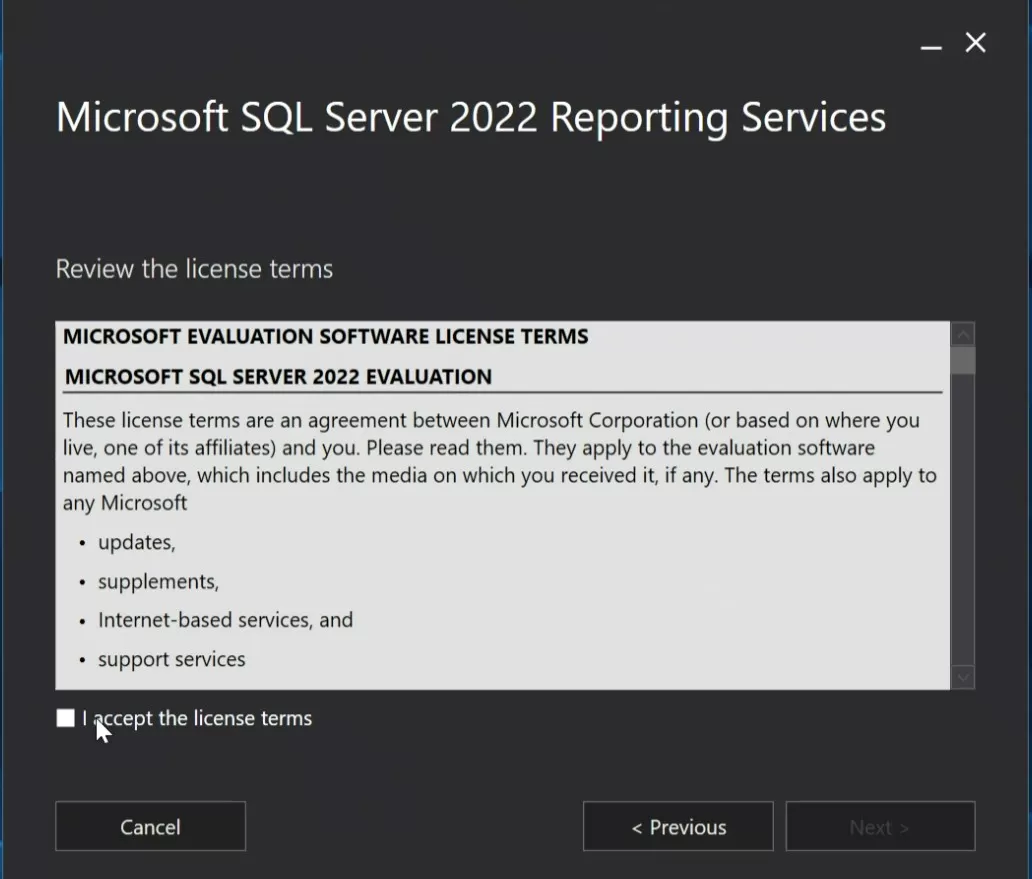
Check I accept the license terms
Click Next to perform the installation.
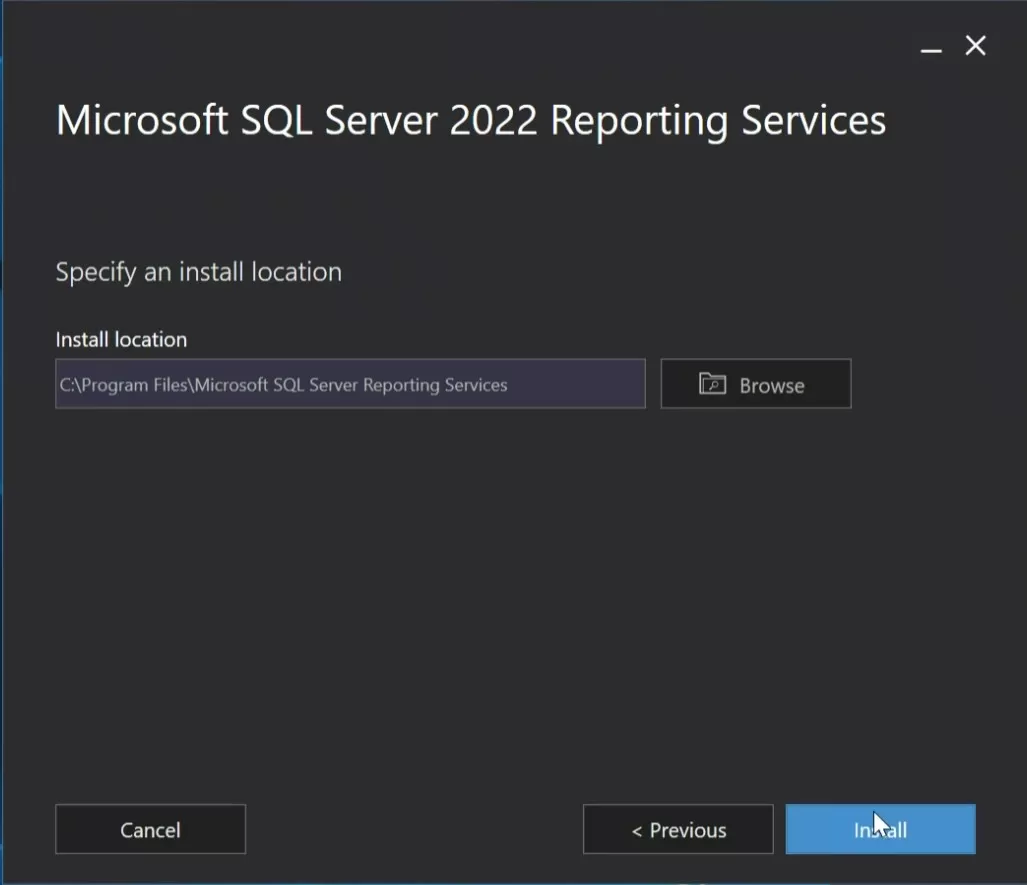
Select the installation path
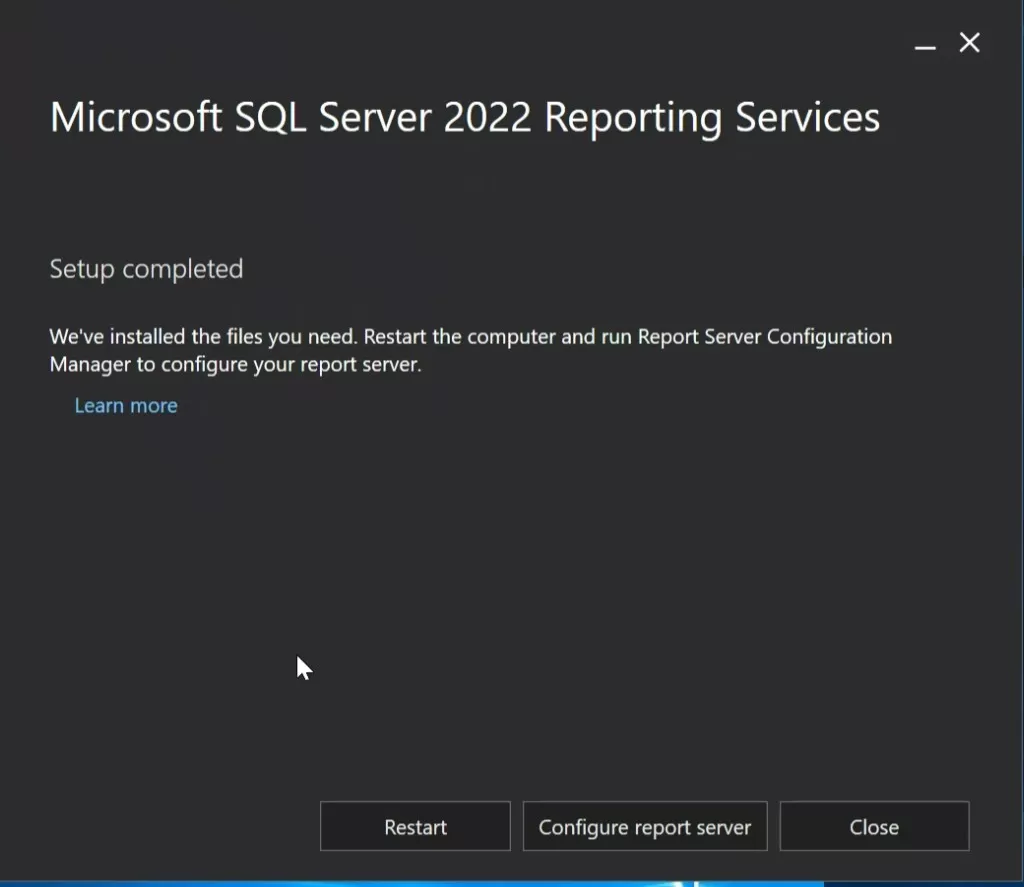
Once completed, you can either close it or launch the configuration.
Configuration can be started from the Windows Start Menu at a later time.
Configure SQL report server
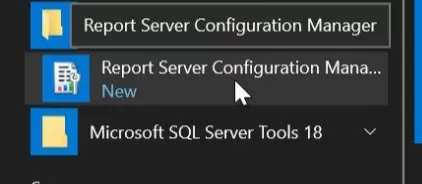
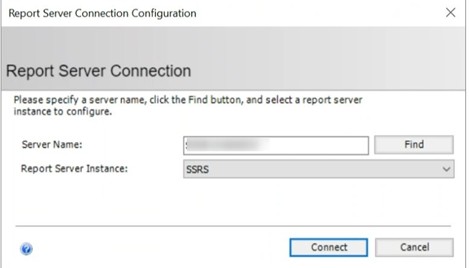
From the start menu, launch Report Server Configuration Manager
Server name should be prepopulated. Click Connect
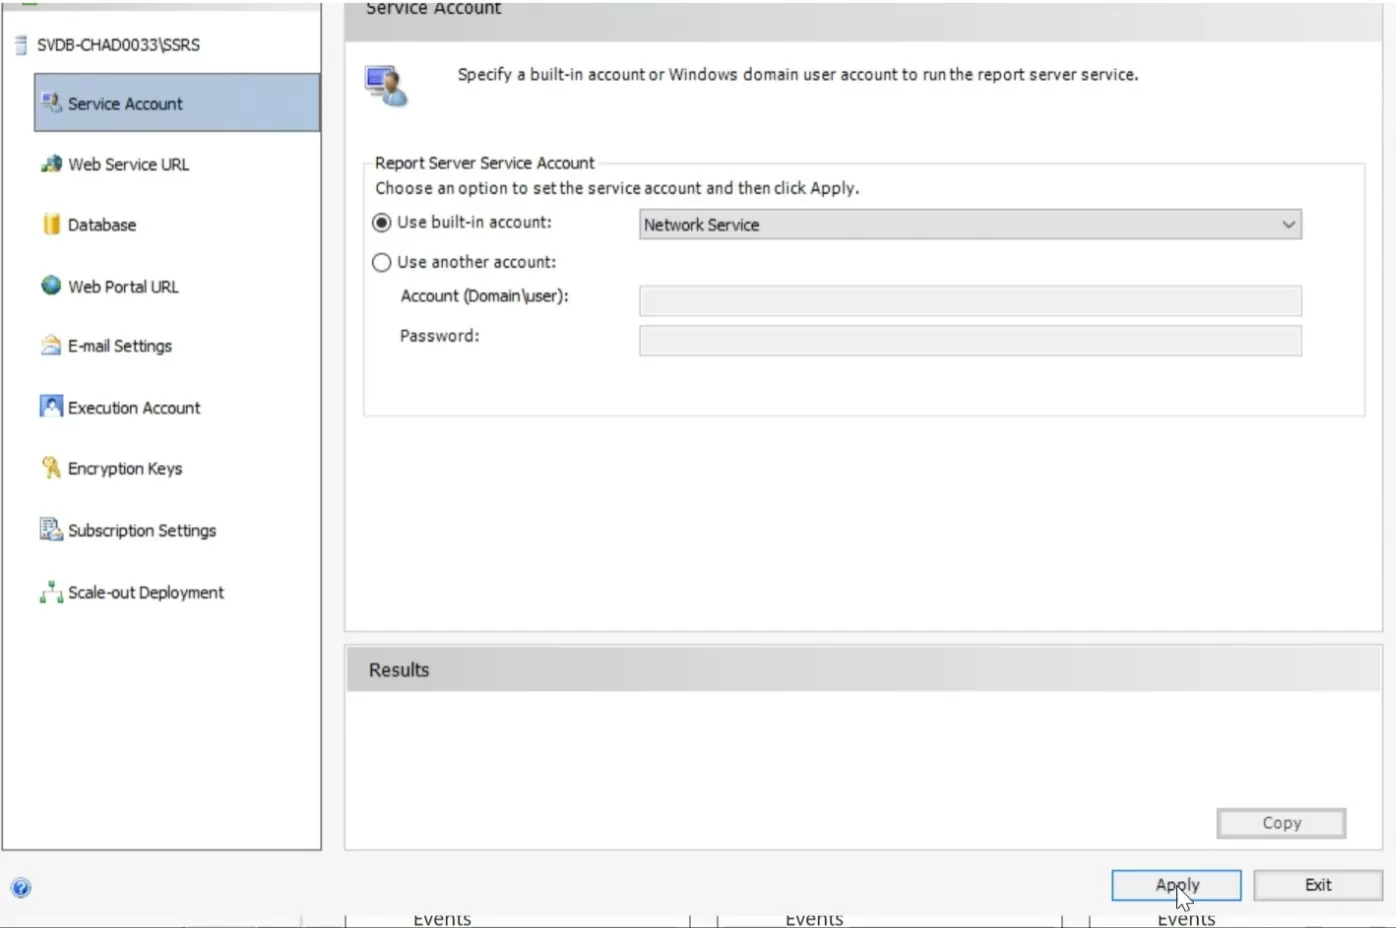
The service account can be a standard domain account, but it’s not mandatory.
We used the Network service in this example.
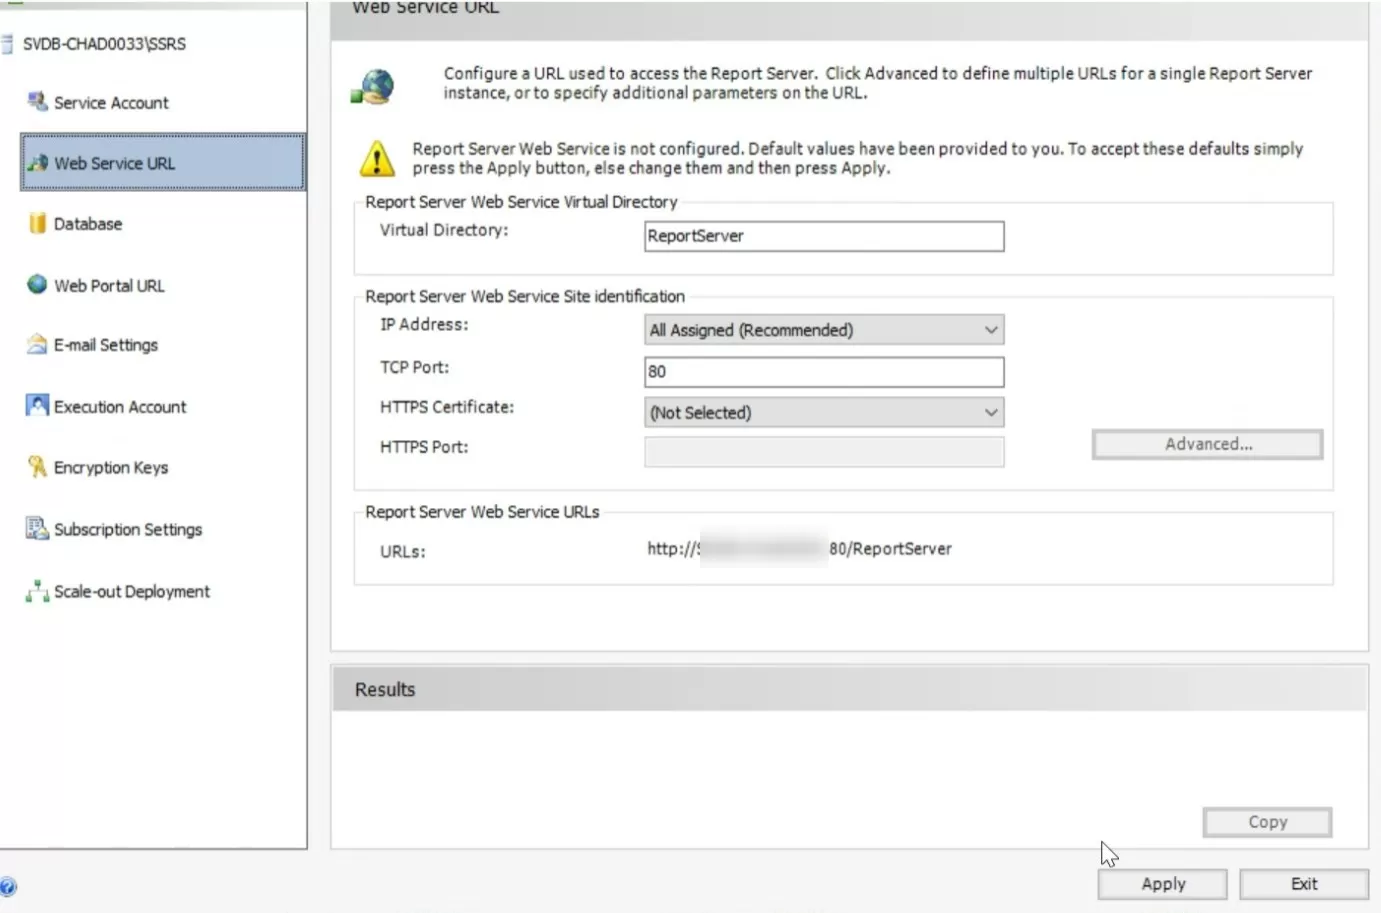
Click the Web Service URL tab, Click Apply
This step sets up the SSRS web service. The web service is the program that runs in the background and communicates between the web page, which you will set up next, and the databases.
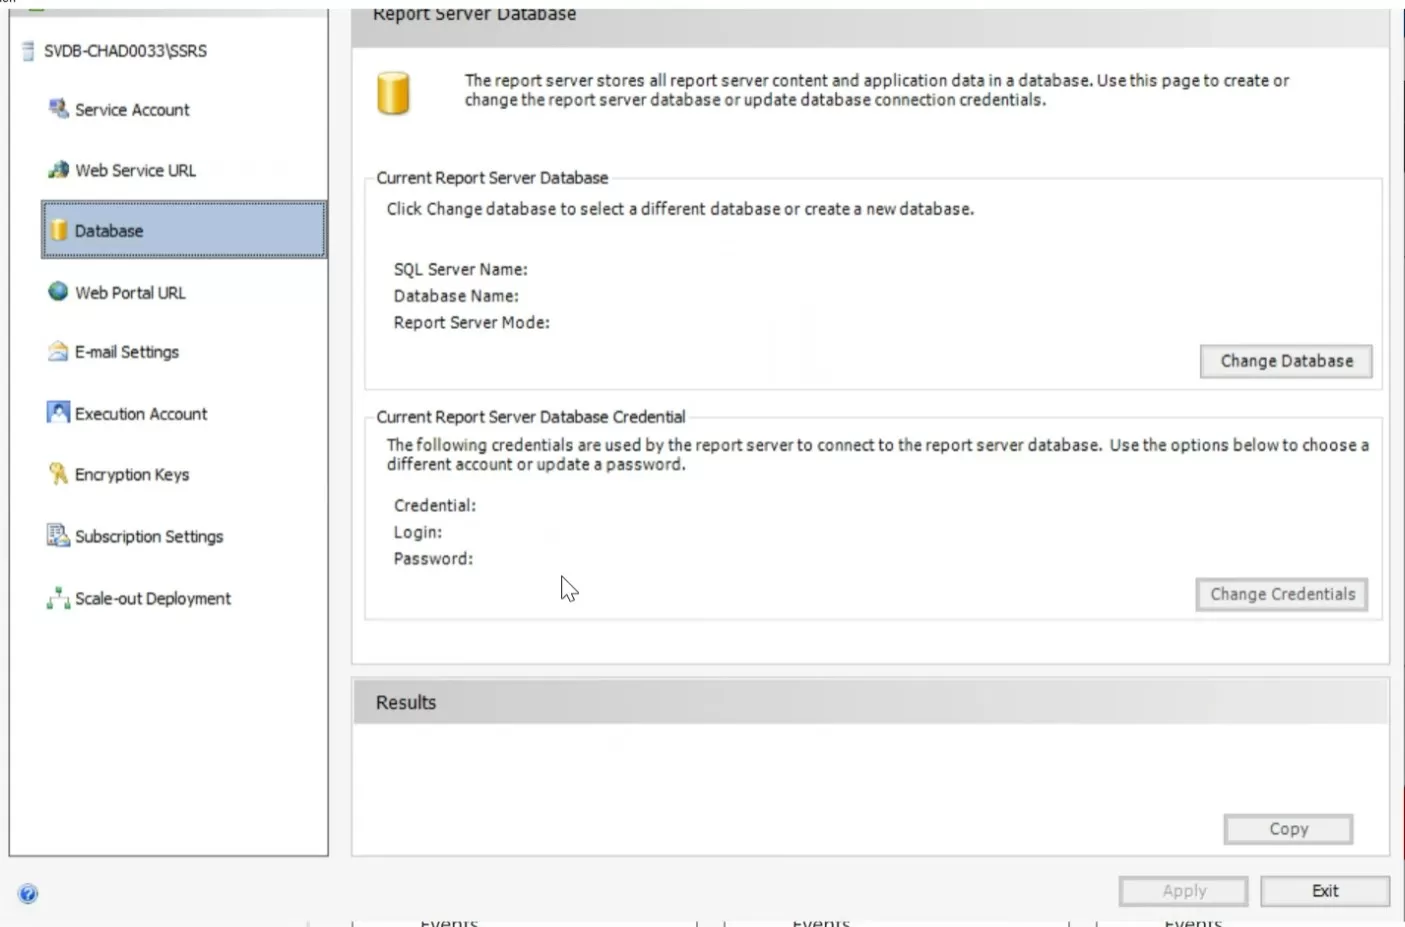
On the left-hand side of the Reporting Services Configuration Manager, click Database.
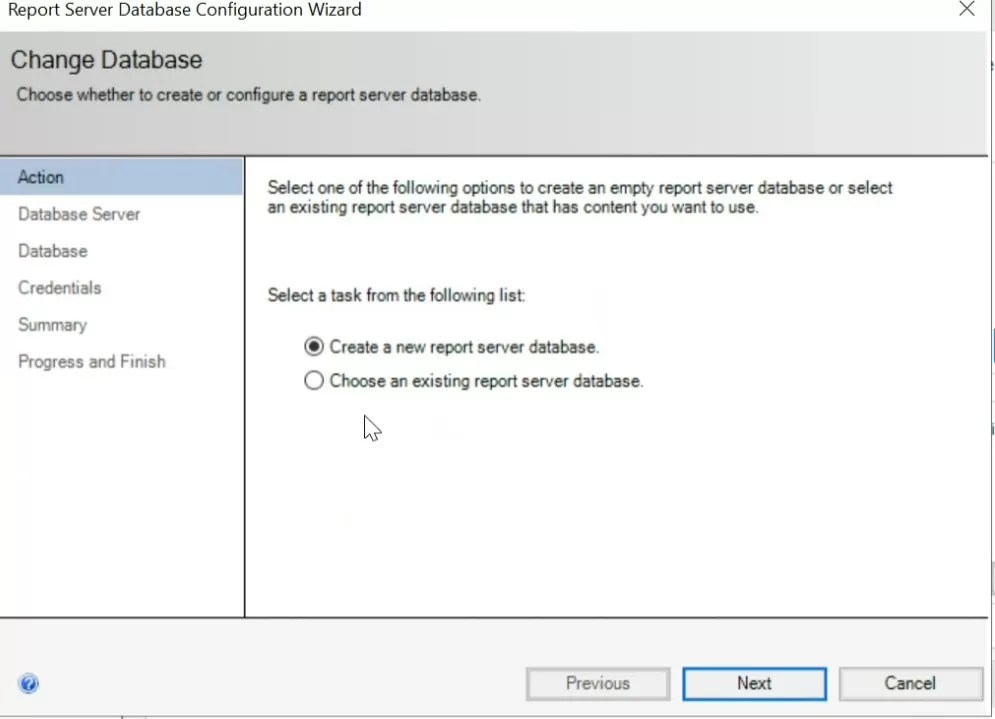
Click the Change Database button
Select Create a new report server database and click Next
This wizard creates two databases: ReportServer, used to store report definitions and security, and ReportServerTempDB, which is used as a scratch space when preparing reports.
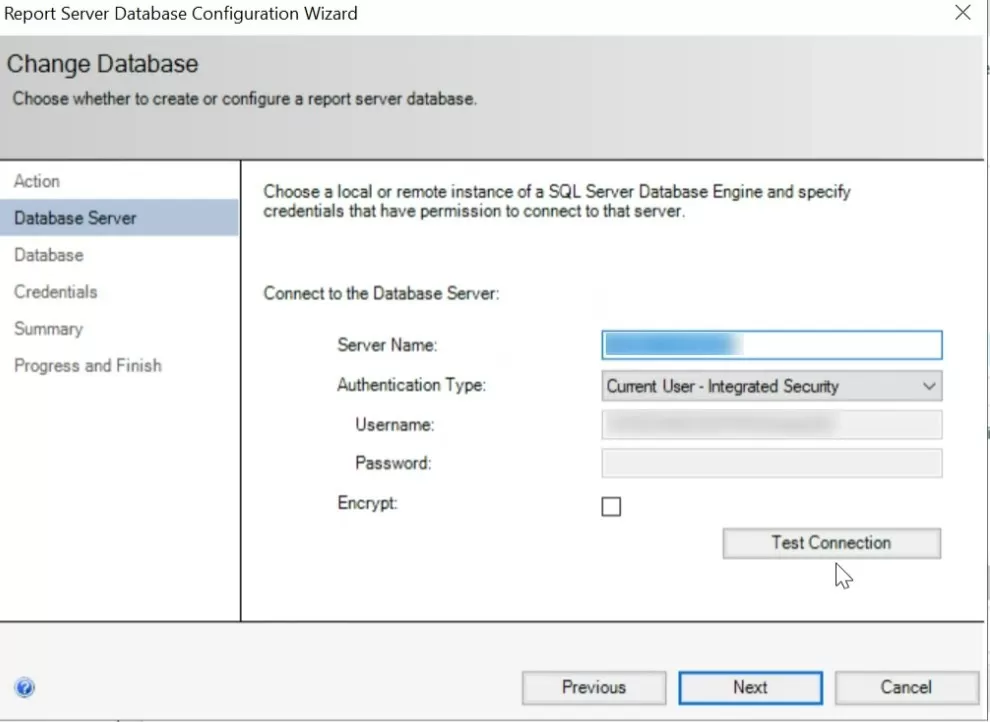
Click Test connection to ensure the account has access to create the databases
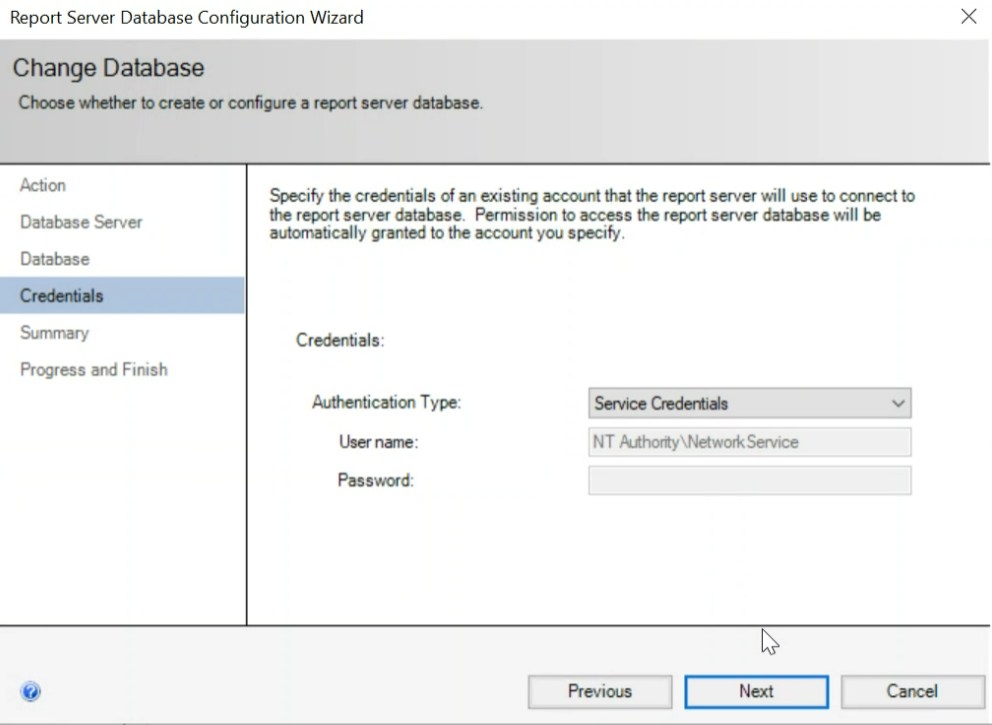
Leave the default and click Next
Leave default and click Next
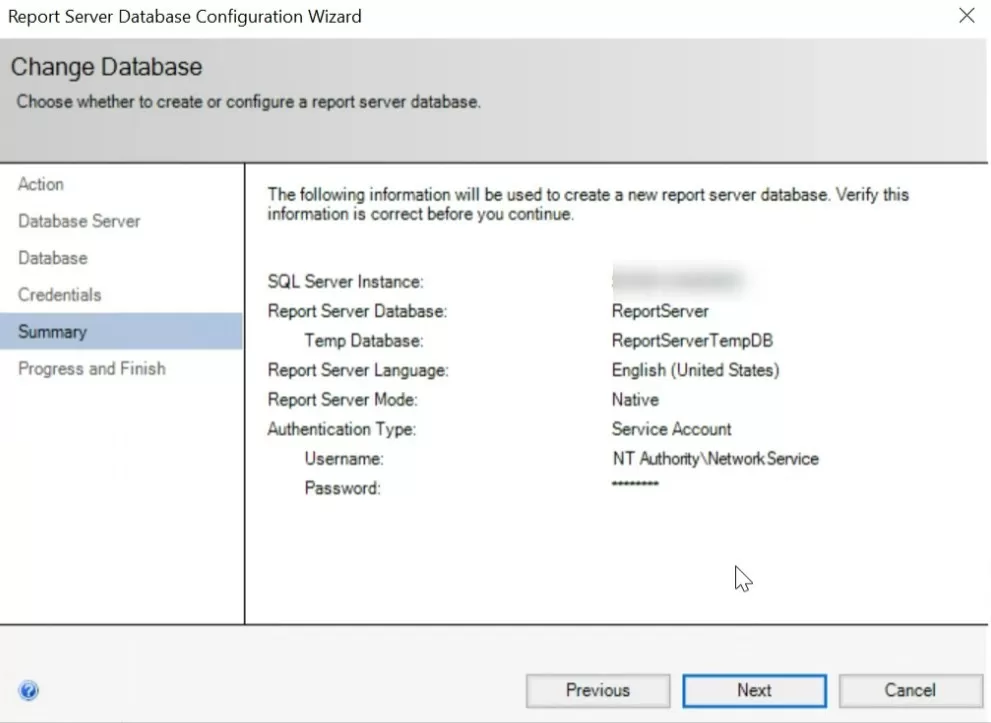
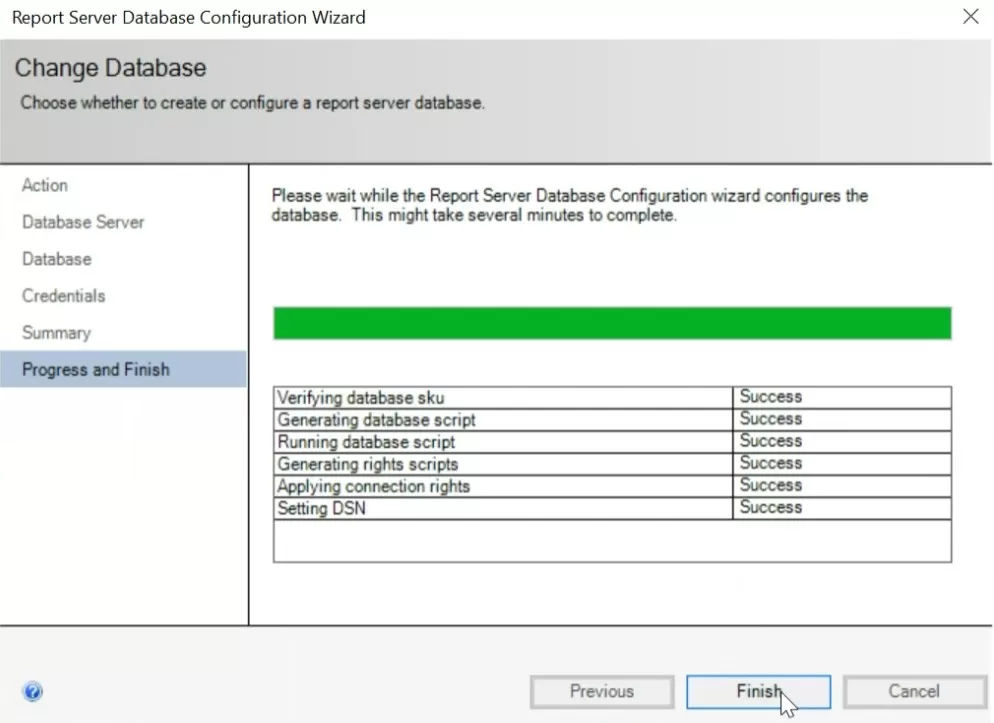
Summary, click next
Wait for the process to finish and click Finish
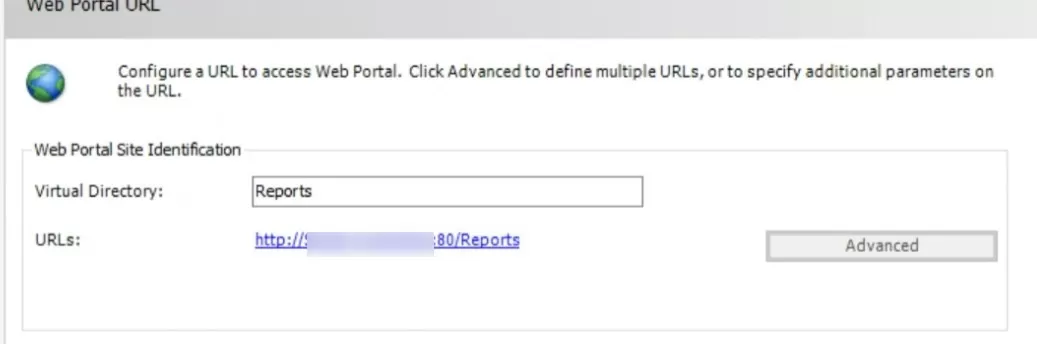
In the Webportal URL, click Apply and click Next
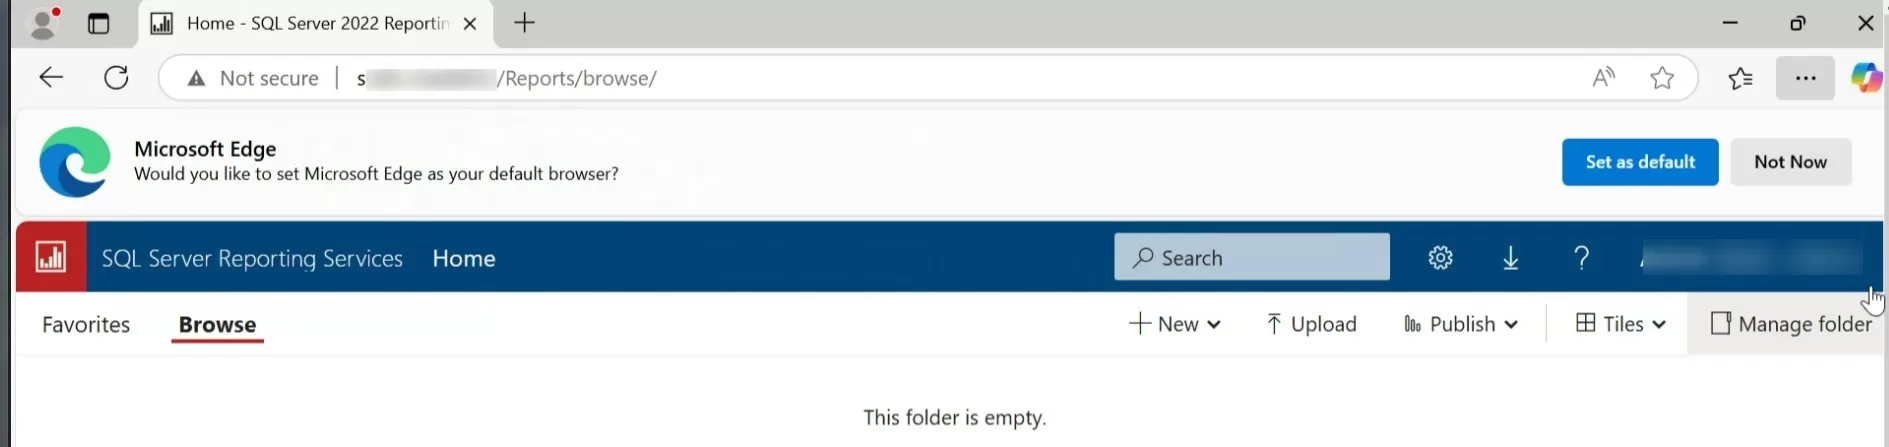
Once completed, click the Web Portal URL
It should open the SQL Reporting web portal without any reports.
Exit the Report Server Configuration Manager.
Review the SQL database for the Report server
Once the configuration is completed, the ReportServer and ReportServerTemp databases can be seen in SQL Management Studio.
A modification is needed in the properties of both database.
Under Properties / Options make sure the Recovery Model is set to Simple
This is known to cause unexpected growth of the database, this setting will prevent this.
Add Reporting point role in SCCM
Open the SCCM console
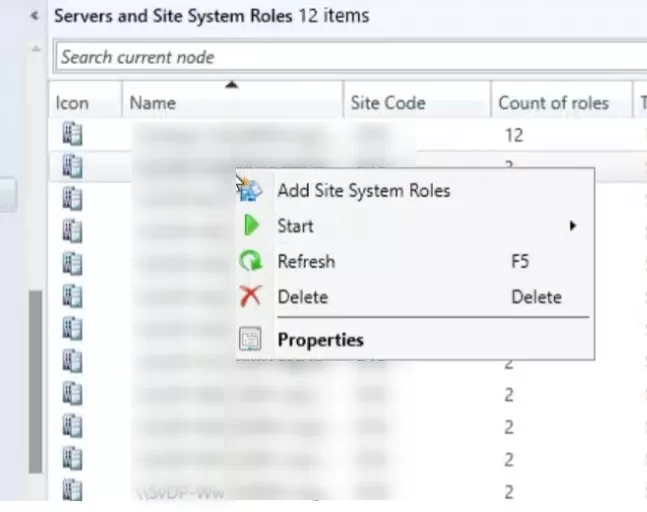
Navigate to Administration/Site/Configuration/Servers and site System Roles
Right click on your Site Server and click Add system Roles
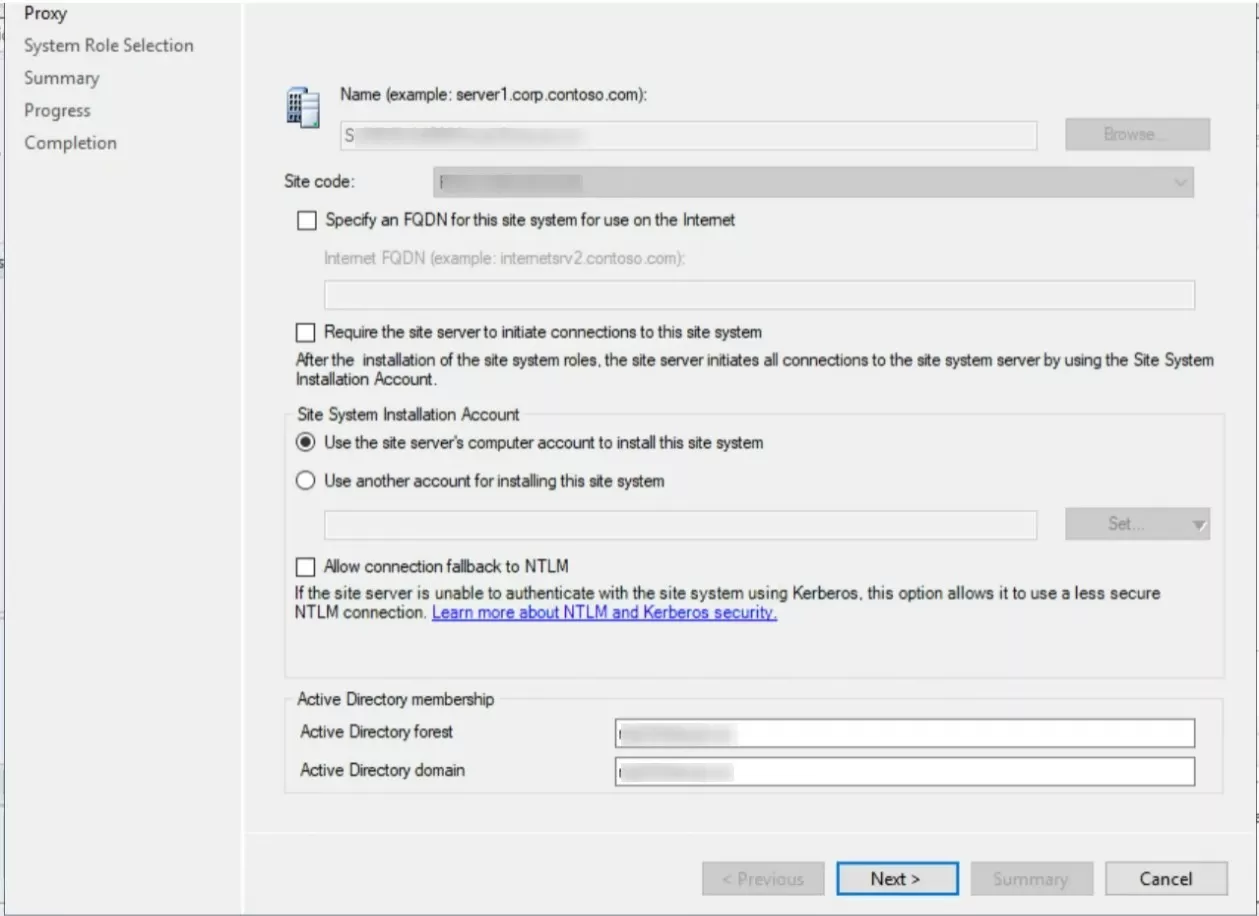
On the General tab, click Next
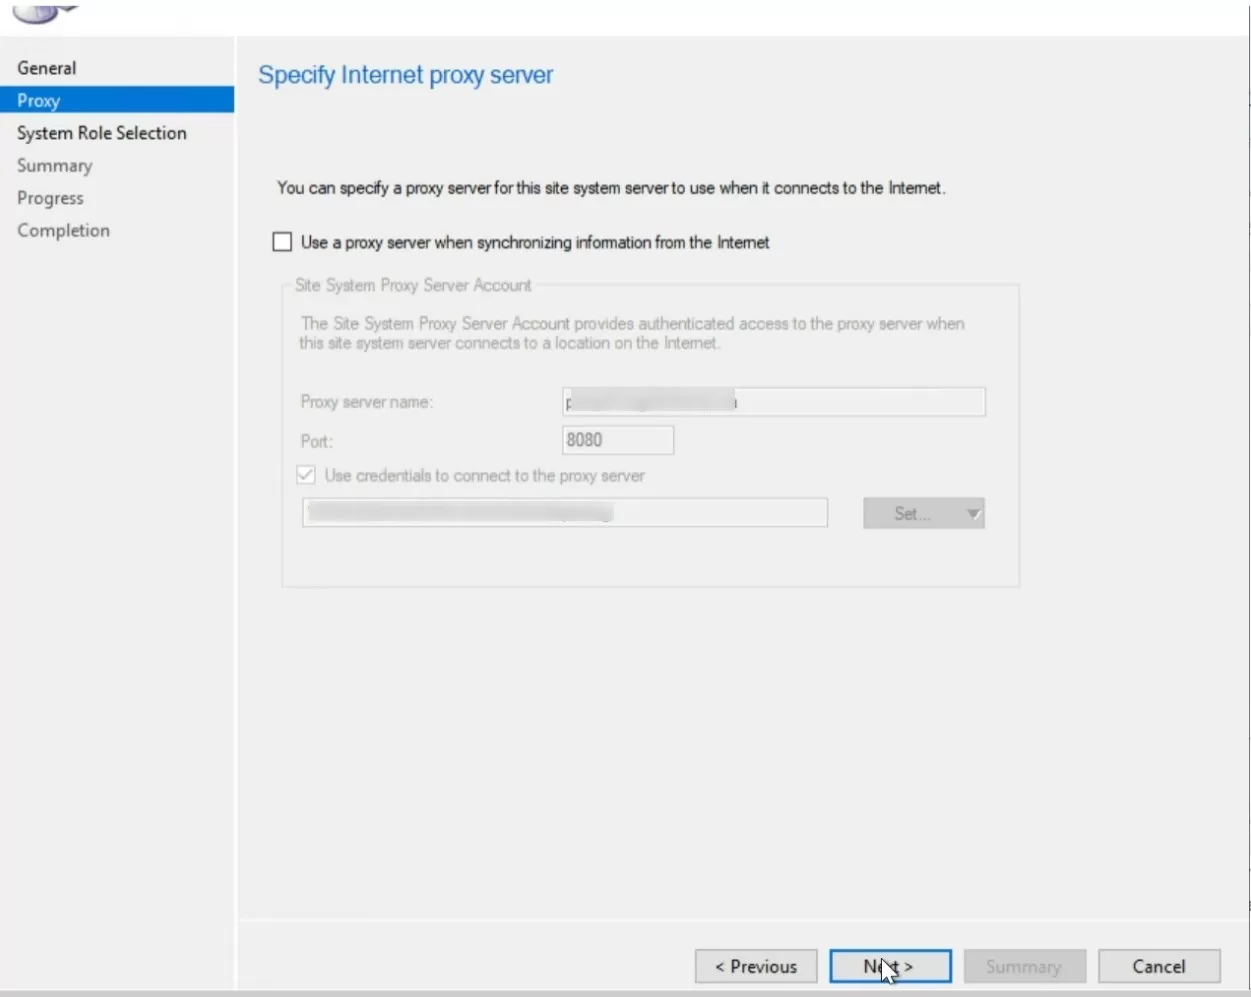
On the Proxy tab, Click Next
On the Site System Role, select Reporting Services Point, Click Next
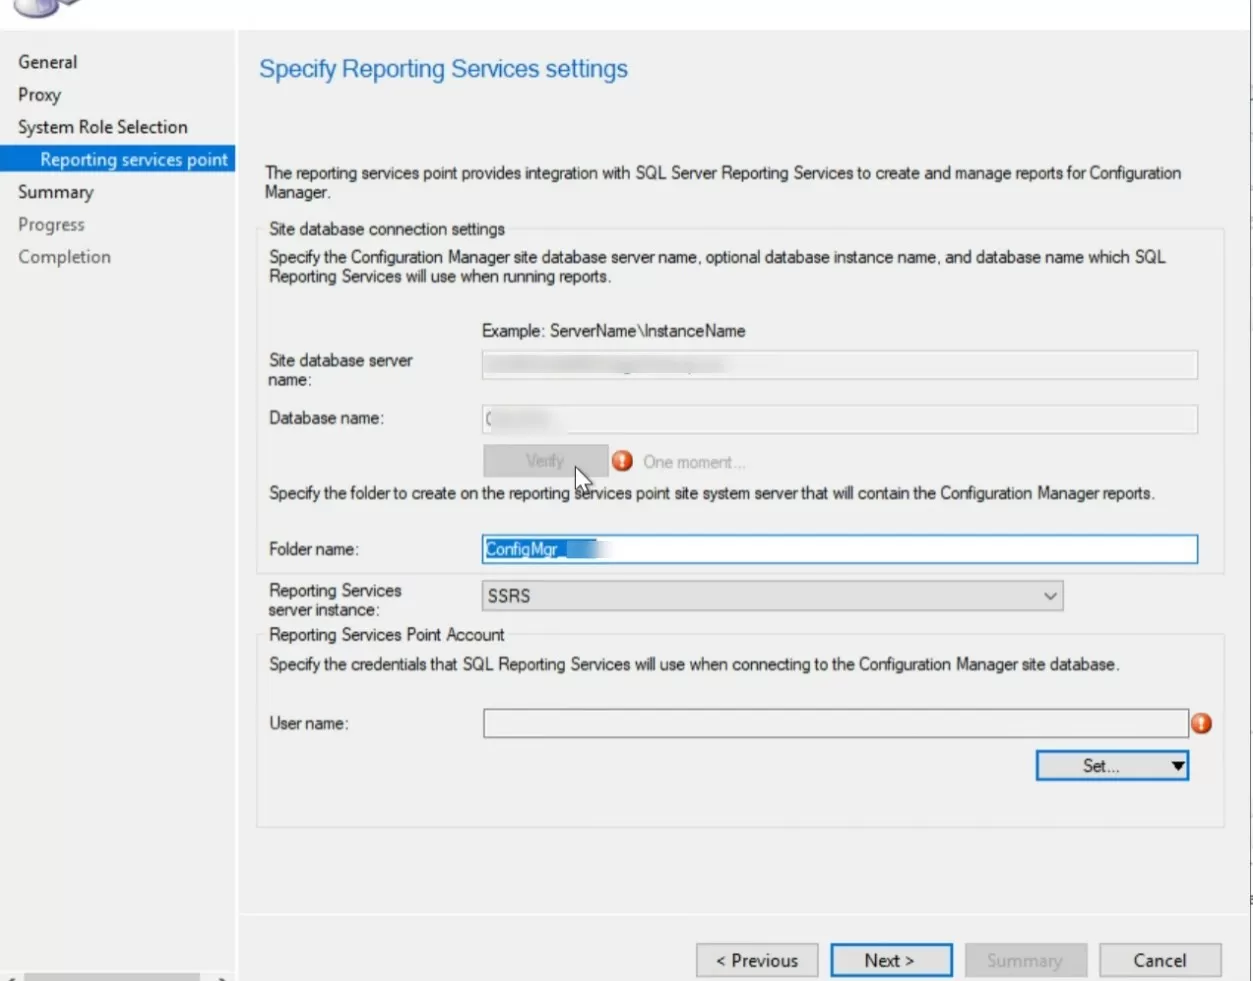
On Reporting Services setting tab
Click Verify
At the bottom, Add an account to use for the reporting point.
This account does notneed any permission before configuring this. The wizard will set the appropriate permissions in SQL.
Click Next
Wait for the process to complete and close the wizard
Verify SCCM SSRS 2022
Log Check for the following logs for reporting point installation status. Both logs are under the SCCM logs file locations.
Srspsetup.log
Srsrpmsi.log
If your reporting point is installed on a remote server look for the logs in :
Drive:\SMS\Logs\
Console
Open Monitor/Reporting/Reports node. Verify that your reports are listed
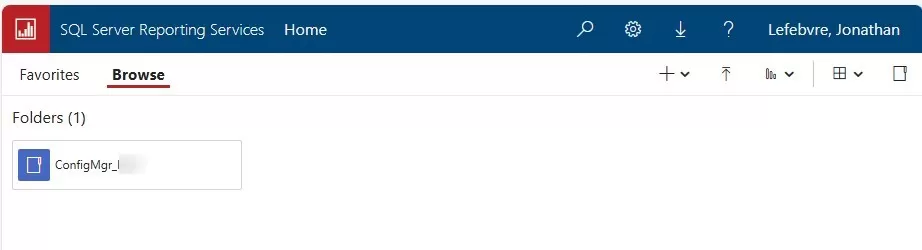
Web Browser
Open Internet Explorer, navigate to http://yourservername/Reports
If everything went well, you’ll have a folder Config_SiteCode containing your reports
Also, consider our Premium membership to gain access to all our reports and updates they receive.
Happy reporting! 🙂
Request a Quote
Please fill out the form, and one of our representatives will contact you in Less Than 24 Hours. We are open from Monday to Friday.
Never share sensitive information (credit card numbers, social security numbers, passwords) through this form.
Request Sent
Thank you for subscribing to our newsletter or requesting a quote.
You will receive our next month's newsletter. If you have requested a quote, we will get in touch with you as soon as possible.
Comment Sent
Thank for your reply!
Error
Something went wrong!
We use cookies to ensure that we give you the best experience on our website. If you continue to use this site we will assume that you are accepting it.


Thank for your reply!