
Step-by-Step SCCM 2012 R2 SP1 CU1 Installation Guide
Founder of System Center Dudes. Based in Montreal, Canada, Senior Microsoft SCCM Consultant, 8 times Enterprise Mobility MVP. Working in the industry since 1999. His specialization is designing, deploying and configuring SCCM, mass deployment of Windows operating systems, Office 365 and Intune deployments.

Benoit Lecours
PresidentTable of Content


Get the latest insights and exclusive content delivered to your inbox
Share


Cumulative Update 1 (CU1) for SCCM 2012 R2 SP1 and SCCM 2012 SP2 is now available. This post is a complete step-by-step SCCM 2012 R2 SP1 CU1 Installation guide. If you’re looking for a complete SCCM 2012 installation guide, see our blog series which covers it all.
Installing SCCM cumulative updates is very important to your infrastructure. It fix lots of issues, which some of them are important.
As this is the first post-R2 SP1 cumulative update, the important requirement for the installation is that SCCM 2012 R2 SP1 is installed. The latest non-R2 SP1 cumulative update is CU5. Don’t get confused, this CU could have been named CU6 (chronologically wise) but Microsoft has decided to reset the numbering due to the Service Pack release. See our SCCM 2012 versions post to have a clear view of all build numbers.
Improvements/Fixes
The major new functionality of CU1 is the Automatic Client Upgrade feature during CU setup wizard. This will facilitate client upgrade when applying further CU.
Latest KB are included and many bugs are fixed in this cumulative update. Follow this Microsoft Support page to see a detailed list.
Before you begin
Installing this update is very similar to prior CU. I’ll guide you through the upgrade process step-by-step in a standalone primary scenario.
- Download the update on the Microsoft Support page
This update can be applied directly to the following Systems/Roles:
- The Central Administration Site (CAS)
- Primary Site
- Secondary Site
- SMS Provider
- Configuration Manager Console
In this guide, we’ll be updating a Primary Site Server, console and clients.
SCCM 2012 R2 SP1 CU1 Installation guide
To start the installation, lauch a remote desktop session on your Primary Site Server, and run CM12_SP2R2SP1CU1-KB3074857-X64-ENU.exe
A log file will be created in C:\Windows\Temp\CM12_SP2R2SP1CU1-KB3074857-X64-ENU.log
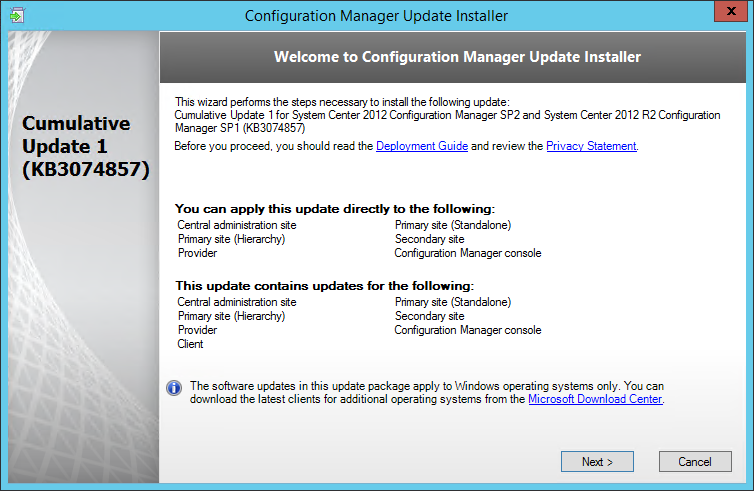
- On the Welcome Screen, click Next
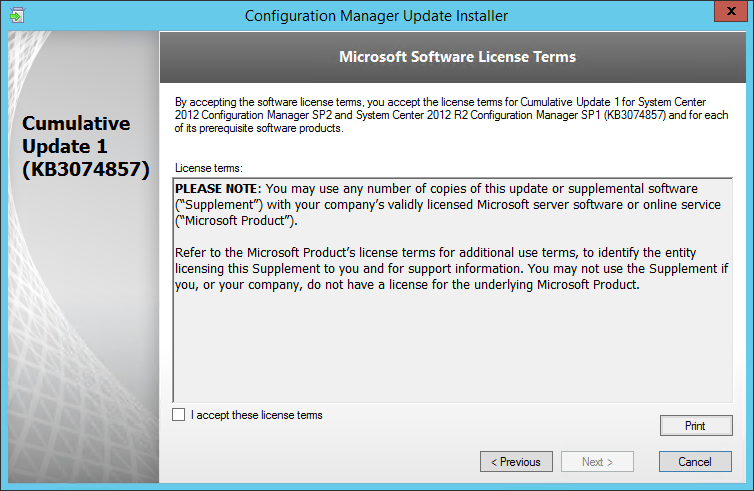
- Accept the license agreement, and click Next
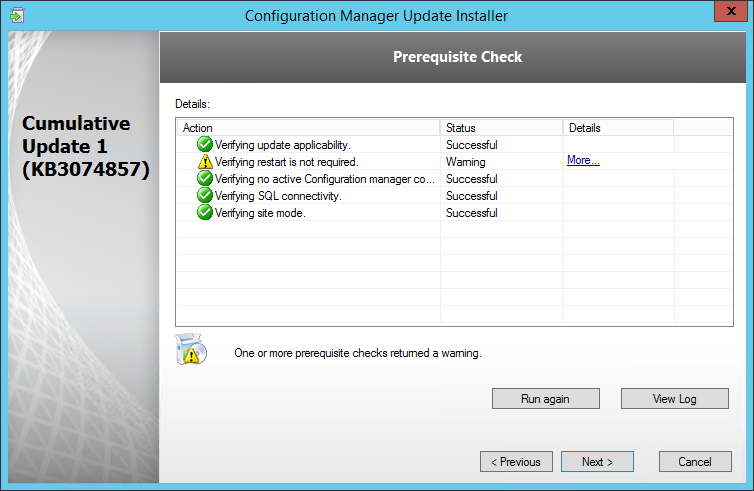
- Ensure that everything is green, and click Next. On the screenshot, a restart is required before installing the CU
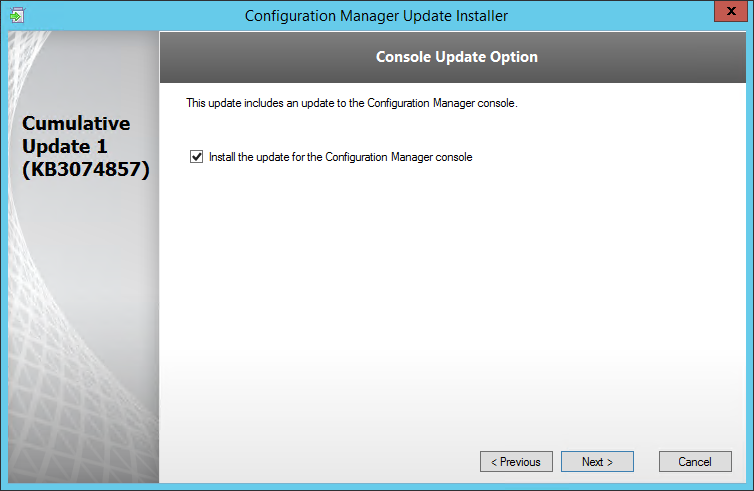
- Check the box to update the console, click Next
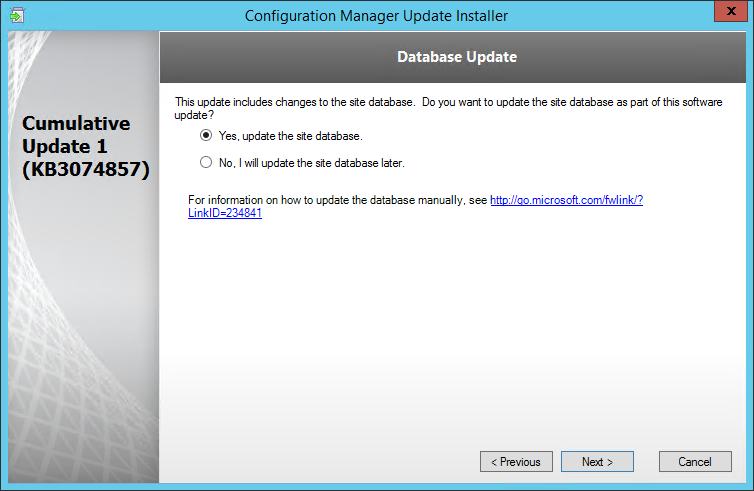
- Select Yes, update the site database, click Next
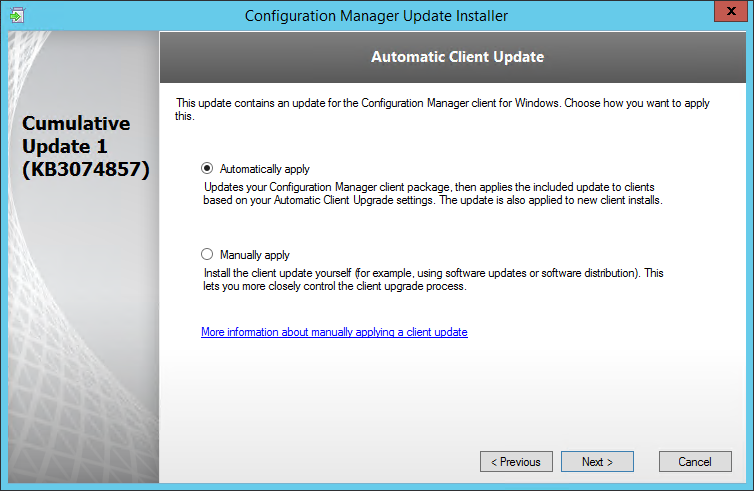
- This is the new Automatic Client Update addition. Select the behavior that you want
- Choosing the Automatically apply option results in following steps:
- Places the most recent client patch file on the site server
- Updates content on the distribution points for this site and any child sites. Note this only occurs when the cumulative update runs on the Central Administration Site (CAS)
- Updates the client package on the Management Point of the local site; this source is used in the event there are no distribution points available for client installation
- Future client installations using the Client Push method will apply the new patch automatically
- The time frame for updating the client depends on your Automatic Client Upgrade settings
- If you chose the Manually Apply option, you will need to update your client manually as in prior CU (See our Updating the clients section)
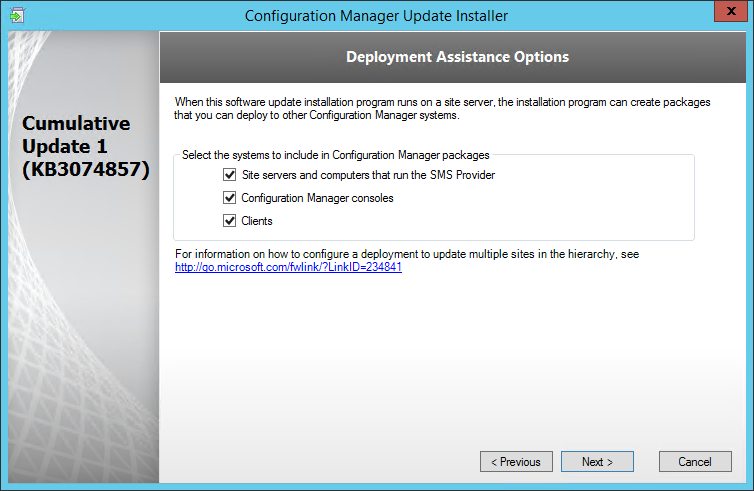
- Check all 3 checkbox (Server, Console and Clients), click Next
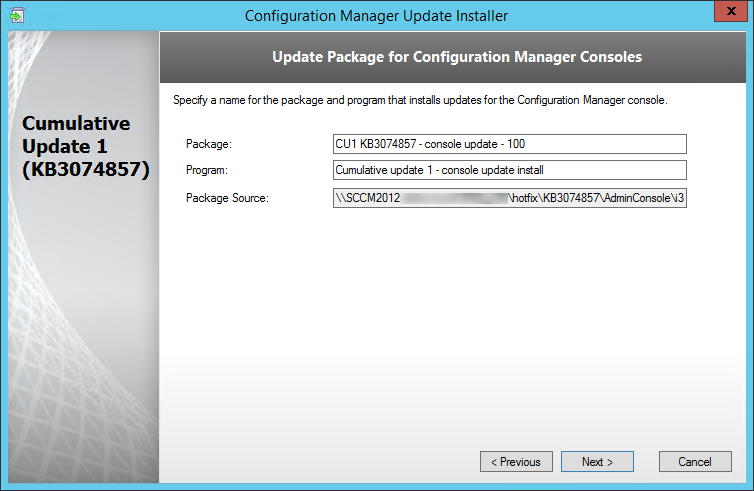
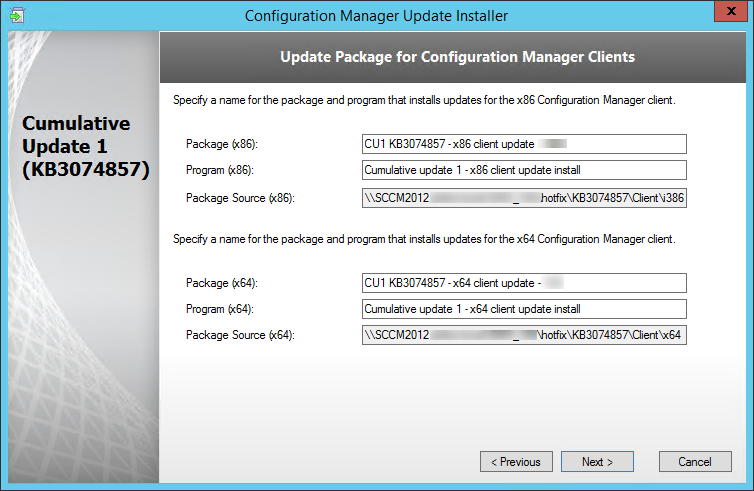
- Edit the package name and program to your need, click Next
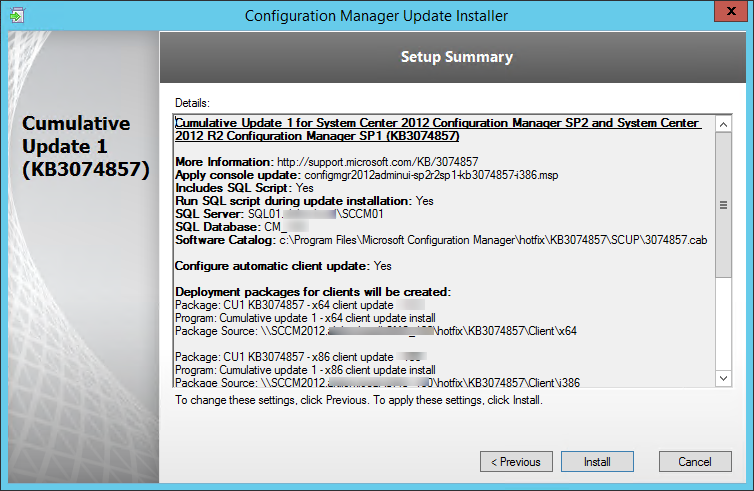
- Review the Summary page, click Install
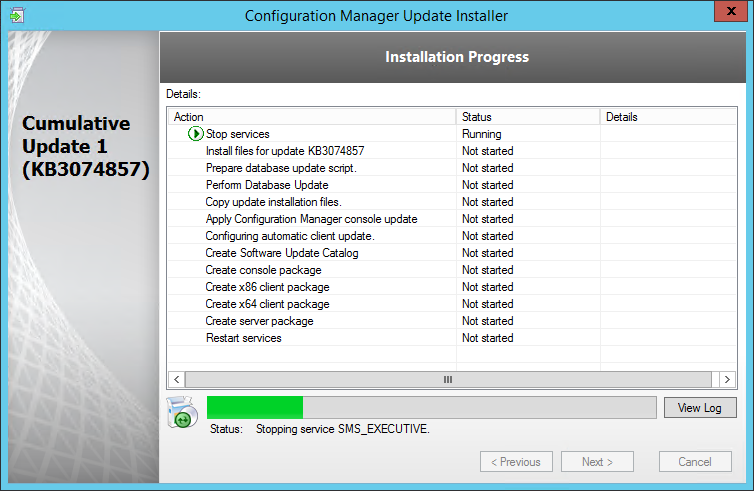
- Installation is in progress
- You can follow the installation progress in the log file (C:\Windows\Temp\CM12_SP2R2SP1CU1-KB3074857-X64-ENU.log)
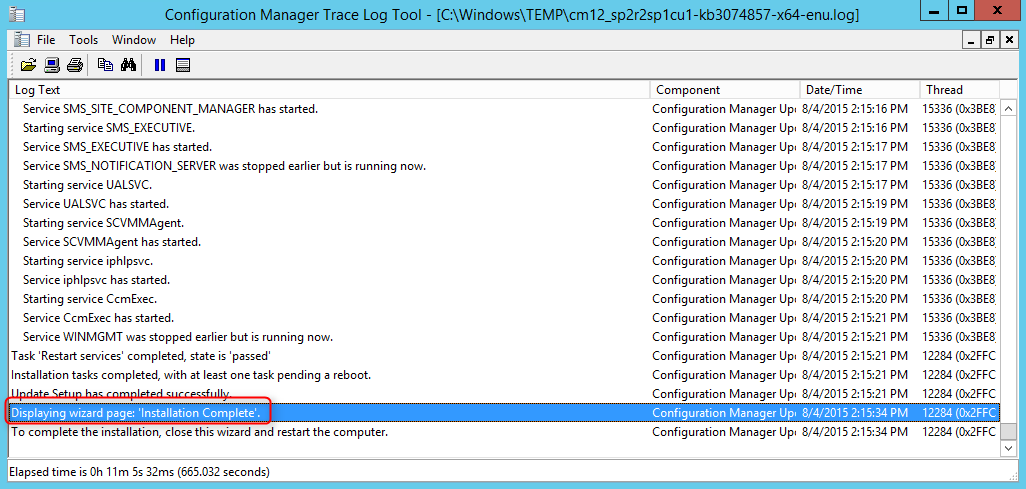
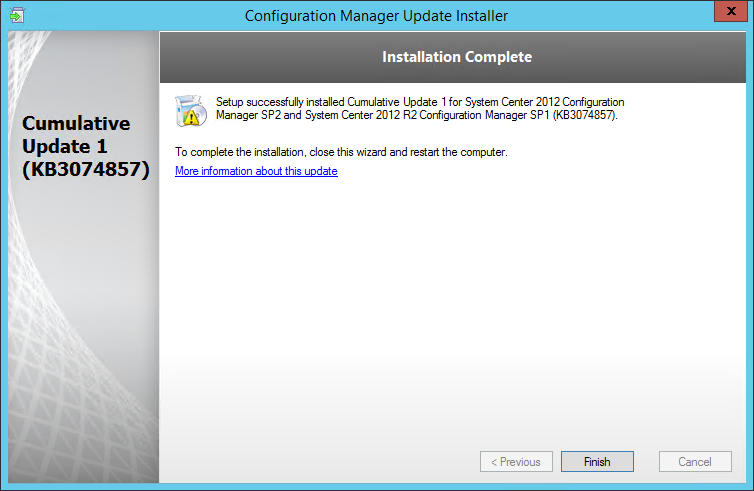
- When setup is complete, click Next and then Finish
Verification
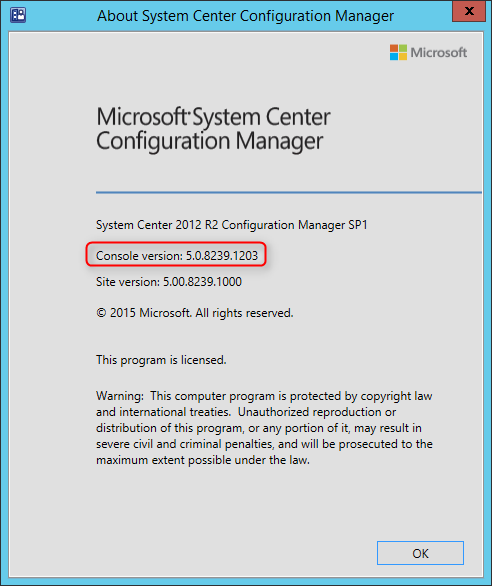
Consoles
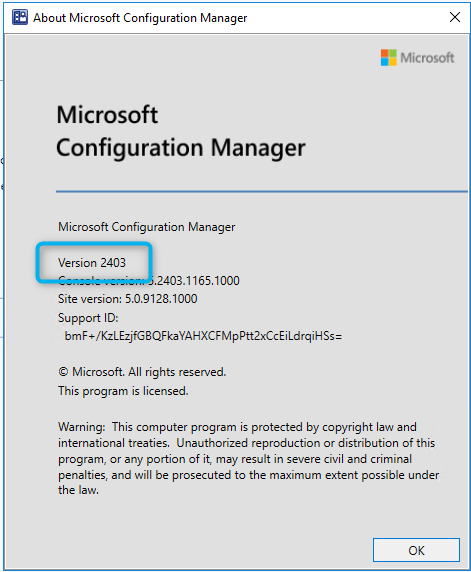
After setup is completed, launch the System Center 2012 Configuration Manager Console and verify the build number of the console. If the upgrade was successful, the console build number will be 5.0.8239.1203.
Servers
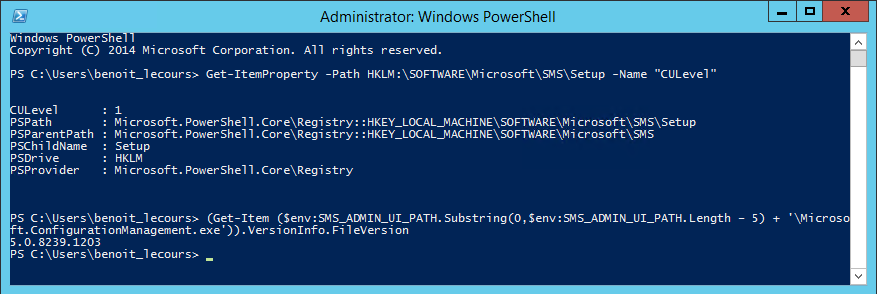
Open registry editor and check the HKLM\Software\Microsoft\SMS\Setup\ key. If the installation succeeded CULevel key value will be 1.

You can also verify both client and console version using PowerShell :
- Server : Get-ItemProperty -Path HKLM:\SOFTWARE\Microsoft\SMS\Setup -Name “CULevel”
- Console : (Get-Item ($env:SMS_ADMIN_UI_PATH.Substring(0,$env:SMS_ADMIN_UI_PATH.Length – 5) + ‘\Microsoft.ConfigurationManagement.exe’)).VersionInfo.FileVersion
Clients
The client version will be updated to 5.0.8239.1203 (after updating, see section below)

This update also brings the anti-malware client version to 4.7.0209.0. You can find the version information by clicking About on the Help menu of the Endpoint Protection client UI.
Package distribution
Navigate to Software Library / Packages / Configuration Manager Updates
- You’ll see that your CU1 updates packages are created

- Go ahead and Distribute Content to your distribution points

Updating the Clients
If you select the Automatically Apply option in the installation wizard, your client will update using your time frame settings.
- Open the SCCM Console
- Go to Administration / Site Configuration / Sites
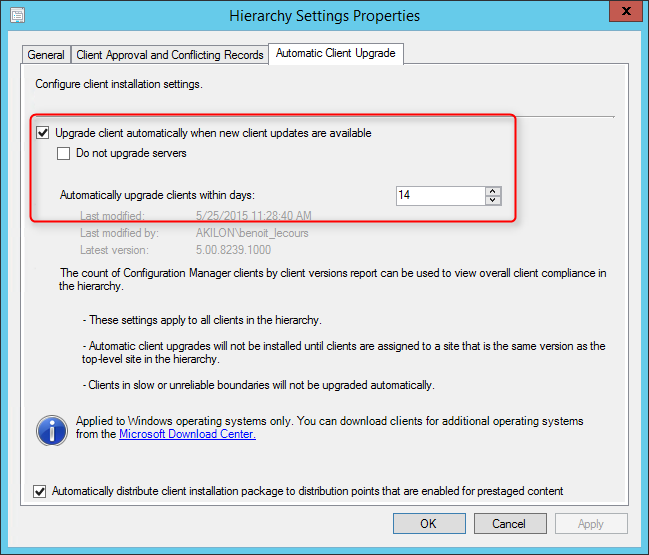
- Click the Hierarchy Settings in the top ribbon
- Select Automatic Client Upgrade tab
- The Upgrade client automatically when the new client update are available checkbox has been enabled
- Review your time frame and adjust it to your needs
If you select the Manually Apply option in the wizard, you will need to update your client manually.
This update contains 2 update packages for client installations. One for 32-bit clients and one for 64-bit clients.
Create two collections for the client upgrade. (If not already done in previous CU)
All-x64-based Clients
[pastacode lang=”sql” message=”” highlight=”” provider=”manual” manual=”select%20SMS_R_SYSTEM.ResourceID%2CSMS_R_SYSTEM.ResourceType%2CSMS_R_SYSTEM.Name%2CSMS_R_SYSTEM.SMSUniqueIdentifier%2CSMS_R_SYSTEM.ResourceDomainORWorkgroup%2CSMS_R_SYSTEM.Client%20from%20SMS_R_System%20inner%20join%20SMS_G_System_COMPUTER_SYSTEM%20on%20SMS_G_System_COMPUTER_SYSTEM.ResourceId%20%3D%20SMS_R_System.ResourceId%20where%20SMS_G_System_COMPUTER_SYSTEM.SystemType%20%3D%20%22X64-based%20PC%22″/]
All-x86-based Clients
[pastacode lang=”sql” message=”” highlight=”” provider=”manual” manual=”select%20SMS_R_SYSTEM.ResourceID%2CSMS_R_SYSTEM.ResourceType%2CSMS_R_SYSTEM.Name%2CSMS_R_SYSTEM.SMSUniqueIdentifier%2CSMS_R_SYSTEM.ResourceDomainORWorkgroup%2CSMS_R_SYSTEM.Client%20from%20SMS_R_System%20inner%20join%20SMS_G_System_COMPUTER_SYSTEM%20on%20SMS_G_System_COMPUTER_SYSTEM.ResourceId%20%3D%20SMS_R_System.ResourceId%20where%20SMS_G_System_COMPUTER_SYSTEM.SystemType%20%3D%20%22X86-based%20PC%22″/]
Adjust the package options to fit your environments and deploy the update to your clients.
Once deployed I like to create a collection that targets clients without the latest CU. I use it to monitor which client haven’t been updated yet.
Here’s the query to achieve this: (You can also refer to our Set of Operational Collection Powershell Script)
[pastacode lang=”sql” message=”” highlight=”” provider=”manual” manual=”select%20SMS_R_SYSTEM.ResourceID%2CSMS_R_SYSTEM.ResourceType%2CSMS_R_SYSTEM.Name%2CSMS_R_SYSTEM.SMSUniqueIdentifier%2CSMS_R_SYSTEM.ResourceDomainORWorkgroup%2CSMS_R_SYSTEM.Client%20from%20SMS_R_System%20where%20SMS_R_System.ClientVersion%20!%3D%20’5.0.8239.1203′”/]
Happy updating ! 🙂
Share
Get the latest insights and exclusive content delivered to your inbox


Russell
08.13.2015 AT 07:50 PMBenoit Lecours
08.14.2015 AT 08:08 AMEmerson Simette
08.13.2015 AT 07:26 AMBenoit Lecours
08.14.2015 AT 08:07 AMAnton Masyan
08.11.2015 AT 11:01 AMBenoit Lecours
08.12.2015 AT 08:13 AMPaul
08.10.2015 AT 04:12 PMBenoit Lecours
08.12.2015 AT 08:05 AMVR
10.23.2015 AT 12:31 PMBenoit Lecours
10.26.2015 AT 11:49 AMVR
11.03.2015 AT 01:32 PMBenoit Lecours
11.04.2015 AT 05:08 PMAaron Whittaker
08.10.2015 AT 12:50 AMBenoit Lecours
08.10.2015 AT 07:44 AMMJQIAN
08.07.2015 AT 01:33 AM