Based on the popularity of my Best SCCM Community Tools post published in 2018, 2019 and 2020, and 2021. I decided to do a first edition of the Intune Community Tools since Intune has evolved a lot in the last 4 years. To the list, I added YouTube channels that you could have missed.
The Intune Community tools are listed in no particular order. This list could have been longer but I needed to choose from my top personal list. If you feel that I’ve forgotten your awesome contribution to the Intune community, please use the comment section and it will be a pleasure to promote it.
 |
|---|
If you’re looking for a place to start and learn about Intune, this is the YouTube channel to visit. There are tons of useful videos by one of our team members Adam Gross and it’s friend Steve Hosking. Last month, they started a 2023 reboot to update all of their videos. They are releasing a new video regularly so be sure to check the channel on a regular basis.
Youtube : Intune Training

Proactive remediations are PowerShell scripts that can detect and fix issues/settings/configurations on Intune (Endpoint) managed devices. This repository is a community project with many ready-to-use endpoint analytics remediation scripts. If you’re into remediation scripts, this is the repository to look for. It can save you hours of PowerShell coding. Chances are that another community member has already achieved what you’re looking to do.
Product page: Endpoint Analytics Remediation Scripts
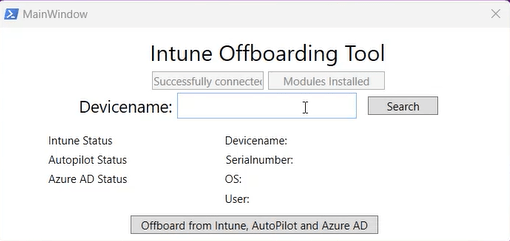
This PowerShell script provides a WPF GUI-based tool that facilitates the offboarding of devices from Microsoft’s Intune, AutoPilot, and Azure AD services. The tool leverages Microsoft Graph APIs to authenticate, search, and remove devices.
Product Page : Intune Offboarding Tool
Author : Ugur Koc
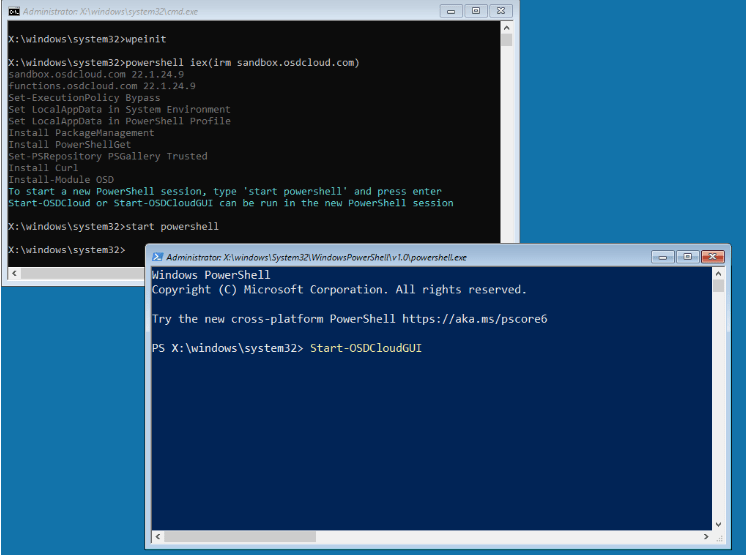
OSDCloud is a solution for deploying Windows 10/11 x64 over the internet using the OSD PowerShell Module. There is also a Sandbox to test OSDCloud without using a dedicated OSDCloud WinPE. This solution is a must for organizations managing many employees who are working from home.
Product Page: OSDCloud
Author : David Segura
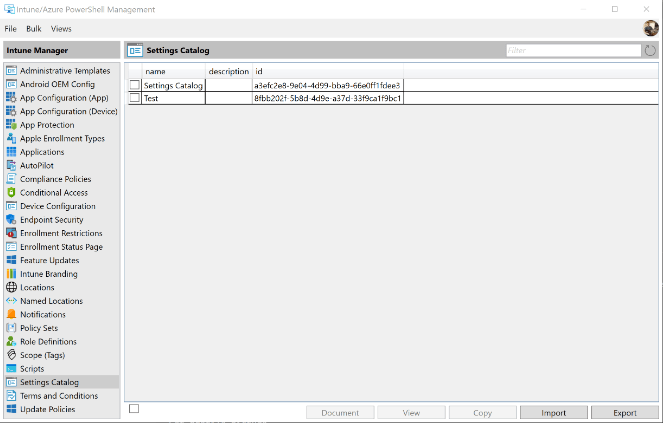
These PowerShell scripts use Microsoft Authentication Library (MSAL), Microsoft Graph APIs and Azure Management APIs to manage objects in Intune and Azure. The script has a simple WPF UI and it supports operations like Export, Import, Copy, Download, Compare, etc.
This makes it easy to back up or clone a complete Intune environment. The scripts can export and import objects including assignments and support import/export between tenants.
This script also has an extension that can document profiles and policies in Intune which can be very useful.
Github : IntuneManagement
Author : Micke Karlsson
This module was created to provide means to automate the packaging, creation, and publishing of Win32 applications in Microsoft Intune. It provides a set of functions to manage all aspects of Win32 apps in Microsoft Endpoint Manager (Intune).
This can be very useful to automate or ease the creation of many apps.
Github : IntuneWin32App
Author : Nickolaj Andersen from MSEndpointMgr
Simplify the process of creating and updating apps and other payloads in Intune by leveraging the power of AutoPkg. With AutoPkg, you can automate the process of downloading, packaging and uploading apps to Intune, saving you time and effort.
Product Page : intune-uploader
Author : Tobias Almen
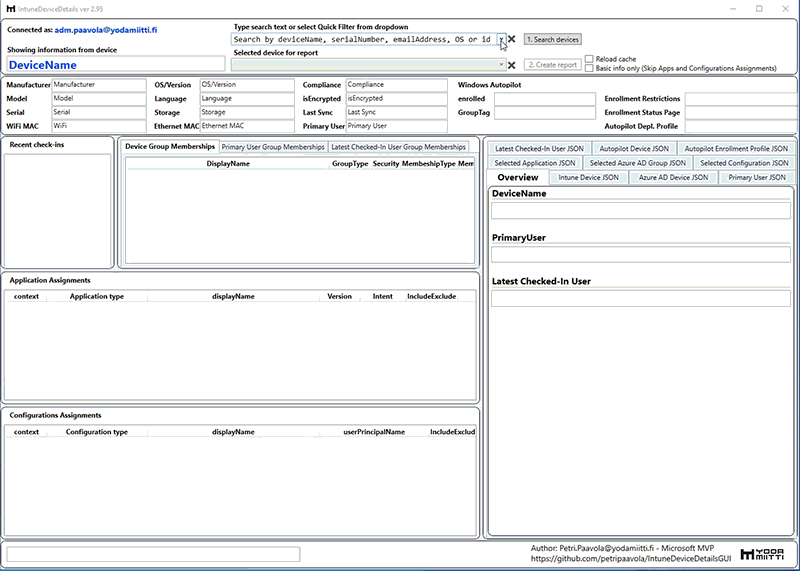
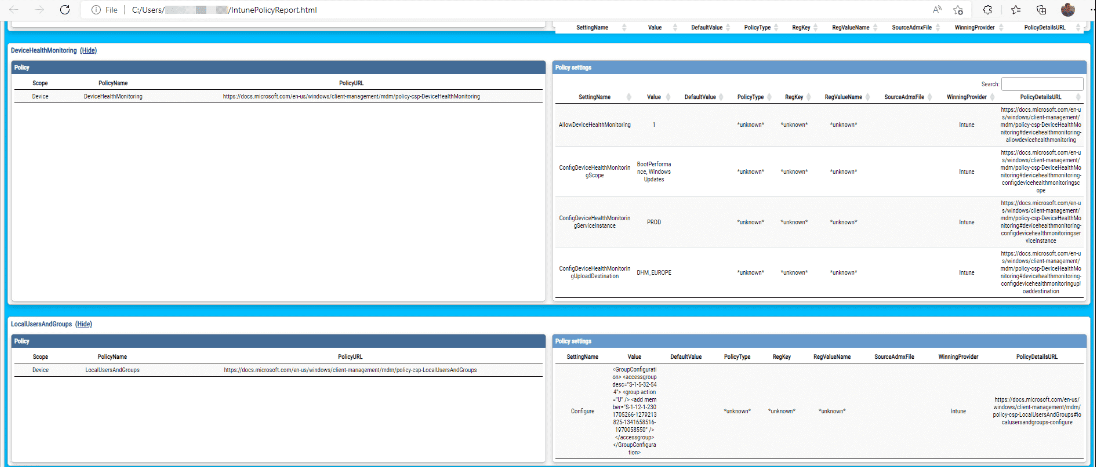
This Windows Powershell-based GUI/report helps Intune admins to see Intune device data in one visual view.
Especially it shows what Azure AD Groups and Intune filters are used in Application and Configuration Assignments. Assignment group information helps admins understand why apps and configurations are targeted to devices and find possible bad assignments.
Product Page : Intune Device Details GUI
Author : Petri Paavola
Intune Continuous Delivery as it stands for is a Python package that is used to back up and update configurations in Intune. The main function is to back up configurations from Intune to a Git repository from a DEV environment and if any configurations have changed, push them to PROD Intune environment.
Product page : IntuneCD tool
Author : Tobias Almen
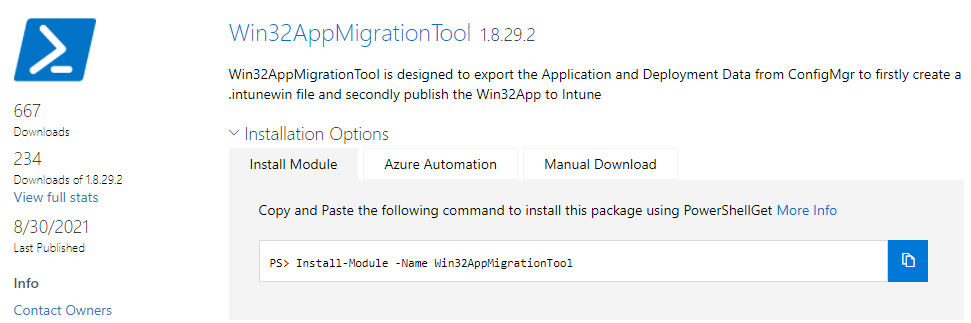
Win32AppMigrationTool is designed to export the Application and Deployment Data from ConfigMgr to firstly create a .intunewin file and secondly publish the Win32App to Intune.
Author: Ben Whitmore from PatchMyPC
Product page: Win32AppMigrationTool
This tool is able to present the SyncML protocol stream between the Windows 10 client and management system. In addition, it does some extra parsing to extract details and make the analysis a bit easier. The tool can be very handy to troubleshoot policy issues. Tracing what the client actually sends and receives provides deep protocol insights. Verifying OMA-URIs and data field definitions. It makes it easy to get confirmation about queried or applied settings.
Product Page : SyncMLViewer
Author : Oliver Kieselbach

A PowerShell toolbox for Microsoft 365 security fans. This can be very useful to automate or ease security parameters in Intune.
Github : DCToolbox
Author : Daniel Chronlund
This script analyzes Microsoft Intune Management Extension (IME) log(s) and creates a timeline report from found events. For Win32App delivery it also shows a summary of download statistics with estimated network bandwidth and Delivery Optimization statistics.
Product page: Get-IntuneManagementExtensionDiagnostics
Author : Petri Paavola
Intune Debug Toolkit is a community-developed solution to troubleshoot devices co-managed or Intune-managed only.
Product page: Intune Debug Toolkit – MSEndpointMgr
Many authors:
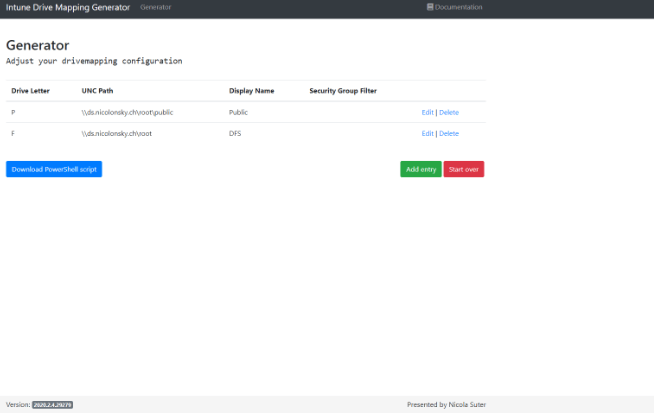
This tool generates Intune PowerShell scripts to map network drives on Azure AD joined devices. It can be useful for organizations that need to support network map drives.
Product page : Intune network drive mapping generator
Author : Nicola Suter
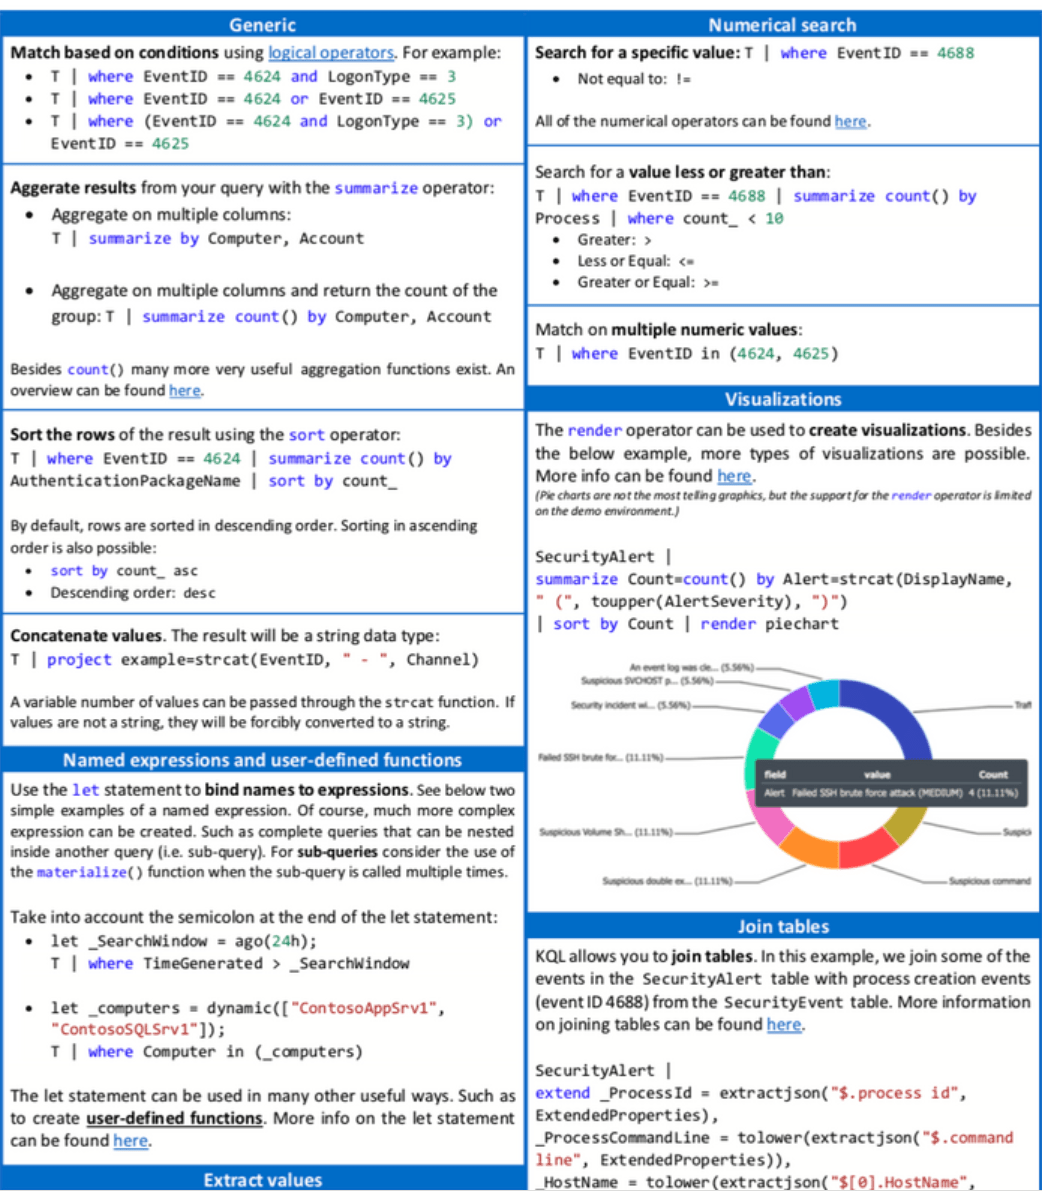
If you’re into KQL (Kusto) learning, this cheat sheet is a must to understand the basics of the language.
Product page : KQL Cheat Sheet
Autor : Markus Bakker
We hope this list of Intune Community Tools was helpful. Thanks to all the contributors who helped the Intune community with their tools, blog posts, and time.

Please fill out the form, and one of our representatives will contact you in Less Than 24 Hours. We are open from Monday to Friday.

Thank you for subscribing to our newsletter or requesting a quote. You will receive our next month's newsletter. If you have requested a quote, we will get in touch with you as soon as possible.

Something went wrong!

Thank for your reply!