
How to deploy Windows 11 with language pack using SCCM
Contributor of System Center Dudes. Based in Montreal, Canada, Senior Microsoft SCCM consultant, working in the industry for more than 10 years. He developed a strong knowledge of SCCM and MDT to build automated OS deployment solution for clients, managed large and complexe environment, including Point of Sale (POS) related projects.

Jonathan Lefebvre
Table of Content


Share


Get the latest insights and exclusive content delivered to your inbox
Injecting language packs into Windows 11 images can streamline deployments and ensure users can access their preferred languages immediately. This process involves using tools like DISM (Deployment Imaging Service and Management Tool) to add language packs and associated features directly into the Windows 11 image.
The process has evolved over the last few years with Windows 10 and now Windows 11. Instead of just using classic CAB files to inject LIP, Feature-on-demands (FoD) matching the language are also recommended. Injecting language pack and FoD offline will speed up the imaging process slightly.
In this blog post, we will detail how to inject the language pack and Feature-on-demand(FoD) in Windows 11 to be deployed using an SCCM task sequence.
SCCM Windows 11 Language pack – Prerequisites
- Download the Languages and optional features for Windows 11 from MSDN or VLSC.
- 22h2 version is the one that supports Windows 11 23h2.
- A newer release is available for Windows 11 24h2.

- Determine the language needed
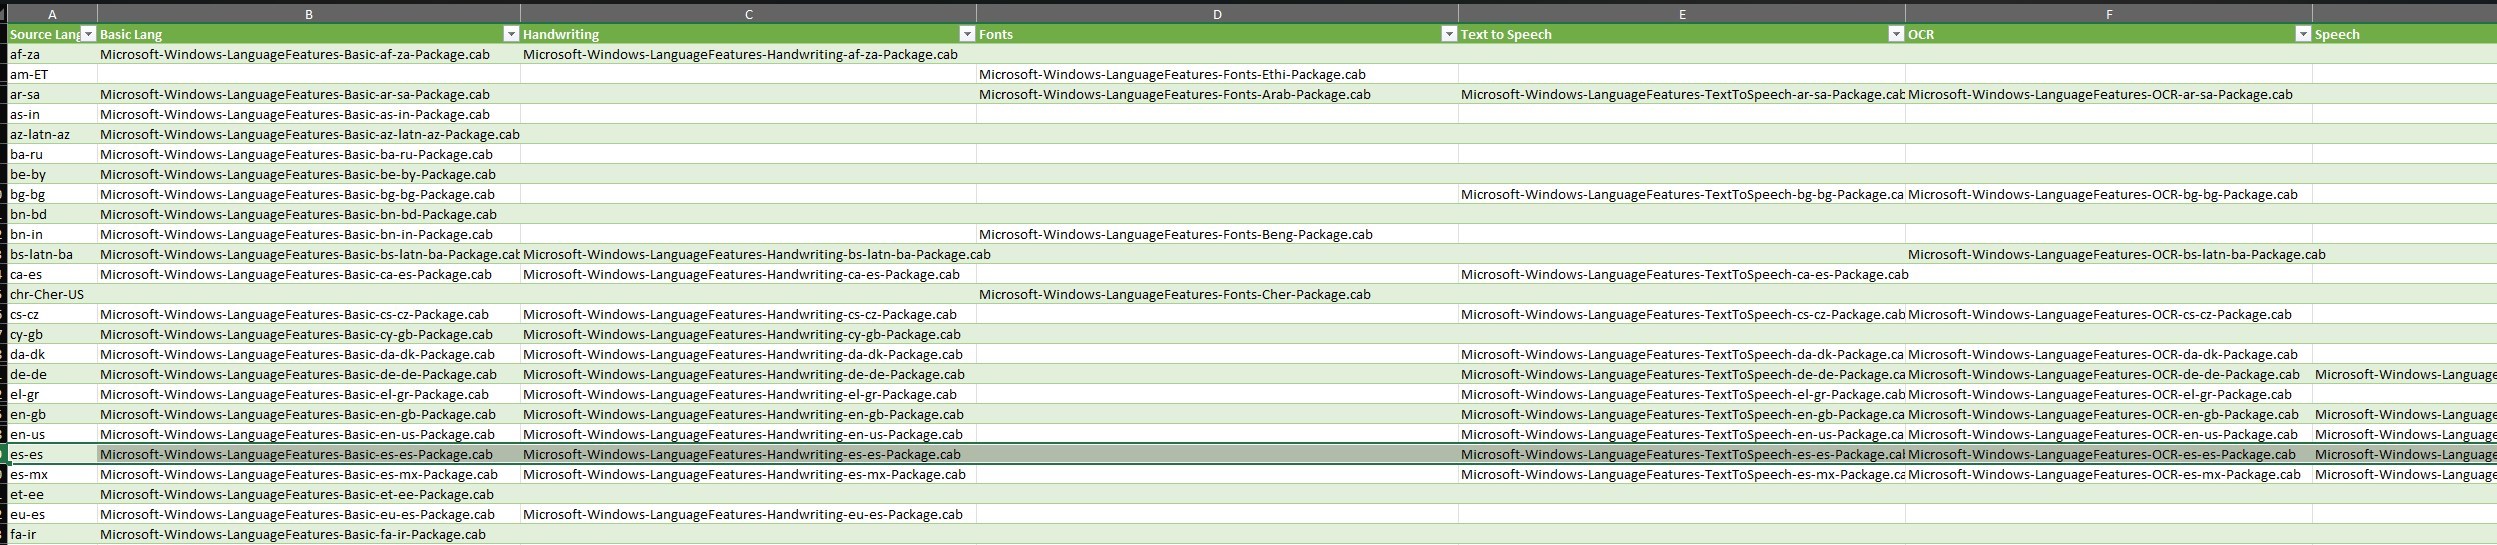
- using this Excel spreadsheet from Microsoft.
- Microsoft recommends injecting basic, Fonts, OCR, Text-to-speech, and Speech recognition whenever available for a given language.
- Local admin on the device where DISM will be used.
Prepare the source files to be injected into Windows 11 image
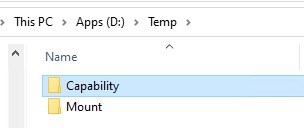
- Create a simple folder structure to mount the Windows 11 image offline.
The Mount folder is recommended to be excluded for AV solution. The last section, when committing changes, is quite heavy with enabled AV solution monitoring the folder.
- Mount the ISO for the Language and features for Windows 11.
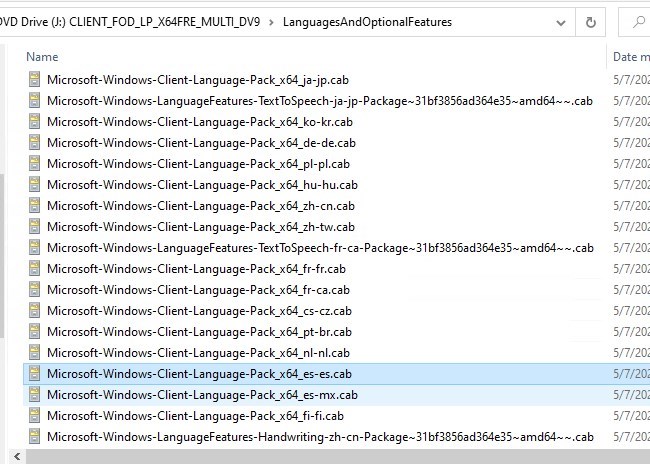
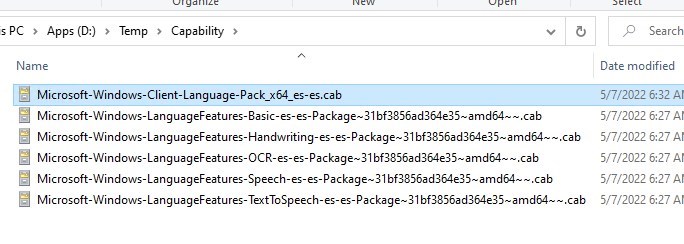
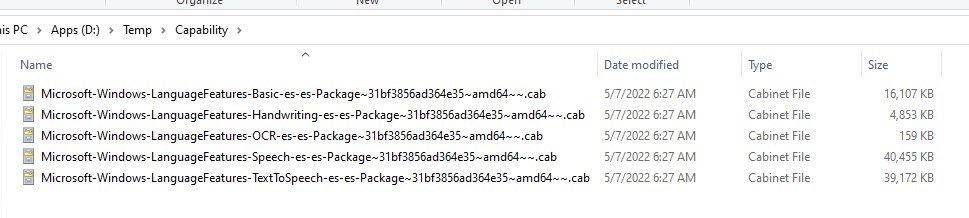
- Copy the files from the ISO to the Capability folder.
- Make sure to pick those matching the desired language
- Language Pack
- Basic
- Handwriting
- OCR
- Speech
- TextToSpeech
- Make sure to pick those matching the desired language
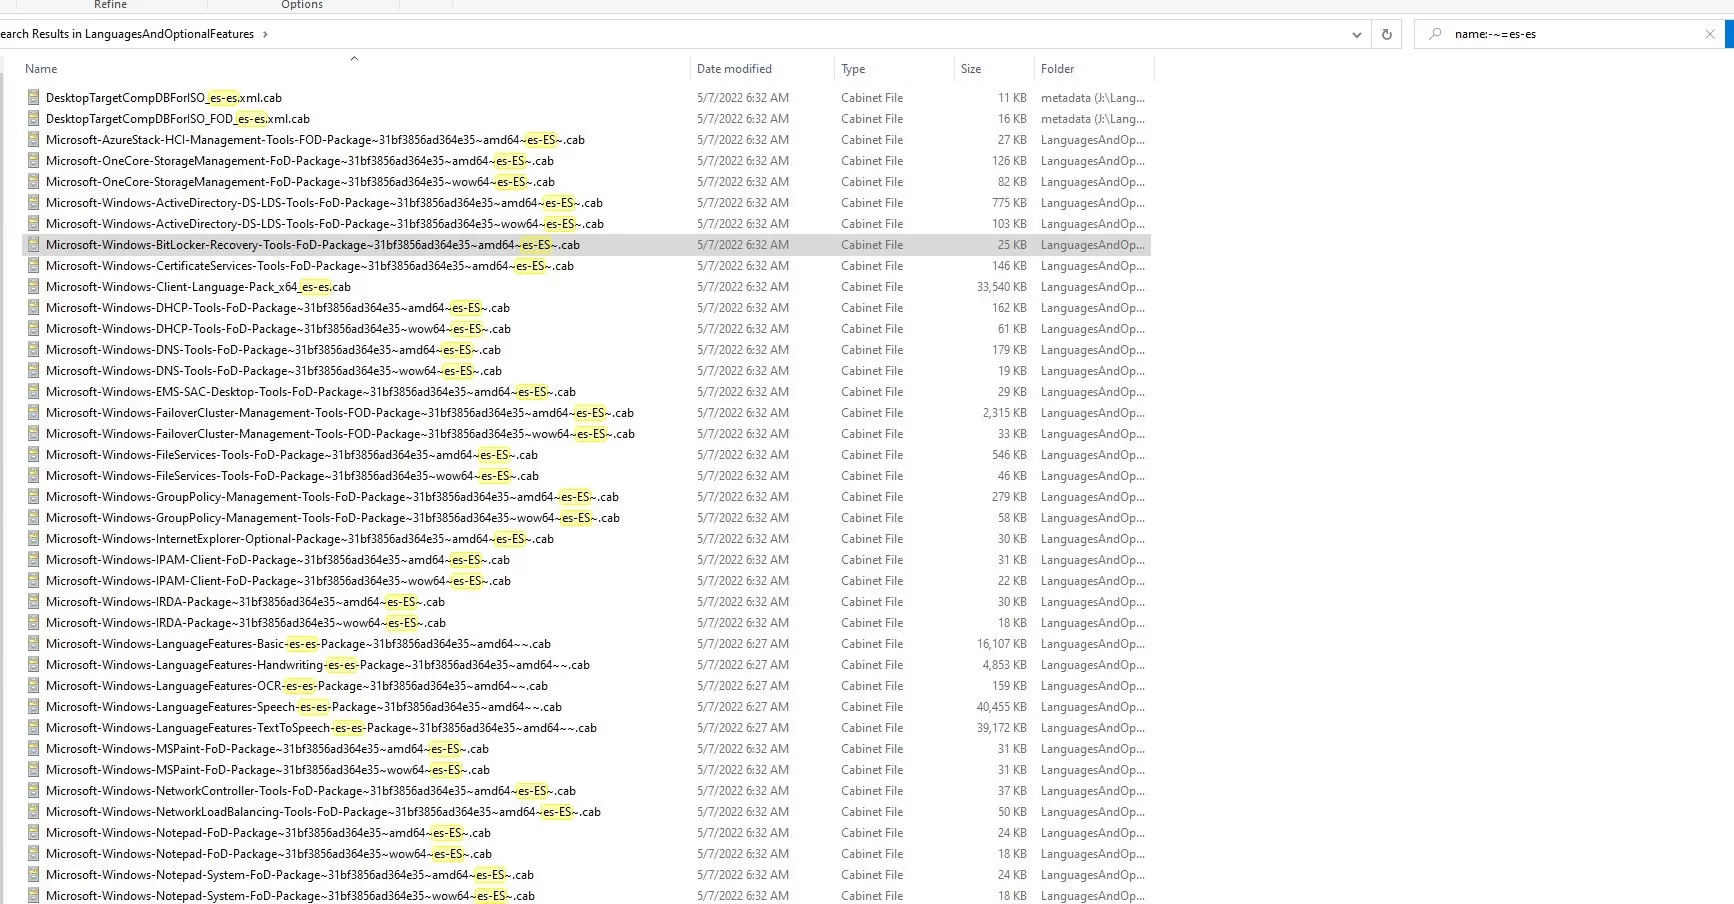
Tip! To filter per language with Windows Explorer search, use Name:~=ES-ES.
Inject Windows 11 language pack in the image
- Open a command prompt as admin and mount the Windows 11 image. Command line :
- Dism /Mount-Image /ImageFile:install.wim /Index:1 /MountDir:”d:\temp\mount”
- In our example, we used the extracted WIM for Windows 11 Enterprise only, instead of the default install.wim.

- To inject the language pack, run the following command
- DISM /image:d:\temp\mount /add-package /packagepath:D:\Temp\Capability\Microsoft-Windows-Client-Language-Pack_x64_es-es.cab

- At this point, the language pack is completed, but there are still steps to inject the Feature-on-demand. See the next section before applying changes to the mounted WIM.
Inject Windows 11 Feature-on-Demand for matching language
While this step is not mandatory, it is still recommended to add the Feature-on-Demand to match added languages
- As stated before, make sure the recommended files are in the Capability folder
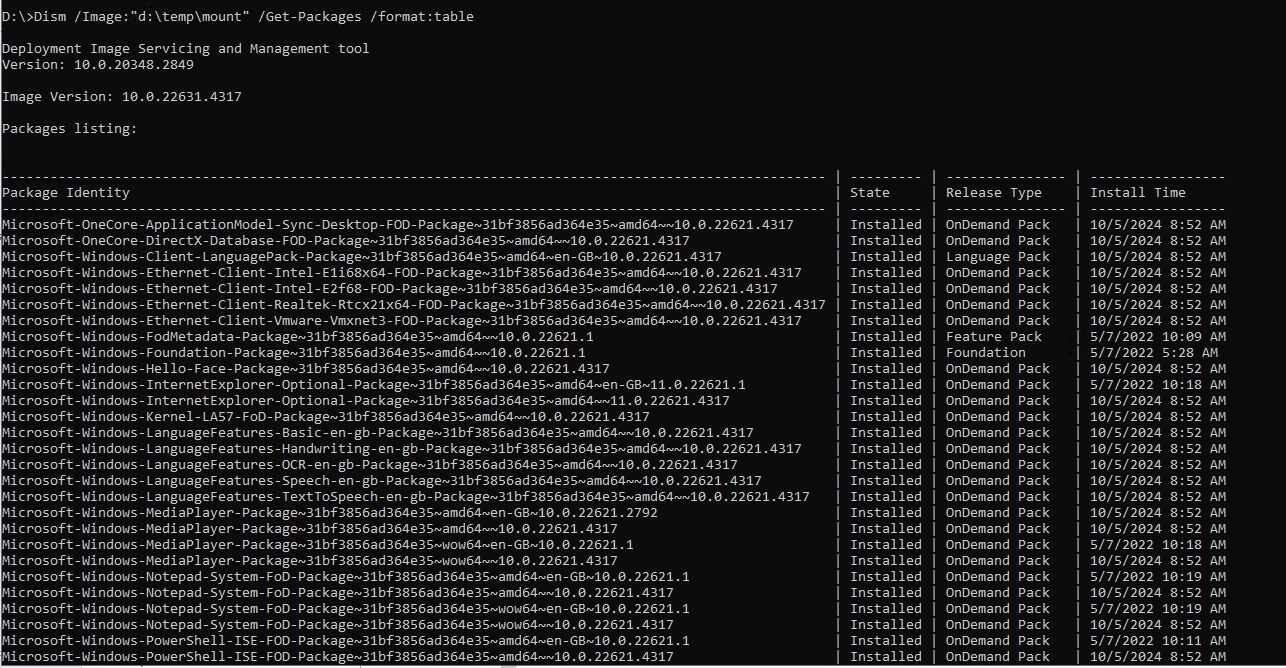
- Run the following command line to validate the mounted Windows 11 image
- Dism /Image:”d:\temp\mount” /Get-Packages /format:table
- To inject the language feature on demand to Windows 11 image, run this command line
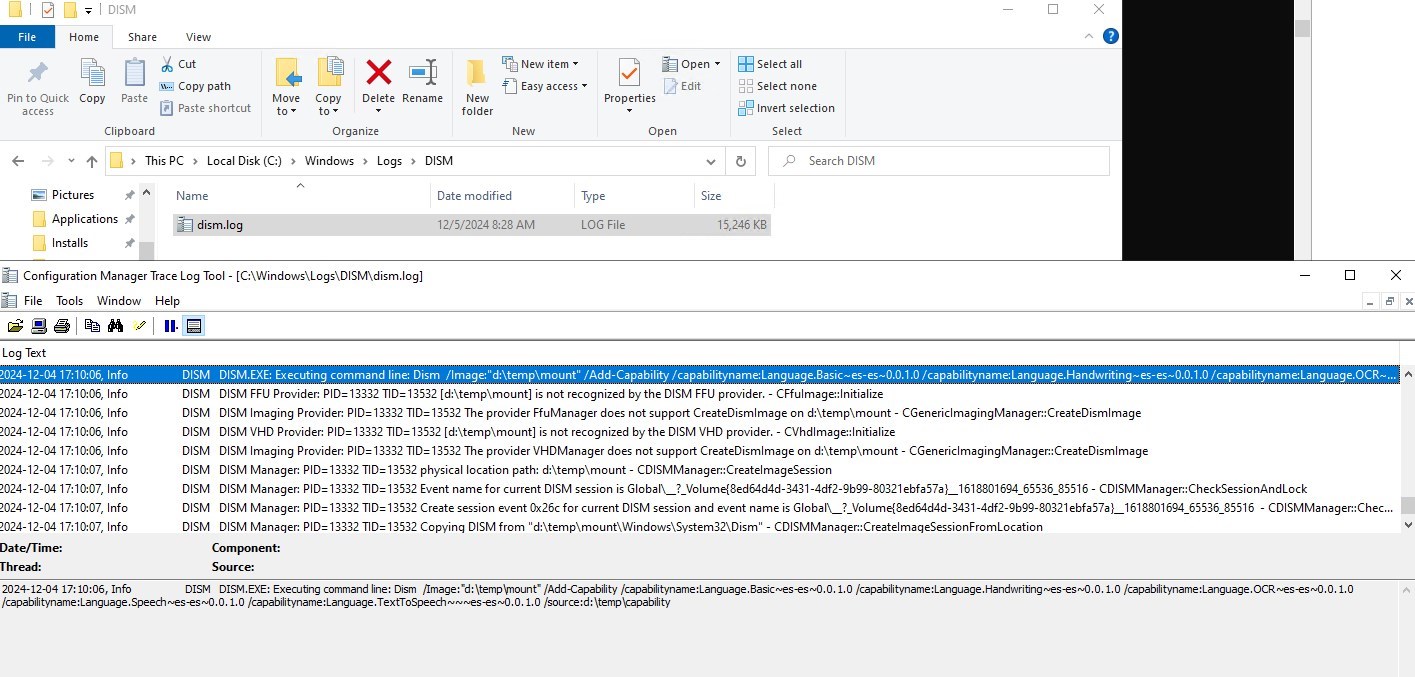
- Dism /Image:”d:\temp\mount” /Add-Capability /capabilityname:Language.Basic~es-es~0.0.1.0 /capabilityname:Language.Handwriting~es-es~0.0.1.0 /capabilityname:Language.OCR~es-es~0.0.1.0 /capabilityname:Language.Speech~es-es~0.0.1.0 /capabilityname:Language.TextToSpeech~~~es-es~0.0.1.0 /source:d:\temp\capability
- make sure to use the right source path.

Note that the file names aren’t used for the FoD. The names are default, and the right files will be picked up from the source folder specified. Only the language ID changes, so in this case Es-ES. See Microsoft learn for more details.
- Validating the FoDs are well installed once completed.
- run the command again:
- Dism /Image:”d:\temp\mount” /Get-Packages /format:table
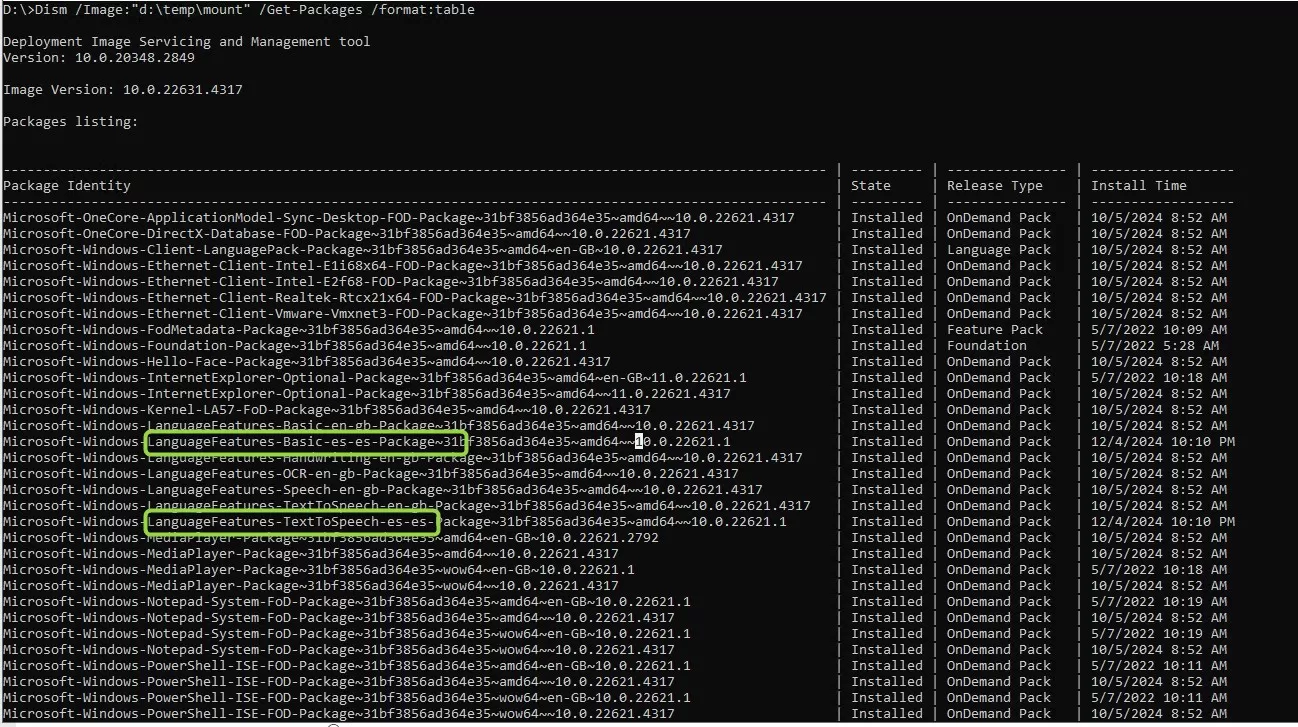
- At this point, the language pack and the FoD are injected into the mounted WIM
- If other languages are needed, repeat all commands to inject LP and FoD, before committing changes.
- Now we need to commit changes and unmount the wim, run the following command :
- Dism /unmount-wim /Mountdir:d:\temp\mount /commit

Note : If an update package (LSU, Monthly update) was already injected in the Wim file, it will need to be re-applied after injecting the language pack files.
Logs and More Info
If you experiment this problem with any of the command line from DISM, you can use the log file located in C:\Windows\Logs\DISM
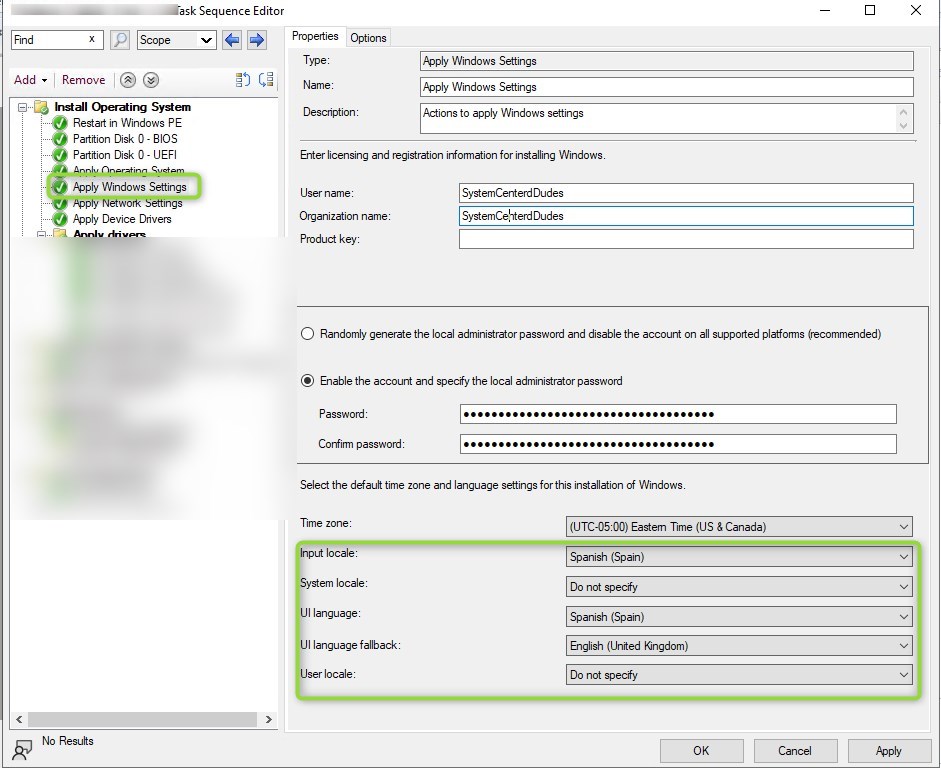
SCCM task sequence to specify which Language Pack to use
On the Apply Windows Settings, the UI Language can be specified. This will only work for the language pack already in the image.
Assuming more than one language will be published, this task can be duplicated and managed with variables to determine which one should run when building a device.
For more details about language pack for Windows 11 imaging, see Microsoft learn.
Share
Get the latest insights and exclusive content delivered to your inbox


Davide
04.02.2025 AT 02:32 AMklonk
03.19.2025 AT 03:39 PMklonk
03.20.2025 AT 09:49 AM