
SCCM Change Drive Letter using Powershell in OSD Task Sequence
Founder of System Center Dudes. Based in Montreal, Canada, Senior Microsoft SCCM Consultant, 8 times Enterprise Mobility MVP. Working in the industry since 1999. His specialization is designing, deploying and configuring SCCM, mass deployment of Windows operating systems, Office 365 and Intune deployments.

Benoit Lecours
President


Share


Get the latest insights and exclusive content delivered to your inbox
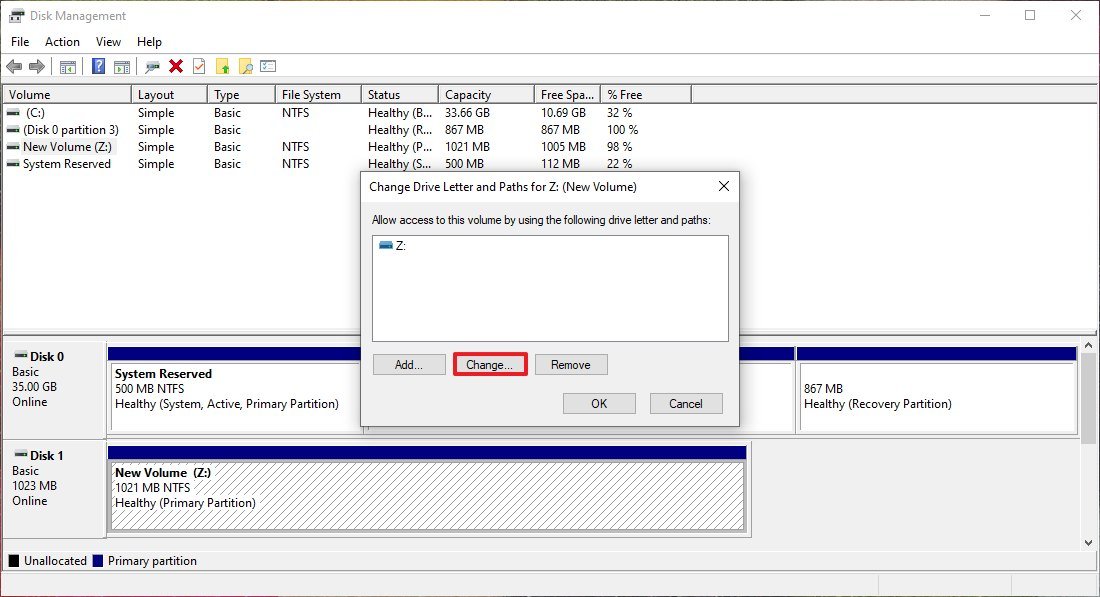
By default, Windows will assign the next available letter to your CD/DVD ROM drive. For servers and even workstation, it could be useful to change it to a standard value. This post will describe how SCCM Change Drive Letter in an OSD task sequence.
In computer data storage, drive letter assignment is the process of assigning alphabetical identifiers to volumes. As an SCCM admin, you should always find ways to optimize your work and stop doing repetitive tasks.
Add a Run Command Line step at the end of your task sequence that runs a PowerShell command.
The latest SCCM 1902 Version can now directly enter Windows PowerShell code in the Run PowerShell Script step. This change lets you run PowerShell commands during a task sequence without first creating and distributing a package with the script.
%SystemRoot%\system32\WindowsPowerShell\v1.0\powershell.exe -command “(gwmi Win32_cdromdrive).drive | %{$a = mountvol $_ /l;mountvol $_ /d;$a = $a.Trim();mountvol z: $a}”
You change the last Z: to another letter to fit your environment. This will make Drive Letter change in your Task Sequence.
A simple script to make your SCCM Admin life easier. Let us know if this tip was helpful for you by using the comment section.
Share
Get the latest insights and exclusive content delivered to your inbox


MrRedHead
12.04.2017 AT 12:44 PMDavid
03.01.2015 AT 05:46 PMRobert
02.10.2015 AT 10:24 AMBenoit Lecours
02.10.2015 AT 10:50 AM