
Use SCCM CMTrace like a Pro (Part 2)
Founder of System Center Dudes. Nick has been awarded in 2016 to 2019 as a Microsoft MVP in Enterprise Mobility category. Working as a senior SCCM and Intune advisor as well as a specialist Microsoft Cloud solutions specialist.

Nicolas Pilon
Vice-PresidentTable of Content


Share


Get the latest insights and exclusive content delivered to your inbox
Update 2018/08/03 Since the release of SCCM 1806, this ĥow-to post is done by default. It’s the most requested feature of SCCM! So if you are not using the current version of SCCM, you can use this technique to push the CMTrace tool to your devices
What are you doing when you want to troubleshoot SCCM client locally on a computer? Connect your USB card with the cmtrace.exe on it? Copy the executable file from a network directory? Do you want to be smarter? Create an application with a file detection method that will copy the executable file automatically on any SCCM clients.
Download the file from Configuration Manager Toolkit.
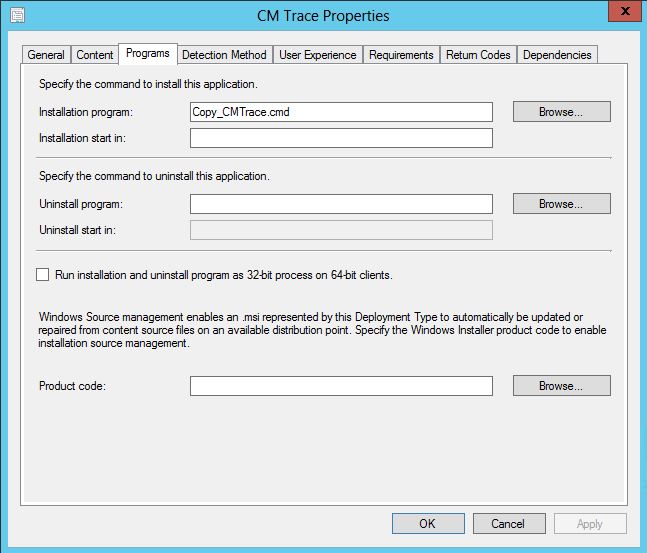
Step 1: Create a script to copy the executable file into the Windows directory
Use this command ‘Xcopy /y cmtrace.exe %windir%’ in a cmd file. Enter the cmd file into the application program.
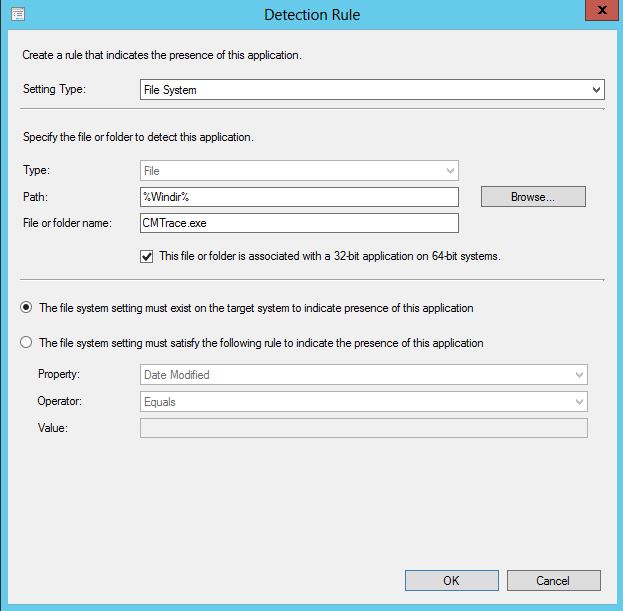
Step 2: Add a detection method in the application properties
Click on ‘Detection Method’ tab and ‘Add Clause’ to your application.
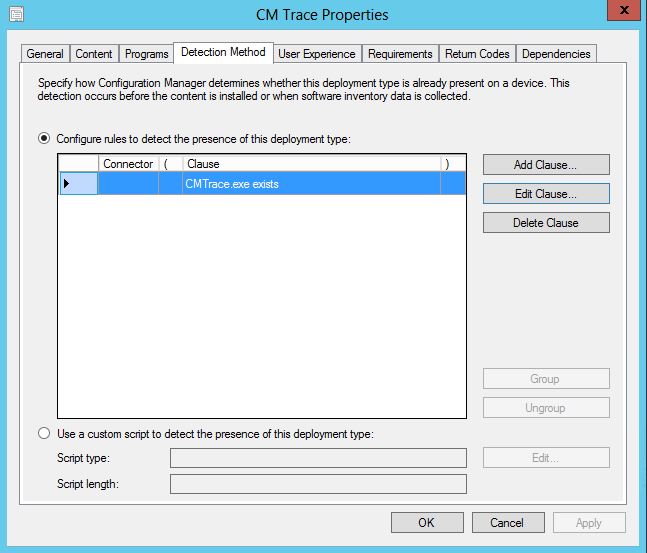
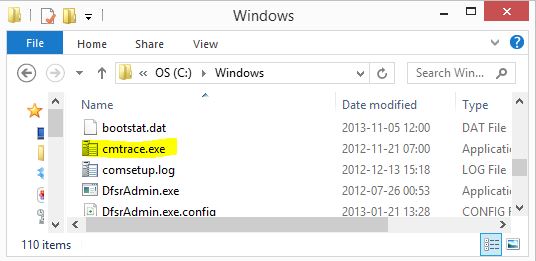
The idea is to detect if the file is already copied. %Windir% will go automatically in the windows folder depending on the operating version.
Step 3: Deploy the application to all desktop and server clients
Technical supports, administrators and users will benefit from it. You make sure that all clients from anywhere will be able to use CMTrace and see SCCM logs without effort and Notepad.
+5G up to 10G achievement 🙂
sccm cmtrace
Share
Get the latest insights and exclusive content delivered to your inbox


tom
07.01.2015 AT 09:26 AMNicolas Pilon
07.01.2015 AT 02:34 PMMarc
10.03.2016 AT 12:37 AMNicolas Pilon
10.06.2016 AT 02:51 PM